
 Save
Save
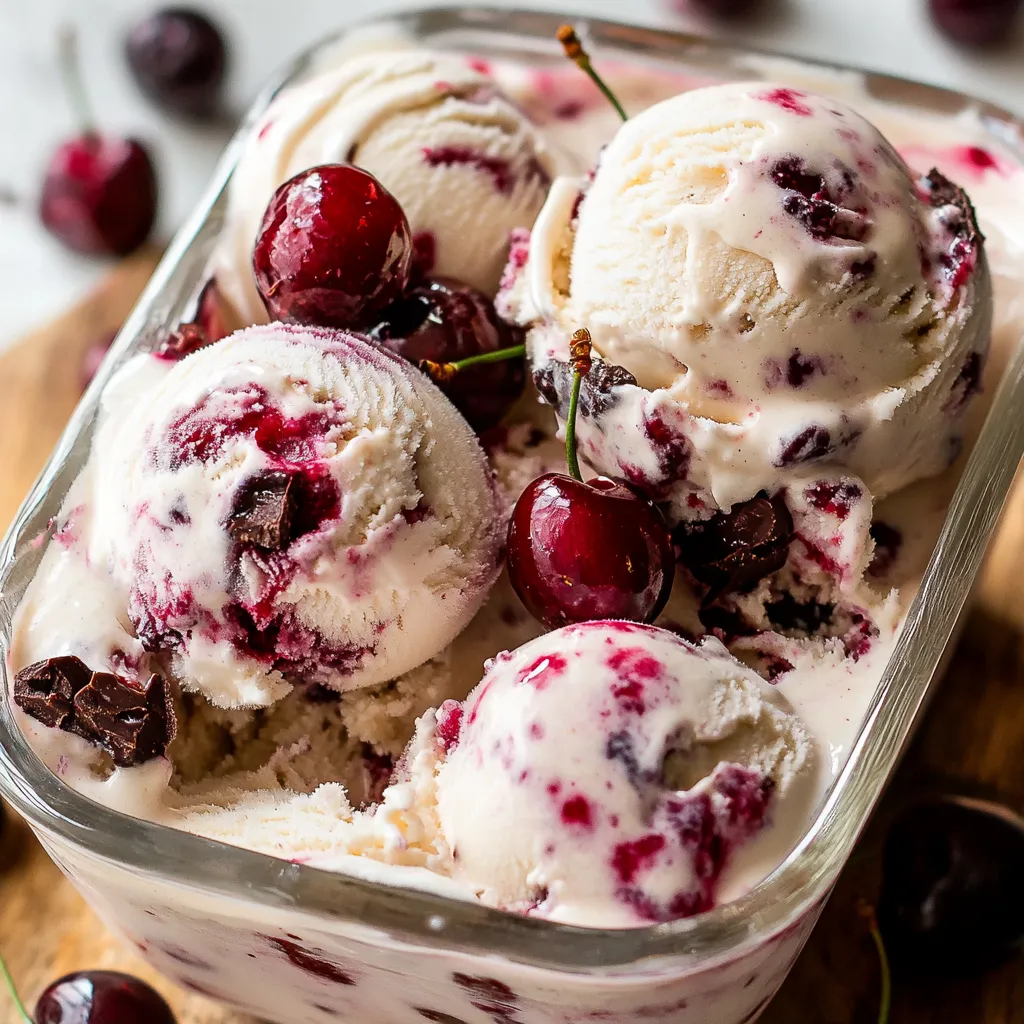
Mix everyday ingredients to make a luxurious no-churn black forest ice cream with smooth vanilla base, ribbons of cherry sauce, and dual chocolate elements. This heavenly dessert captures all the beloved black forest cake tastes in a frozen treat, making an eye-catching dessert with little fuss. Every bite balances creamy vanilla, tart cherry, and rich chocolate notes.
While testing homemade frozen treats, this black forest version stood out as the best combo of easy preparation and total indulgence.
Key Ingredients
- Fresh cherries: Give bright pop of color and taste
- Sweetened condensed milk: Brings just the right sweetness
- Heavy cream: Makes everything light and fluffy
- Dark chocolate: Adds sophisticated bitter-sweet touch
- Chocolate cake: Gives that true black forest feel
Making The Magic Happen
- Cook Down Your Cherries:
- Gently heat cherries with sugar and lemon until they turn soft and juicy.
- Get The Right Texture:
- Mix in cornstarch mixture and keep cooking until it looks shiny and gets thick.
- Beat Your Cream:
- Whip very cold cream until it forms gentle peaks for best fluffiness.
- Mix With Care:
- Slowly blend in the condensed milk without squashing all the air bubbles.
- Build In Stages:
- Put in bits of chocolate, cake chunks, and cherry sauce step by step.
- Make Pretty Patterns:
- Pour everything in layers, then swirl for a pretty marbled look.
- Wait It Out:
- Give it enough freezer time so it scoops up nicely.
My grandma always told me the key to amazing ice cream was getting things just right - making sure each part works with the others without taking over.
Ways To Enjoy
Turn this treat into a fancy dessert party by setting up a black forest sundae station. Dish it up in glass bowls with hot chocolate sauce, extra cherries, and whipped cream on top. You can put out chocolate wafers or rolled cookies too. For birthdays or holidays, smush between chocolate cookies or scoop into chocolate-dipped waffle cones. Top with chocolate curls and fresh cherries to make it look amazing.
Fun Twists
Shake things up with this flexible ice cream while keeping the black forest idea alive. Play around with different chocolates like milk or white for changing how sweet it tastes. Try adding cherries soaked in kirsch for that real German touch, or mix in chocolate-covered cherries for extra wow factor. You can even make it without gluten by using gluten-free cake bits or brownies instead.
Keeping It Fresh
Keep your ice cream tasting perfect by storing it right in the freezer. Use containers that seal tight and put them deep in the freezer where the temperature stays steady. Take it out 10-15 minutes before you want to eat for the best feel. Pack in small containers for easy single servings. Put plastic wrap touching the surface before putting the lid on to stop ice crystals from forming.
Final Thoughts
This black forest ice cream has turned into my go-to summer party dessert. Though it's not complicated to make, watching your temperatures and handling everything gently leads to amazing results that bring all the wonderful flavors of classic black forest cake. Just remember, waiting for it to freeze properly means you'll get that perfect scoop every time.
Common Questions About This Recipe
- → Is an ice cream maker required?
- Nope! Just grab a bowl, whisk, mixer, and a freezer-friendly container.
- → Are frozen cherries okay to use?
- Yep, just make sure to thaw and drain them beforehand.
- → What’s the best chocolate cake for this?
- Any chocolate cake does the trick—even brownies! Just cut into small chunks.
- → How long will this keep in the freezer?
- Store in a sealed container for about two weeks for the best flavor and texture.
- → Can I skip the cake pieces?
- Sure! Leave them out if you'd prefer just cherry and chocolate ice cream.