
 Save
Save
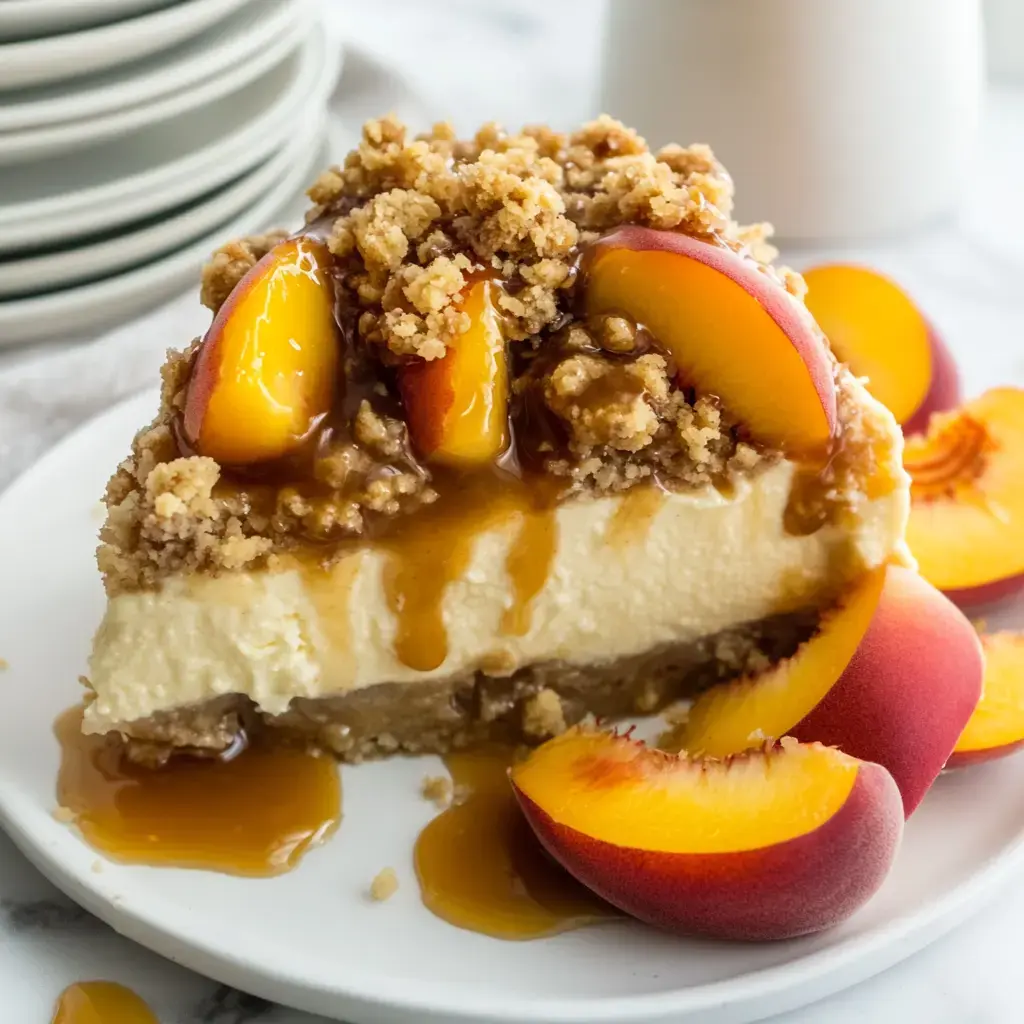
Brace yourself for possibly my most over-the-top treat ever - my peach cobbler cheesecake! The idea popped into my head last peach season when I wanted to throw my two fave desserts together into one mind-blowing creation. Imagine this: silky-smooth cheesecake packed with cinnamon-baked peaches and finished with the crunchiest butter streusel topping. My family happily played guinea pigs through many versions while I tweaked everything from the exact peach roasting method to the foolproof water bath trick that keeps your cheesecake perfectly smooth.
The Magic Behind This Heavenly Dessert
Let me tell you why this dessert will knock your socks off! We're baking those peaches first to pull out all their sweetness - my house smells incredible every single time! I've learned that a bit of cinnamon and nutmeg can transform even not-quite-ripe peaches into something amazing.
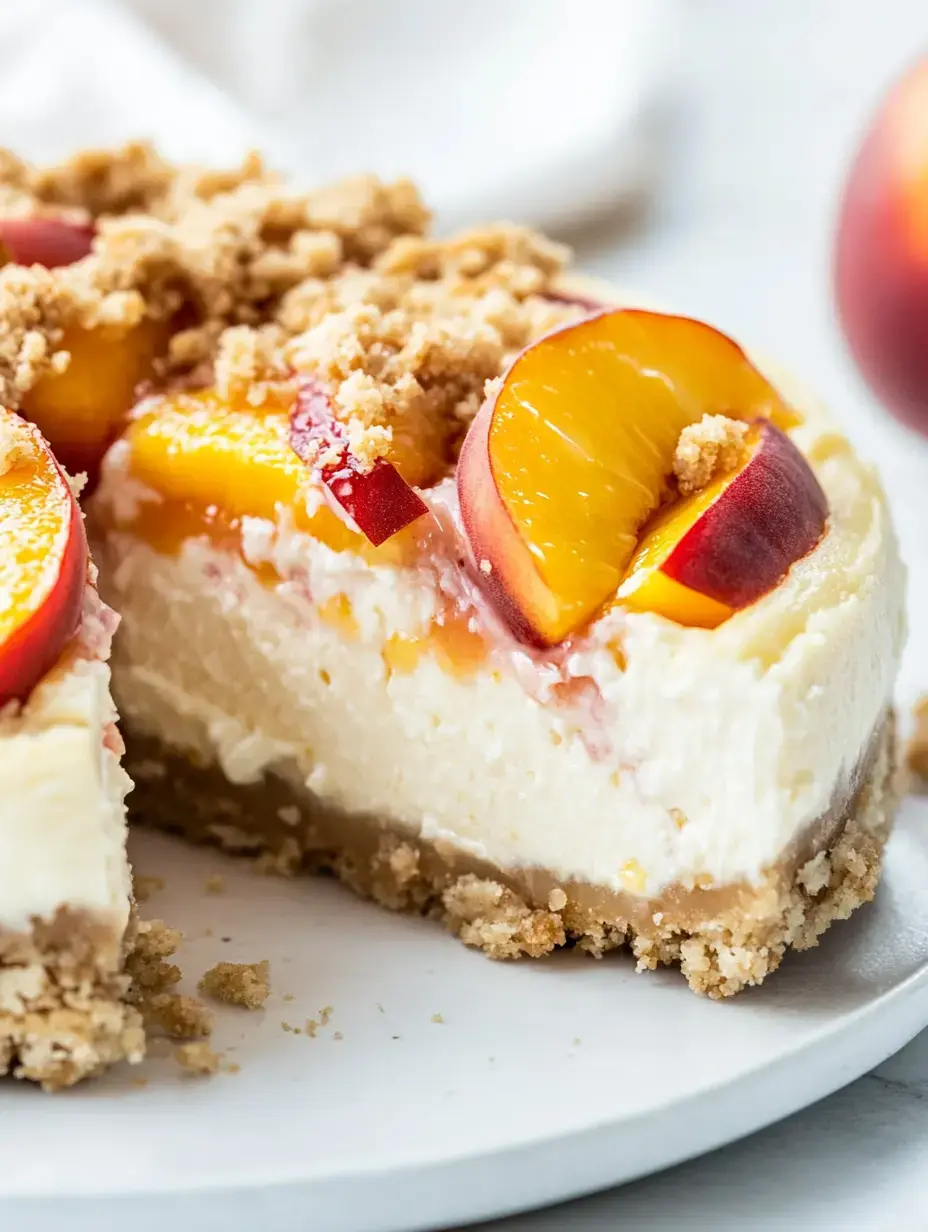
Those perfect layers didn't happen by accident! I played around for ages until I got them just right. Every mouthful gives you smooth cheesecake, juicy fruit, and that satisfying streusel bite. And don't worry - I'm sharing every little trick I know for getting that flawless, crack-free finish!
Let's Gather Our Ingredients
Here's what you'll need for this knockout dessert:
- For Those Juicy Peaches:
- ½ cup light brown sugar (it makes them deliciously caramelly!)
My go-to spice combo: 1 teaspoon cinnamon and ¼ teaspoon nutmeg
1 teaspoon vanilla (splurge on this one!)
2 teaspoons fresh lemon juice
6 cups fresh peach slices (roughly 2 pounds) - For That Crunchy Streusel:
- ⅓ cup light brown sugar
¾ cup all-purpose flour
¼ teaspoon cinnamon
6 tablespoons salted butter, melted till golden - For The Sturdy Base:
- 2 cups graham cracker crumbs
4 tablespoons sugar
6 tablespoons melted butter
Water for our bath - For The Silky Filling:
- 32 ounces cream cheese (four blocks, don't go low-fat!)
1½ cups sugar
1 tablespoon vanilla
6 large eggs (room temperature matters!)
½ cup full-fat sour cream
And if you're feeling fancy, get some caramel sauce for drizzling on top!
Personalize It Your Way
I always love seeing how you make things your own! Try these fun changes:
- For the cobbler part, I typically use cake mix (total time-saver for busy days!), but your grandma's cobbler recipe would work beautifully too.
- Wanna kick up the flavor? Throw in some allspice or nutmeg - these warm flavors really make those peaches pop.
- About that caramel sauce - store-bought works great, but I can show you my super-quick homemade version if you're up for it!

Starting Our Baking Adventure
Let's tackle those peaches first! Turn your oven on and grab a baking sheet with parchment (you'll thank me when cleanup time comes).
Grab your largest bowl and mix the peach slices with brown sugar, cinnamon, nutmeg, vanilla, and that splash of lemon juice. It's so pretty watching everything coat those peaches!
Arrange them on your sheet with some breathing room - they need space to get that yummy caramelization! Pop them in the oven for about 15-20 minutes.
PRO TIP:
Watch those peaches carefully! They should be tender when poked with a knife but still hold their shape. Nobody wants soggy peaches ruining their cheesecake!
Whipping Up That Tasty Streusel
While your peaches do their thing, let's make that amazing streusel topping. This might be the most fun part! Turn your oven down a bit - slow and gentle is key here.
Combine your brown sugar, flour, cinnamon, and that beautiful melted butter until you've got something that looks like rough crumbs. I often just dig in with clean hands - it's way more fun than using tools!
BAKER'S SECRET:
Sometimes I'll grab a fork or pastry cutter if I'm feeling fancy, but honestly? Your fingers work perfectly!
Spread it across a lined baking sheet and let it get all toasty and crunchy. Your whole house will smell incredible!
Setting Up Our Base
Now for the crucial foundation - prepping our springform pan! This is where my cheesecake expertise really comes in handy. Start by spraying your pan with baking spray, then put parchment on the bottom. Here's my must-do tip: wrap the pan in two layers of heavy-duty foil. We're making sure no water sneaks in because nobody wants a soggy cheesecake!
For our crust, mix those graham crumbs with sugar and melted butter until it feels similar to damp sand. Press it firmly along the bottom and sides - I find a measuring cup gives you the perfect pressure. After a quick bake, place it in your roasting pan while we work on the filling.
BAKER'S NOTE:
Start your water boiling now! A proper water bath is how you get that perfect, crack-free top. I figured this out after many failed attempts!
Creating Our Creamy Centerpiece
Now for the exciting part! Let's make that velvety filling. Beat your cream cheese with sugar until completely smooth - we don't want any little lumps in our masterpiece!
Add your eggs one by one, mixing gently. Here's my top secret: keep your mixer speed low. We're not making a fluffy cake - we want rich, dense cheesecake. Those air bubbles will only cause trouble!
Next goes the sour cream for that perfect tangy kick. Pour half your mixture into the crust, then arrange those roasted peaches like you're creating something special. Add some streusel, then the rest of the batter, and we're ready for some oven magic!

Adding The Final Touches
After your cheesecake has fully chilled (don't rush this part!), it's time for the pretty stuff. I like to place those saved peach slices in a simple but elegant pattern on top. Scatter the remaining streusel around the edges, and if you're feeling extra, add that caramel sauce drizzle.
BAKER'S SECRET:
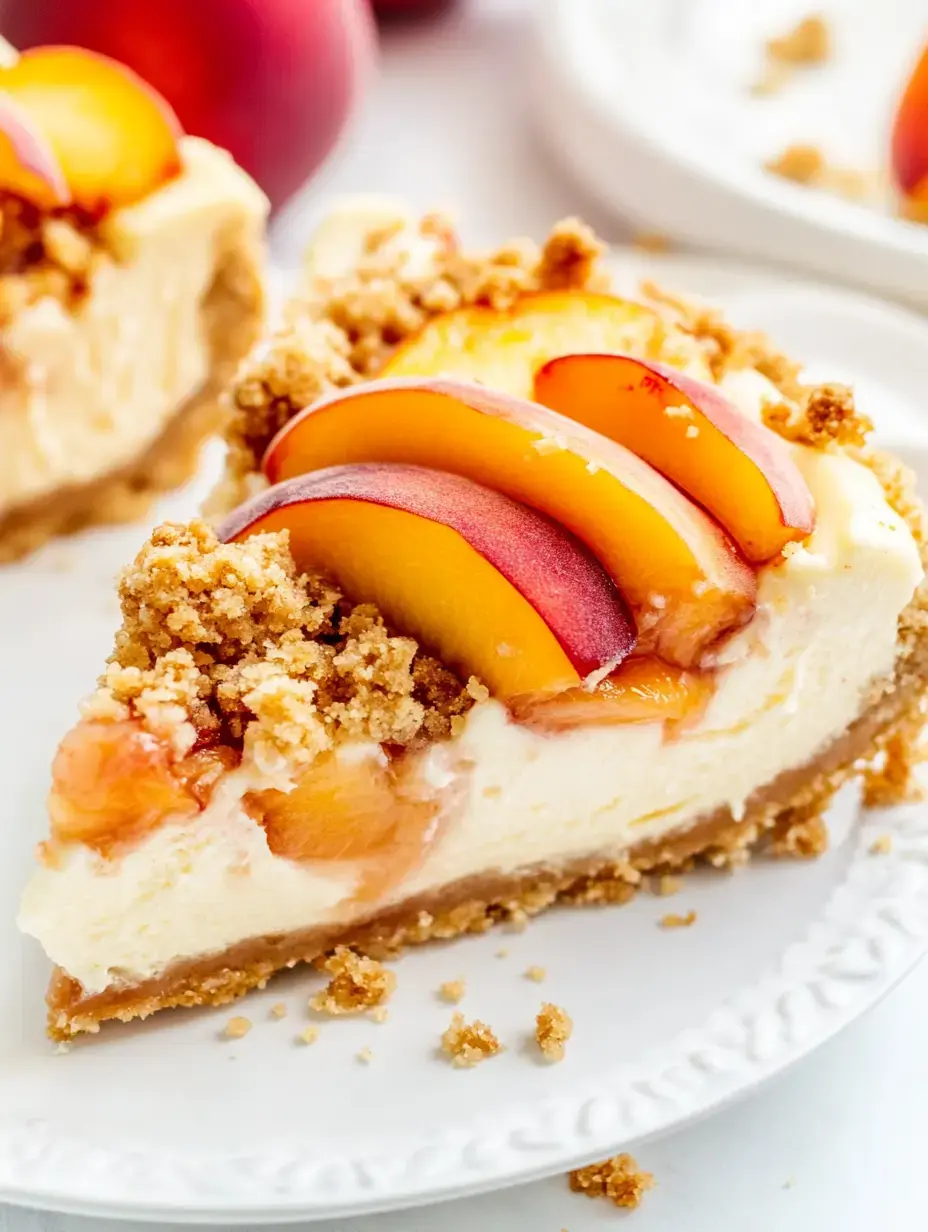
For picture-perfect slices, run your knife under hot water and wipe it clean between cuts. This tiny trick gives you magazine-worthy slices every time!
Ready To Enjoy!
Here's something I learned through trial and error - wait to add those topping peaches and streusel until you're about to serve. That way, everything stays perfectly fresh and crunchy!
This beauty tastes amazing all by itself, but sometimes I'll put a scoop of vanilla ice cream on the side. My quick no-churn vanilla works perfectly, or even just some freshly whipped cream makes it extra special.
And if you're into this peachy creation, you'll probably love my lemon cheesecake or my pecan pie version too - they're equally amazing!
Storing Your Creation
Let's talk about keeping it fresh! If you somehow end up with leftovers (rarely happens at my place!), they'll stay good in the fridge for up to three days. Just remember to keep those toppings separate until serving time - it makes such a big difference!
Between you and me? I wouldn't freeze this one. Those fresh peaches get weird when they thaw, and we want every bite to be absolutely perfect!
Fixing Common Problems
After making this dessert countless times, here are my tested fixes for typical issues:
- Got cracks? My water bath method and slow cooling really help prevent this. Plus, don't overmix - that's super important!
- Is your streusel going soft? Always add it right before serving. I keep mine in a small container next to the cheesecake.
- Filling not firming up? Make sure those ingredients start at room temperature, and give it the full cooling time. I promise the wait is worth it!
- Can't get it out of the pan? Run a warm knife around the edge right after baking - works every time!
The Delightful Triple Threat
You know what makes this cheesecake so darn good? It's basically three treats rolled into one! We've got those sweet roasted peaches that remind me of summers at my grandma's place, that smooth cheesecake layer I spent forever perfecting, and that buttery streusel that just makes everything better. Each forkful gives you the perfect mix of textures and flavors. My family actually fights over who gets the last piece!
Common Questions Solved
Since sharing this on my blog, here are the things folks ask me most:
- "How do I set up a water bath?" It's easy! Just wrap your springform in foil, put it in a bigger pan, and add hot water halfway up the sides. This creates a gentle steam bath for smooth cheesecake.
- "Can I make it ahead?" You bet! I actually prefer making it a day early. The flavors get even better overnight, and you won't be rushing around at the last minute.
- "How do I stop leaks?" Double-wrap that pan in foil, or try my favorite trick: put it inside an oven-safe turkey bag first! Works perfectly every time.
Sweet Closing Thoughts
This cheesecake has become what everyone requests when I visit family gatherings. There's something truly magical about mixing fresh, juicy peaches with creamy cheesecake and that crunchy streusel. Whenever I bake it, I remember exactly why I fell for baking - it's all about creating those wonderful moments with people we care about.
Suitable For Any Gathering
While this looks fancy enough for special events (and it totally is!), don't save it just for those. I've brought this to backyard cookouts, Sunday family meals, and made it simply because peaches looked good at the market. Life's always better with cheesecake, isn't it?
The True Reward
The absolute best thing about this recipe? Seeing everyone's reaction when you bring it to the table! That first cut shows off all those gorgeous layers, and watching people take their first bite just fills my baker's heart with joy. It's definitely worth all the time spent in the kitchen!
Mixing It Up
I sometimes play around with different fruits or toppings. Nectarines work amazingly well here, and I once tried a version with plums that turned out fantastic. The basic method stays the same - it's all about having a good time while you cook!
Shortcuts For Busy Days
Want to plan ahead? Roast the peaches and make your streusel a day early. Keep them in separate airtight containers, and they'll be ready when you need them. I'm all for anything that makes assembly day smoother!
Your Baking Triumph
This peach cobbler cheesecake has brought tons of happiness to my kitchen and I'm sure it will to yours too. Take it slow, follow each step, and enjoy yourself along the way. That first perfect bite will make all your effort worthwhile. Happy baking, everyone!

Common Questions About This Recipe
- → What’s the reason for roasting peaches?
- It makes the peach flavor stronger and gets rid of extra moisture that might mess up the texture. Roasting also softens them just right.
- → Why is a water bath important?
- It cooks everything gently and evenly, which stops cracks from forming and makes the cheesecake extra creamy.
- → Can this dessert be prepped early?
- Totally! Let the cheesecake chill at least 8 hours, ideally overnight. Add your final toppings right before serving for the freshest look.
- → Why cool it in the oven?
- Slow cooling helps avoid cracks and ensures the finish is smooth. It also lets the cooking continue very gently.
- → Is it okay to use canned peaches?
- Fresh peaches are better because they hold their shape when roasted and have a deeper flavor. Canned ones might end up mushy and watery.