
 Save
Save
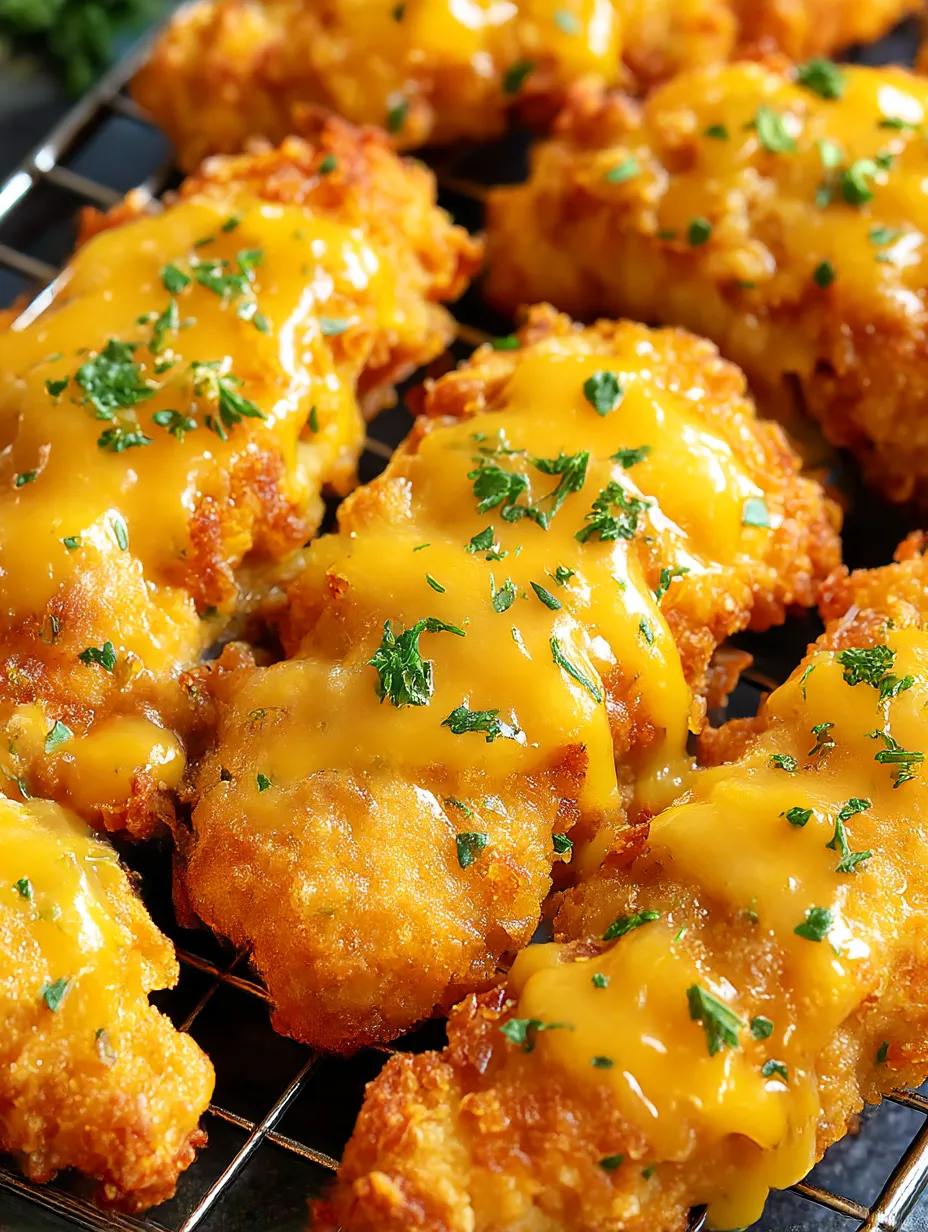
Crispy cheese-covered chicken is a lifesaver when you need something tasty fast. The juicy chicken has melty cheddar inside and a crunchy cracker outside, all baked up golden—no need for frying at all.
The first time I made this, my nephew couldn’t stop eating it. Now whenever he’s over, he always begs for more.
Tasty Ingredients
- Eggs: helps everything stick together so your coating doesn’t slide off
- Flour: holds the crispiness and coating, choose gluten-free if you’d like
- Cheddar cheese: go for sharp and grate it fresh if you can—it melts best
- Oregano: adds a herby vibe, totally up to you but smells amazing
- Salt and pepper: these two round out all the flavors, use fresh pepper for bonus points
- Cheese cracker crumbs or panko: cracker bits make it extra cheesy, panko turns out lighter and airier
- Onion powder: ups the flavor, keep the bottle tightly closed
- Boneless skinless chicken breasts or thighs: pick pieces about the same size for even baking
- Garlic powder: brings the seasoning to life but not too strong
Easy Steps
- Let Chicken Rest:
- After pulling the chicken from the oven, let it chill a bit so the juices stay inside and slicing is a breeze. Serve while it’s still steamy with whatever you love on the side.
- Time to Bake:
- Turn your oven on to 400 F (or 200 C). Place chicken in and let it cook for about 20–25 minutes. You want those edges golden and a thermometer reading at least 165 F (74 C) for safely cooked, juicy chicken.
- Rack It Up:
- Lay the chicken pieces on a wire rack sitting on a baking tray. This keeps the bottoms crispy and lets air do its job—no soggy spots!
- Get Cheesy and Crunchy:
- Cover each chicken piece in shredded cheddar, pressing to really stick it on. Then dip in cracker crumbs or panko, and push them into every nook. Go heavy so it’s extra crunchy.
- Dip in Eggs:
- Beat up your eggs in a shallow bowl. Dunk the floured chicken so it’s totally coated.
- Flour Every Piece:
- Put your flour in a shallow bowl. Toss the seasoned chicken in, flipping to completely cover, then gently shake off extra flour.
- Season Chicken:
- Rub both sides of your chicken with salt, pepper, oregano, onion powder, and garlic powder. Massage it in so it’s all coated.
The best thing for me is the cheddar—totally can’t skip it. My young cousin throws extra cheese in with the crumbs and honestly, the batch turns out amazing every time. This dish is the highlight at our weekly family games.
Keep It Fresh
Pop any extra chicken in a sealed container and stash it in the fridge up to two days. Warm it back up in the oven or air fryer for maximum crunch. Skip the microwave unless you don’t mind soft coating.
Swap Suggestions
Go for mozzarella if you’re after something mild or swap in Monterey Jack for a gooier finish. Want a lighter bite? Use panko. For more cheese love, stick with cracker crumbs. No eggs? Dunk in plain yogurt or buttermilk instead.
How to Serve
Pair your cheesy chicken with mashed potatoes, steamed broccoli, or a tangy slaw. Got leftovers? Slice ’em up for an easy chicken sandwich or toss in a lunchbox, cold is great too!
Food Traditions
Baked cheesy chicken is pure American comfort—it shows up everywhere from potlucks to weeknight scrambles. It’s all about quick, yummy flavors that get everyone happy at the table.
Common Questions About This Recipe
- → How do I ensure the coating stays crispy?
Give the chicken some space on a wire rack when baking. Heat hits all around and that keeps the outside crunchy. Don’t crowd your pan and bake until it’s golden brown.
- → Can I use chicken thighs instead of breasts?
Definitely! Either boneless thighs or breasts work great. Just add a few extra minutes in the oven if you’ve got thick cuts.
- → What’s the best way to get the cheese to stick?
Once you dunk in flour and egg, push the chicken right into the shredded cheddar. Press down so plenty of cheese clings before you add the crackers.
- → How can I make this gluten-free?
Swap in gluten-free flour and use GF crackers or panko for the outside layer. Now everyone can dig in.
- → What sides go best with this chicken?
Try it with veggie sides fresh from the oven, a light green salad, creamy mashed potatoes, or some quick-steamed broccoli. All winners.
- → How should leftovers be stored and reheated?
Pop leftovers in the fridge for a couple days max. To get them crisp again, use the oven instead of the microwave.