
 Save
Save
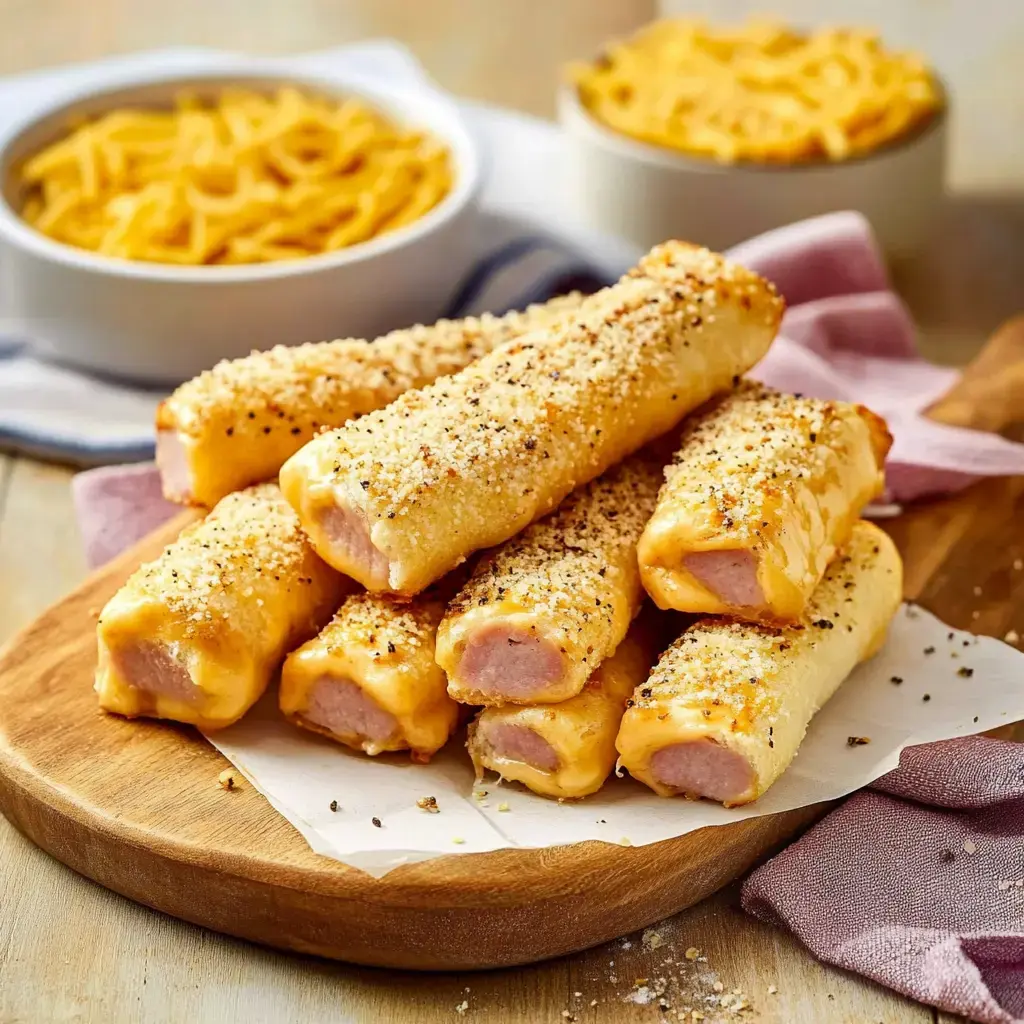
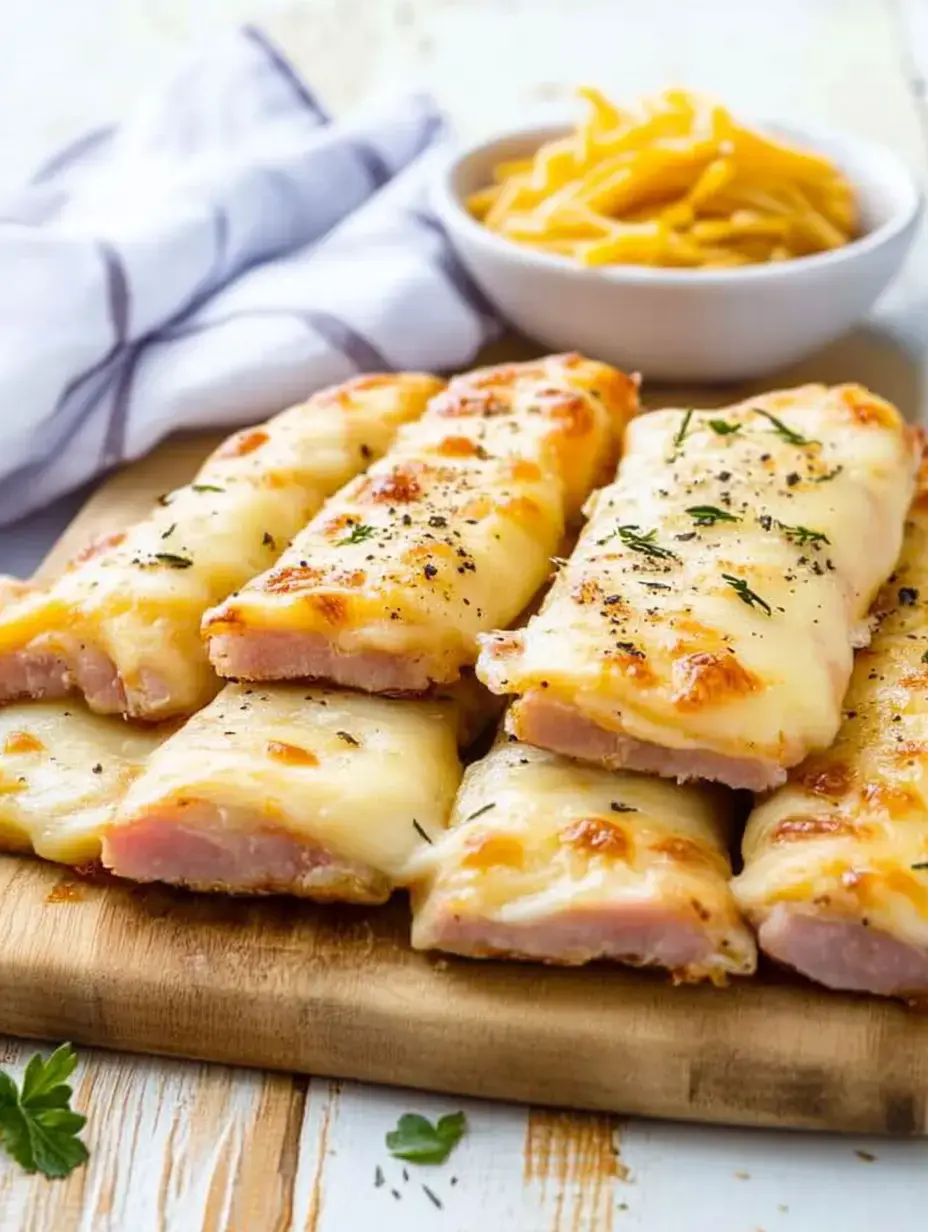
These Ham and Cheese Sticks became my lunch hero when my little ones began school. There's something wonderful about combining buttery crescent dough, warm ham and melty cheese that brings smiles all around. The tasty butter coating on top transforms them from basic to absolutely mouthwatering, and I love how they come together in no time.
A Crowd-Pleasing Treat
I'm always hunting for food that's kid-friendly and simple as a parent with a packed schedule. These rolls tick every box. Even my fussiest child who normally rejects everything wolfs these down eagerly. They're super adaptable too - swap ingredients using whatever's in your refrigerator and they'll still turn out fantastic every single time.
Your Shopping List
- Crescent Dough Sheets: I pick up the premade ones to cut corners - just don't use them straight from the fridge or they'll break.
- Sliced Ham: Grab the skinny deli cuts for best results.
- Cheddar Cheese: Our family goes for sharp cheddar but any cheese that melts works great.
- Our Butter Topping: Just mix melted butter with Worcestershire, mustard, onion powder and poppy seeds - it really makes these sticks stand out.
Getting Started
- Assemble Everything
- Heat your oven to 350°F while cutting the dough. Place ham and a cheese stick on each strip, then wrap them up tightly.
- Finish With Flavor
- Stir that butter mixture together - it already smells incredible - and coat those rolls completely. Stick them in the oven for about 12 15 minutes until golden and bubbling.
Try New Flavors
We switch to Swiss when we're feeling fancy or grab pepper jack for some heat. Turkey works perfectly instead of ham, and the kids jump for joy when I add some crunchy bacon pieces on top. Don't be afraid to try different combos until you discover what your family loves most.
Handy Shortcuts
I've figured out some tricks after making these tons of times. Make sure to squeeze those dough edges firmly so cheese doesn't leak out, and always use plenty of butter topping - that's what makes them unforgettable. They taste best right out of the oven when the cheese pulls into long, gooey strands.
Store Extras
If you end up with extras, store them in a sealed container in your fridge. They'll stay fresh for 2 3 days and warm up wonderfully in your oven or air fryer - just a couple minutes gets them crispy again.
Perfect Pairings
We enjoy these alongside a quick green salad or some cut-up fruit for lunch. My kids can't get enough of dipping them in honey mustard or tomato sauce. I've started sending them in school lunches too - they're great at room temp and the containers always come back empty.

Common Questions About This Recipe
- → Can I prep these early?
- They're tastiest served warm but can be made in advance. Just heat them up later, and the buttery coating will keep them soft.
- → What's the best cheese option?
- Cheese sticks or string cheese work great. Try different kinds like mozzarella or colby jack for variety.
- → Why should I fold the ends?
- It keeps the cheese inside while baking. Be sure to pinch the edges closed tightly too.
- → Can I swap the meat?
- Absolutely! Thin turkey slices, roast beef, or other deli meats are delicious alternatives.
- → What's the purpose of lining the pan?
- Using foil or parchment saves cleanup time and prevents sticking, especially if any cheese melts out.