
 Save
Save
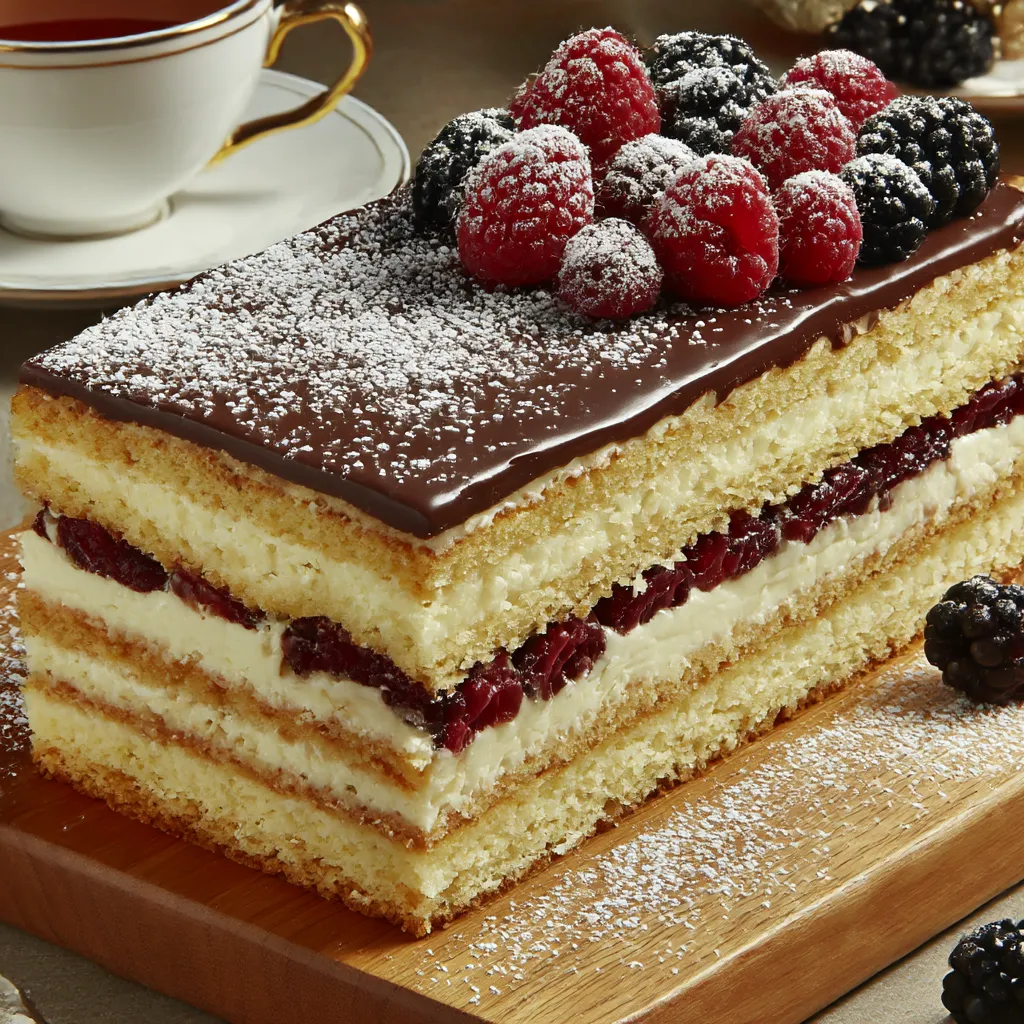
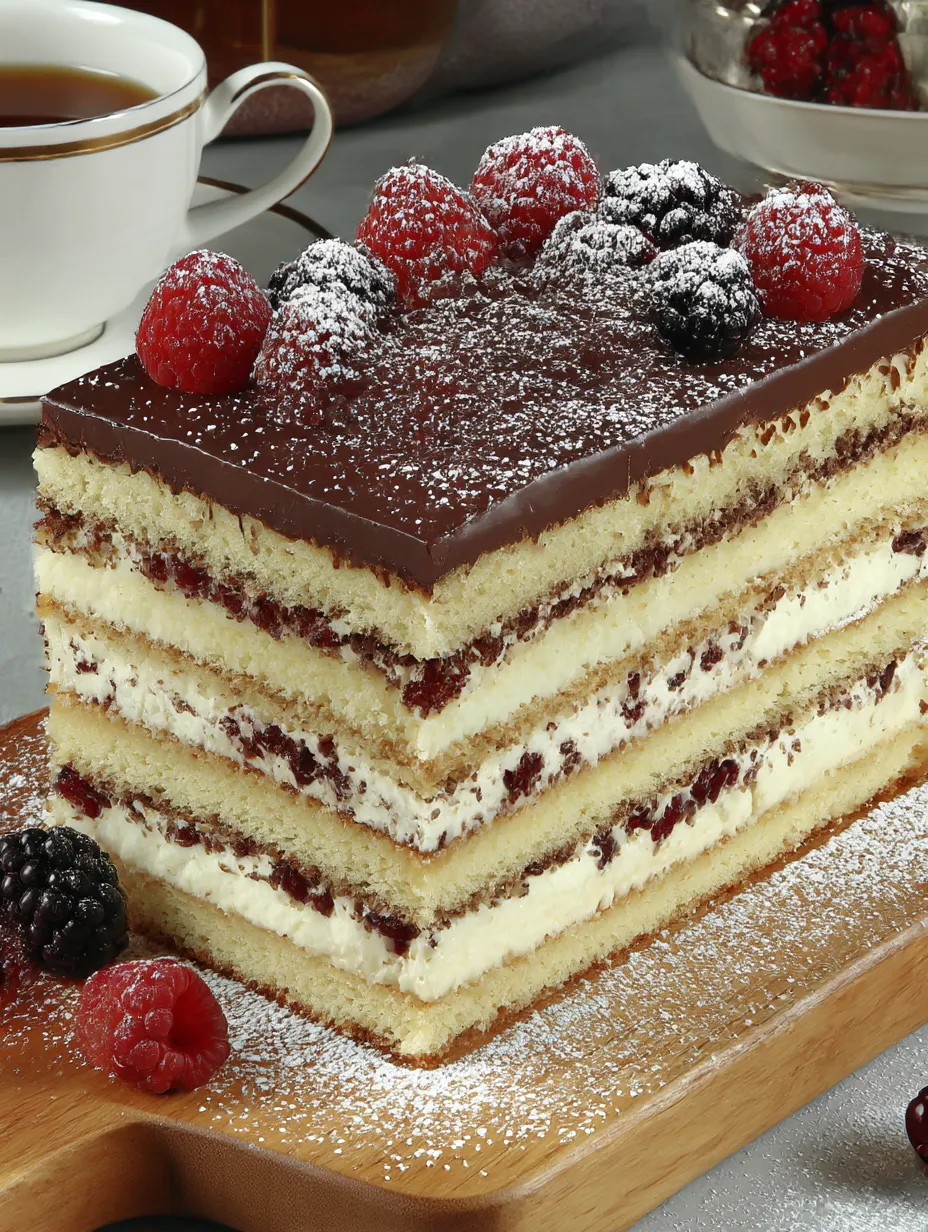
If you’re after a showstopper for any party, this Chocolate Custard Layered Cake is my current favorite. You’ve got a fluffy cocoa sponge, creamy vanilla center, and a glossy chocolate layer on top. It’s the kind of dessert that looks like you spent hours, but anyone can pull it off, especially if you’re a chocoholic.
First time I made this was for my folks’ big anniversary and it was gone in minutes. My buddy keeps hinting for it at our Sunday get-togethers, and it gives those cozy home bakery vibes every time.
Dreamy Ingredients
- Butter: makes everything rich and smooth in your glaze and filling Go for high-fat if you can
- Wheat flour: keeps the cake layer tender You’ll want it fresh and not bleached
- Cornstarch: helps the custard set up so you can slice it Easily sift for zero lumps
- Vanilla sugar: makes your custard pop with a sweet scent Don’t skip this if you want full flavor
- Salt: brings out all the other flavors Add just a sprinkle for that extra punch
- Extra chocolate and milk for the glaze: Use the chocolate from your cake for the glossiest finish
- Sugar: adds sweetness and helps stabilize the whipped eggs Fine stuff melts in quickest
- Baking powder: makes your cake rise up just right Fresh is always best for a lighter bite
- Egg yolks: give your custard richness and gorgeous color Only fresh for a sunny finish
- Chocolate with 68 percent cocoa: for a deep chocolate taste Melt slowly for the smoothest blend
- More sugar for the custard: Adjust to hit your perfect level of sweetness
- Milk: Needed for soaking and for the custard Whole milk keeps it extra creamy
- Egg whites: whip these up for a cake that’s super airy Bring ‘em to room temp first for max fluff
Simple Steps To Follow
- Chill then Slice and Enjoy!:
- Let the whole thing chill out in your fridge at least two hours so everything sets. When you’re ready, slice into neat squares with a warm knife and wipe between cuts. Throw on cocoa powder or chocolate curls if you want a fancy touch.
- Whip Up the Chocolate Glaze:
- Put chocolate, a little butter, and a splash of milk in a small pot. Warm it low and steady, stir until glossy. Let it cool a second—pour over the cake and spread smoothly for some shine.
- Layer Like a Pro:
- Once it’s totally cool, slice the cake sideways so you have two flat layers. Lay the first down, brush with half your milk, and spread on half the custard to the edges. Top with the other sponge, use the rest of the milk and custard, and smooth it out one more time.
- Mix the Custard:
- In another bowl, whisk egg yolks, cornstarch, and sugar till pale and lump-free. Warm your milk in a pan (don’t let it boil). Slowly whisk the milk into the yolks so you don’t scramble them. Pour back in the pan, keep stirring till it’s nice and thick. Off the heat, add vanilla sugar and cold butter, then stir till glossy and smooth. Let it cool so it’s easy to smear.
- Start with the Chocolate Sponge:
- Preheat oven to 350 F. Line a tray with parchment so nothing sticks. Separate the eggs—make sure no yolks get in with the whites. With a mixer, beat whites with a pinch of salt till you get soft peaks. Gently add sugar and go until stiff and shiny. While you’re whisking, melt your chocolate and let it cool a bit so it won’t mess up your batter. Carefully fold chocolate into the whites, keep it fluffy. Sift in flour and baking powder right over the bowl, fold just till it’s all mixed. Spread the batter on your tray and smooth out. Bake 8 minutes ‘til a tester comes out clean—don’t overdo it or it’ll dry out. Let cool in the pan before peeling off the paper.
I love swirling that silky chocolate glaze up top with my kiddo who’s always eager to join in. Cutting in brings out the nostalgic holiday kitchen feeling every single time.
How to Store
Stash leftovers in your fridge with a cover and they’ll stay good three days. Let slices sit out briefly before digging in for best flavor. Need to keep it longer? Wrap up single square pieces and freeze for a couple weeks—just know the custard softens up a bit when thawed.
Swap Options
No wheat flour? Grab a gluten free mix. For thickening, potato starch will do if you’re short on cornstarch. Not a fan of dark chocolate? Feel free to use bittersweet or even semi-sweet—just reach for the one you snack on.
Ways to Serve
You really don’t need anything extra, but it’s awesome with whipped cream or fresh berries. If you’re feeling fancy, toss on some edible flower petals or a dusting of freeze-dried berries right before bringing it to the table.
Bit of Backstory
You’ll find custard cakes everywhere in Central Europe—this cake is my take on the bakery classics from my trips as a kid. There’s something about homemade custard with soft cake that always feels special and never boring.
Common Questions About This Recipe
- → What's the trick for a super fluffy chocolate sponge?
You want to whip the egg whites up until they're really stiff, then gently fold them together with the melted chocolate and flour. This way the batter stays light and airy.
- → Is it okay to prep the custard filling in advance?
Yep, no problem. Make the vanilla custard a day early, stash it in the fridge, and just bring it out when you're ready to put the cake together.
- → Which type of chocolate makes the best glossy glaze?
Dark chocolate with around 68% cocoa is your best bet for a deep taste and a shiny finish on top.
- → How long do I keep the cake in the fridge before eating?
After adding that chocolate layer, let the whole thing chill for a couple hours. That gives the flavors time to blend and the layers to settle in nicely.
- → What's the best way to keep leftover slices fresh?
Just wrap up any extra cake and keep it cold in the fridge so the custard stays just right and doesn't get runny.
- → Can I dress up this cake before serving?
Totally go for it—toss on some fresh berries, a sprinkle of cocoa, or even some chocolate curls to make it look extra nice.