
 Save
Save
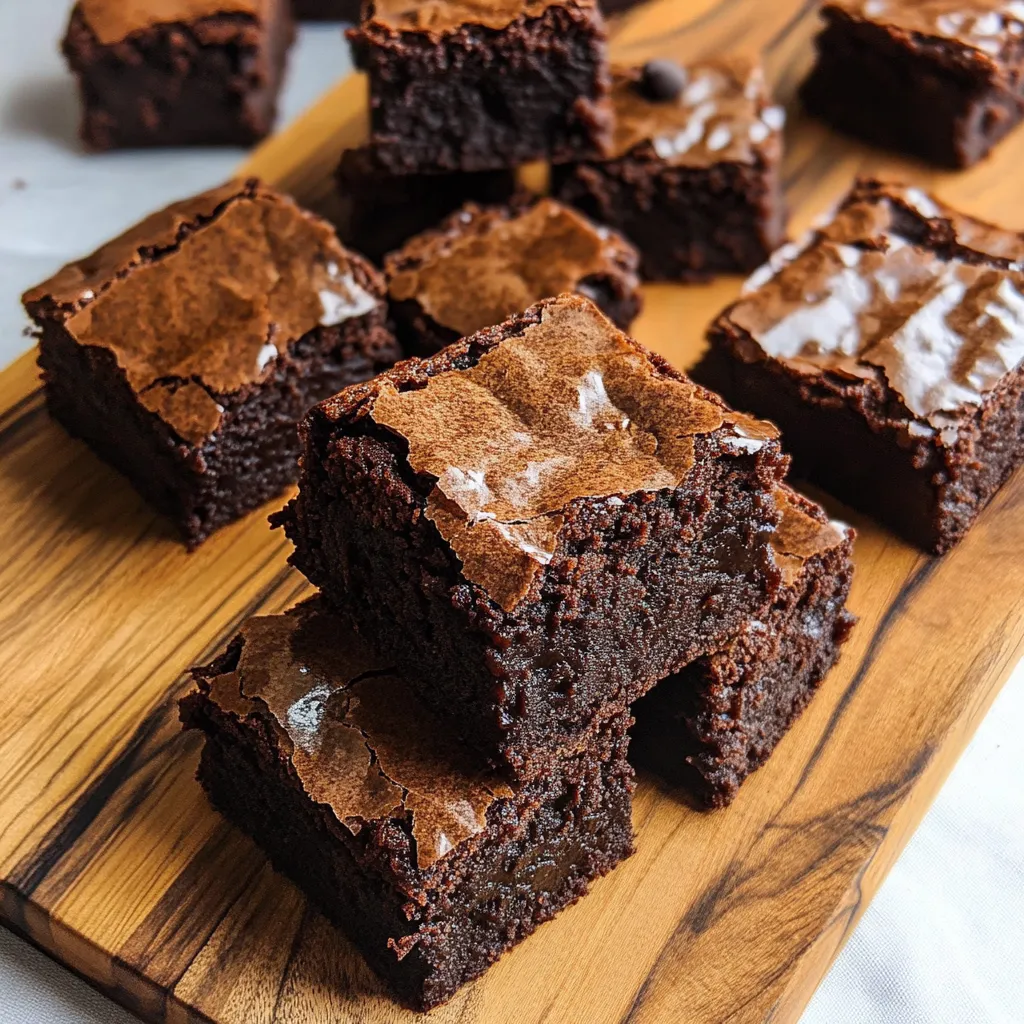
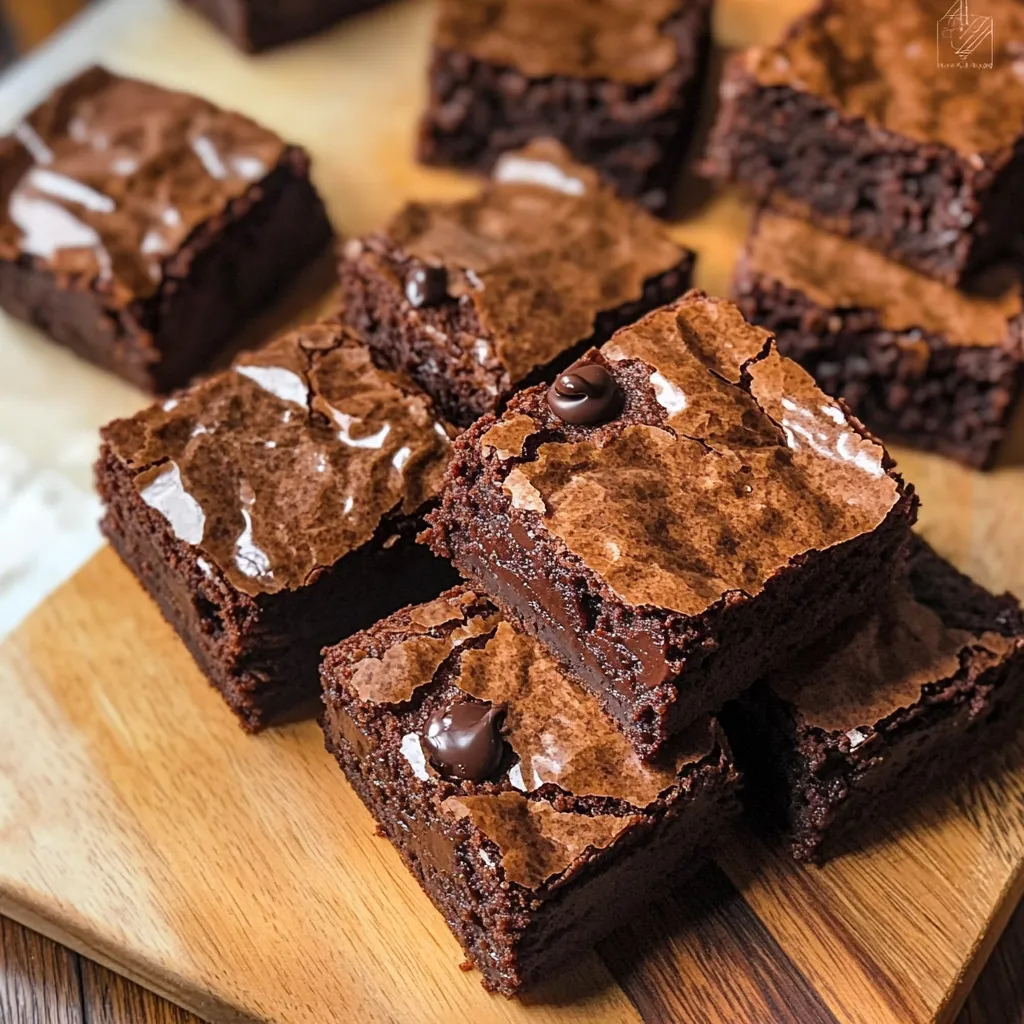
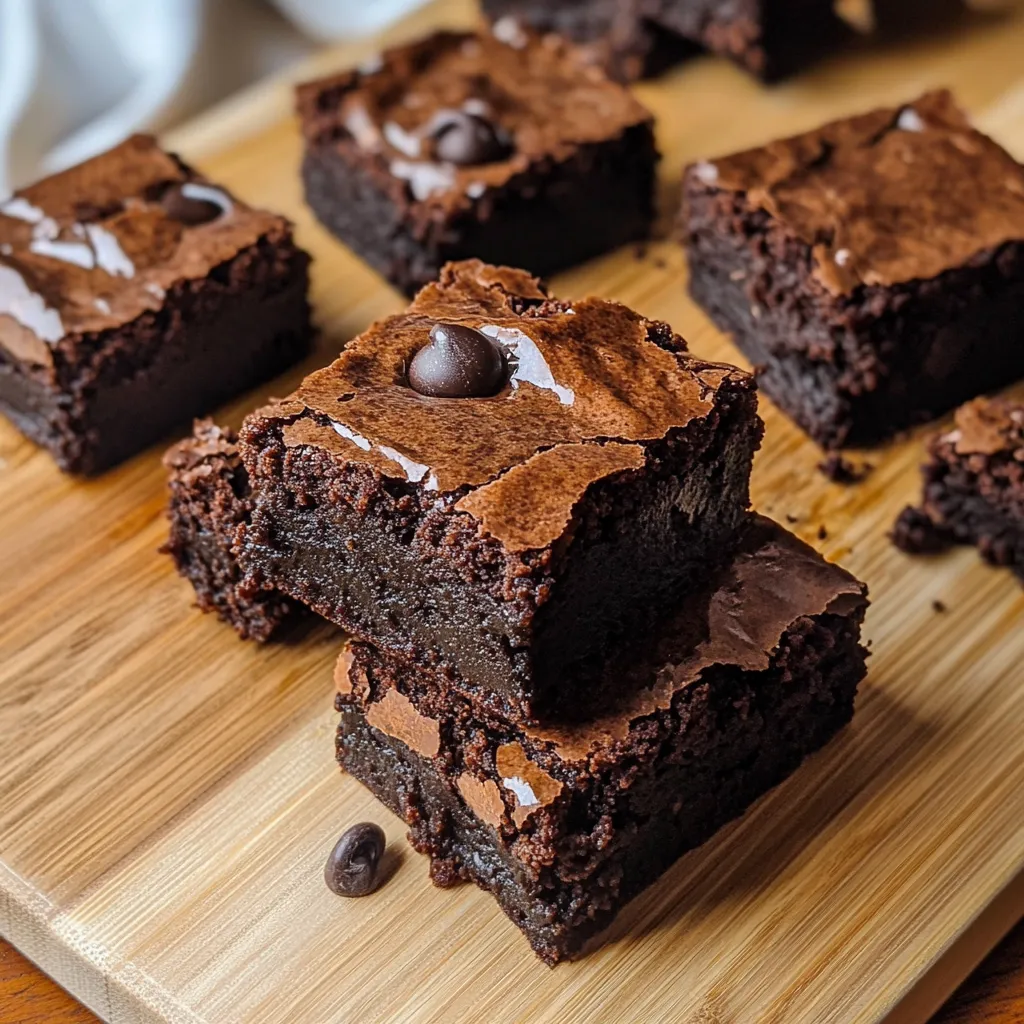
Mochi Brownies bring a whole new twist to your typical chocolate dessert with their mind-blowing texture. They blend the deep, rich chocolate taste we all crave with the stretchy, bouncy feel of Japanese mochi—all while staying gluten-free! When you bite in, you'll get that awesome crispy top that gives way to a stretchy, pull-apart center. These treats aren't just tasty—they'll get everyone talking at your next get-together.
I tried mochi brownies at my buddy's house and couldn't leave without getting the recipe. That first bite had me hooked—I'd never had brownies with such an amazing chew! I made them for my family's big reunion and they vanished faster than anything else on the dessert table. Even my aunt who usually turns her nose up at chocolate came back for another piece!
Key Ingredients
- Glutinous rice flour (1½ cups): This gives you that awesome stretchy pull that makes these treats stand out
- Unsweetened cocoa powder (½ cup): Brings that deep chocolate kick and dark color
- Dark chocolate (6 oz, chopped): Adds serious chocolate punch and richness
- Unsalted butter (½ cup): Makes everything taste better and helps nail the texture
- Granulated sugar (1 cup): Cuts the bitter chocolate taste and helps form that crackly top
- Eggs (3 large, room temperature): Holds everything together while making them nice and fudgy
- Milk (½ cup): Gets the rice flour nice and soft for that perfect chew
- Vanilla extract (1 teaspoon): Boosts all those chocolate flavors
- Baking powder (1 teaspoon): Gives just a bit of rise without making them too cakey
- Salt (¼ teaspoon): Makes every flavor pop and balances sweetness
- Chocolate chunks (½ cup): Creates little pockets of melty goodness throughout
Making Your Brownies
- Chocolate Melting:
- Put your dark chocolate and butter in a bowl over some simmering water, making sure the bowl doesn't touch the water. Give it a stir now and then until it's all melty and smooth. Take it off the heat and let it cool a bit. This slow melting keeps your chocolate from burning and keeps it silky. The cooling part stops the hot chocolate from cooking your eggs later on.
- Wet Ingredient Preparation:
- Beat your eggs in a big bowl until they're a little foamy, then add your vanilla and milk and keep mixing. Room temperature eggs mix in much better. Slowly pour in your cooled chocolate-butter mix while you keep stirring. You've got to do this bit carefully so the warm chocolate doesn't scramble your eggs and everything stays smooth.
- Dry Component Mixing:
- In another bowl, mix your glutinous rice flour, cocoa, sugar, baking powder, and salt until they're all blended. This makes sure you don't get clumps of any one thing that could mess up your brownies. The glutinous rice flour is super important here—don't swap it for regular flour or you'll miss out on that chewy magic.
- Gentle Combination:
- Pour your chocolate mixture into your dry stuff and fold it together with a spatula until it's all mixed. Your batter will be thicker than normal brownie batter—that's exactly what you want for that mochi feel. For super smoothness, you can push the batter through a strainer into your baking pan. This gets rid of any tiny lumps that might be hanging around.
- Thoughtful Baking:
- Pour your batter into an 8×8-inch pan lined with parchment. Scatter your chocolate chunks on top and push them down a bit. Bake at 320°F for 55-60 minutes, which is longer than regular brownies. This slower, lower-heat baking lets the rice flour cook properly and develop that special mochi texture. They're done when the edges pull away a bit and a toothpick comes out mostly clean with a few wet crumbs.
- Patient Cooling:
- Let your brownies cool completely in the pan before you try to cut them. This waiting part is crucial—cutting too early makes a mess and doesn't let the chewy texture set up right. For clean cuts, wipe your knife between slices or run it under hot water and dry it first. The brownies actually taste better after they've cooled down completely.
My grandma showed me mochi during a trip to Japan when I was little. I was totally fascinated by how stretchy and chewy it was, and I've been hooked ever since. Years later, when I figured out I could mix that amazing texture with chocolate brownies, it felt like I'd struck gold. Whenever I make these brownies, I think about that special trip with grandma, where she taught me that food is most fun when it surprises you. She'd love knowing how I share that same joy of discovery with friends through these unique treats.
Tasty Combos
Try these one-of-a-kind brownies with a scoop of vanilla ice cream—the hot-cold contrast makes the chewy texture even more amazing. For fancy occasions, add a drizzle of matcha sauce on the plate for a Japanese twist that works great with the chocolate. They're also fantastic with a cup of medium-roast coffee that brings out all those chocolate notes. Want something lighter? Serve them with fresh berries to balance out all that rich chocolate goodness.
Mix It Up
Add some matcha powder to your batter for a green tea flavor that nods to the Japanese roots. You can also throw in some toasted black sesame seeds for a nutty crunch that works surprisingly well with the chewy texture. Want a tropical twist? Swap some of the milk for coconut milk and sprinkle toasted coconut on top before baking. For something really special, try adding a layer of red bean paste in the middle before you bake—it makes an amazing Asian-inspired treat that'll wow your friends.
Keeping Them Fresh
Keep your brownies in a sealed container at room temp for up to three days. Put parchment paper between layers so they don't stick together. Need them to last longer? Pop them in the fridge for up to a week, though they might firm up a bit. To get that fresh-baked feel back, just let them sit out until they reach room temp or zap them in the microwave for 10-15 seconds. You can even freeze these babies for up to three months if you wrap them tight in plastic and stick them in a freezer bag.
I've tried making tons of desserts over the years, but these mochi brownies might be what I'm most proud of. There's something so fun about watching someone take their first bite—that look of surprise when they feel that unexpected chew is just priceless. People start off curious but end up totally hooked once they see how the familiar comfort of brownies gets totally transformed by this unique texture. Even folks who've never heard of mochi can't resist coming back for seconds. These treats show what I love most about baking—taking different traditions and mixing them up to create something new that makes people happy.
Common Questions About This Recipe
- → What exactly is glutinous rice flour?
- It’s a fine flour made from sticky rice (also called mochiko). Don’t worry—it’s totally gluten-free and gives these brownies their soft, chewy texture.
- → Can I swap it with regular flour?
- Nope, you can’t. Glutinous rice flour is non-negotiable in getting that stretchy, mochi-like bite.
- → Why does baking take so long?
- These treats are dense and packed with moisture. The extra time ensures they set while keeping that signature chewiness.
- → How will I know they're ready?
- The surface should look cracked and firm. A toothpick will show a few crumbs, but no goopy batter. Edges may pull slightly from the pan.
- → Best way to store them?
- Pop them in an airtight container for up to 3 days, refrigerate up to a week, or freeze for 3 months. They’re great at any time!