
 Save
Save
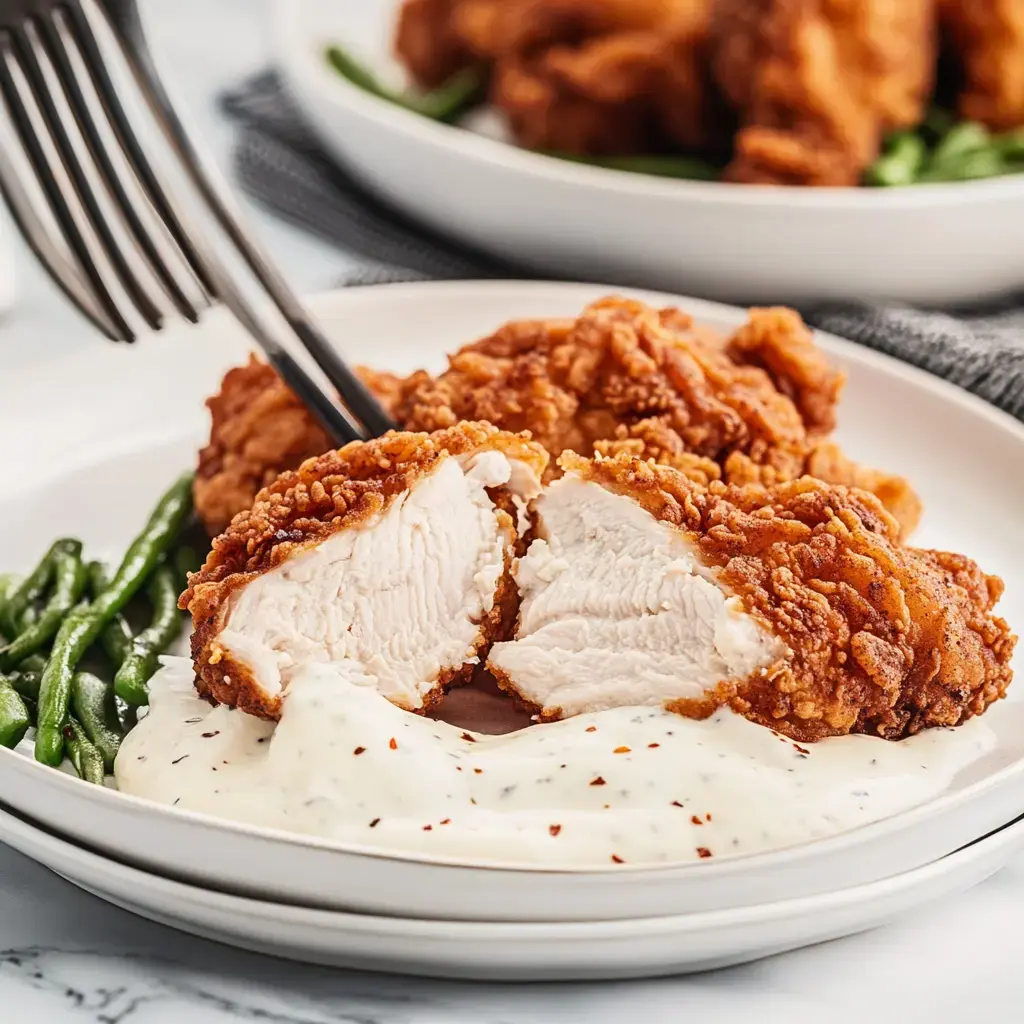
I've tweaked this chicken fried chicken recipe through countless Sunday dinners with my family. When you bite in, the exterior breaks with an amazing crunch while the chicken stays super moist inside. That smooth, rich gravy just puts it over the edge, bringing true down-home comfort to your table. Once you nail this technique in your kitchen, you'll never look at plain chicken cutlets the same way again.
Must-Have Components
KEY COMPONENTS: To whip up mouthwatering chicken fried chicken, you'll need these staples: chicken cutlets, flour, seasoned salt, garlic powder, onion powder, black pepper, buttermilk, eggs, canola oil, whole milk, and butter.
METHOD OVERVIEW: I coat the chicken pieces in spiced flour, dip them in buttermilk, then fry them till they're golden brown. After the chicken rests, I make my grandma's super easy gravy.
TIMING AND SERVINGS: The whole dish comes together in around 35 minutes and feeds 4 people nicely
Tips From My Kitchen
I tried dozens of combinations before landing on the perfect seasoning mix. That blend of seasoned salt, garlic powder, and onion powder creates an irresistible savory coating that'll have everyone asking for more.
The gravy gets its special touch from my mom's technique of combining leftover frying oil with butter. Nothing from the store comes close to this velvety homemade version. Follow my method and you'll never deal with gravy lumps again.
Everything You'll Need
Here's what to grab at the store:
- Canola oil for frying
- Chicken
- 4 thin boneless skinless chicken cutlets
- 1 ½ cups all-purpose flour
- 2 teaspoons seasoned salt
- 1 ½ teaspoons baking powder
- 1 teaspoon garlic powder
- 1 teaspoon onion powder
- ½ teaspoon black pepper
- 1 cup buttermilk, room temperature
- 2 large eggs, room temperature
- 2 tablespoons canola oil (from frying the chicken)
- Gravy
- 2 tablespoons unsalted butter
- ¼ cup all-purpose flour
- ¾ teaspoons seasoned salt
- ¼ teaspoon black pepper
- 2 ¼ cups whole milk (plus additional ¼ cup if needed)
- Coarse cracked black pepper, optional garnish

Easy Ingredient Swaps
Don't worry if your pantry isn't fully stocked – I've tried these alternatives and they work great:
- Canola Oil: Go ahead and use vegetable oil or peanut oil instead. Just don't try olive oil – it can't handle the high heat we need.
- Seasoned Salt: Mix your own with regular salt, paprika, and onion powder. I combine one teaspoon salt, ½ teaspoon paprika, and ¼ teaspoon onion powder.
- Buttermilk: Just stir some white vinegar or lemon juice into whole milk, wait 5 minutes, and you're all set.
Fun Additions I Love
- A dash of cayenne pepper in the flour mixture brings nice heat.
- Adding hot sauce to your buttermilk really amps up the flavor.
- A bit of paprika gives better color and taste.
- Some fresh herbs on top make it look impressive when you have guests.
Let's Begin
Here's how I make chicken fried chicken that turns out perfect every time. After making this dish hundreds of times, I can tell you it's not complicated at all. What you'll get is wonderfully crispy chicken that's juicy inside.
STEP ONE: Start by getting all your ingredients ready. Using room temperature items makes a big difference, especially the chicken, eggs, and buttermilk.
Take each chicken cutlet and pound it to an even ½ inch thickness. This helps them cook at the same rate.
KITCHEN TIP: I always put my chicken between sheets of parchment paper before pounding. It keeps everything clean and prevents the meat from tearing.
Prep Your Stations
STEP TWO: Let's get your breading assembly line ready:
- In your first shallow dish, mix the flour with all your spices. This is where the flavor starts.
- In a second dish, beat the buttermilk and eggs until they're well mixed.
- Set a wire rack on a baking sheet to hold your coated chicken pieces.
Coating Your Chicken
STEP THREE: Now for the fun part. Grab each piece of chicken and dip it in flour first, then into the buttermilk mixture, then back into the flour. This double-coating is what gives you that amazing crunch.
Let the coated chicken sit on your wire rack for about ten minutes. This rest time helps the coating stick better during frying.
Start Frying
STEP FOUR: Add your oil to a large skillet or dutch oven. You want it about three to four inches deep. Heat until it reaches 350°F. I always check with a candy thermometer to make sure it's right.
Getting the oil temperature just right is super important. If it's not hot enough or too hot, your chicken won't get that beautiful golden crust.
KITCHEN TIP: Don't try to cook too many pieces at once. Your chicken needs room to get crispy all around.
Cooking To Perfection
STEP FIVE: Gently place one or two chicken pieces into your hot oil. I cook mine for about six to seven minutes total, turning them over halfway. You're looking for that gorgeous golden brown color and making sure the internal temperature hits 165°F.
Transfer your fried chicken to a plate lined with paper towels to drain off extra oil. Then continue with your remaining chicken.
Making Your Gravy
STEP SIX: Now for the good stuff. Grab a medium pan and put in two tablespoons of your frying oil plus two tablespoons of butter. Once the butter melts, add your flour, seasoned salt, and pepper.
Keep stirring for about a minute until it smells toasty and looks slightly golden.
KITCHEN TIP: Use your spoon to scrape up any brown bits stuck to the pan. That's where all the good flavor hides.
Perfect Your Gravy
STEP SEVEN: This part needs a bit of patience. Slowly pour in your milk while whisking constantly. Keep going until everything's smooth.
Let it simmer gently and thicken for a few minutes. You'll know it's done when it nicely coats the back of your spoon.
If it gets too thick, just add a little more milk to thin it out.
Serving It Up
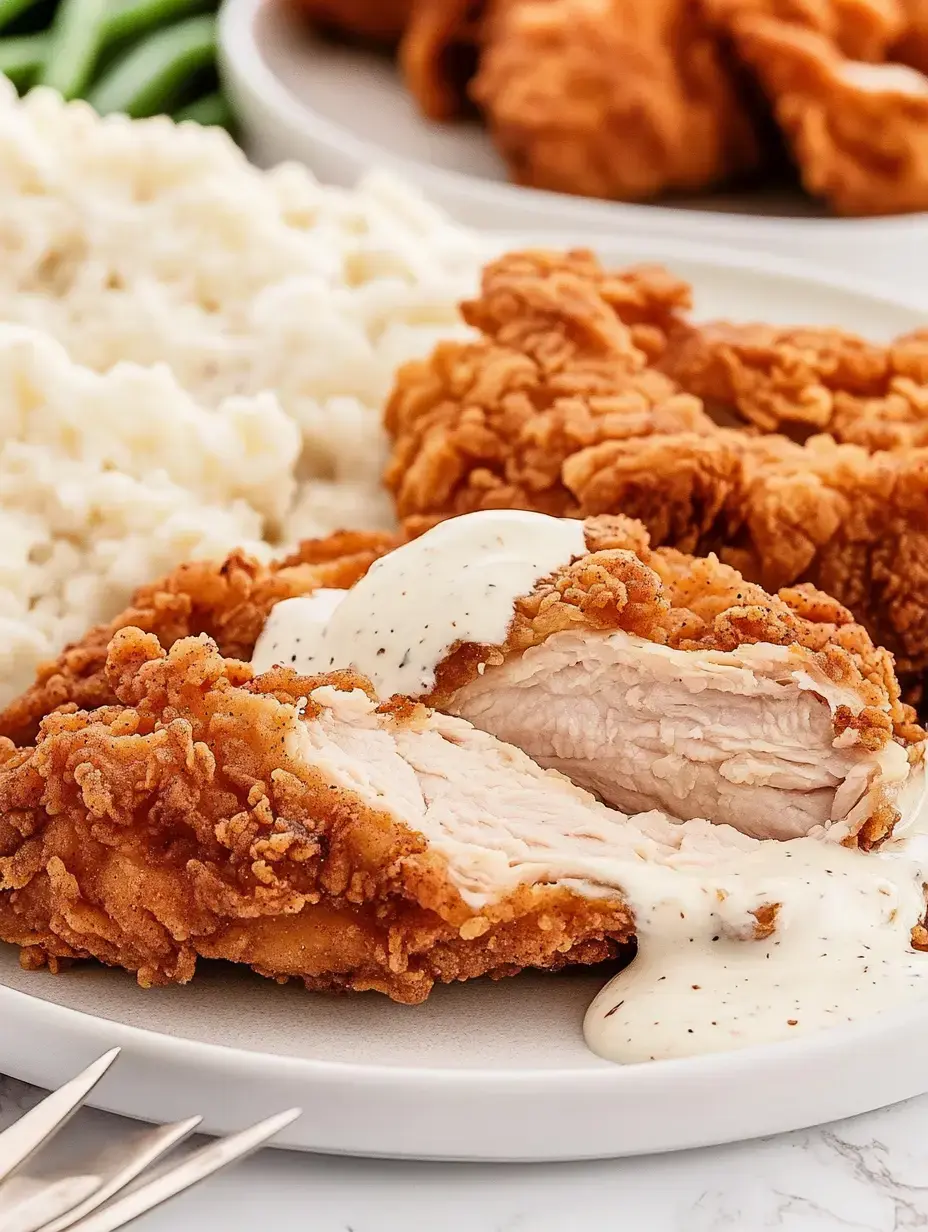
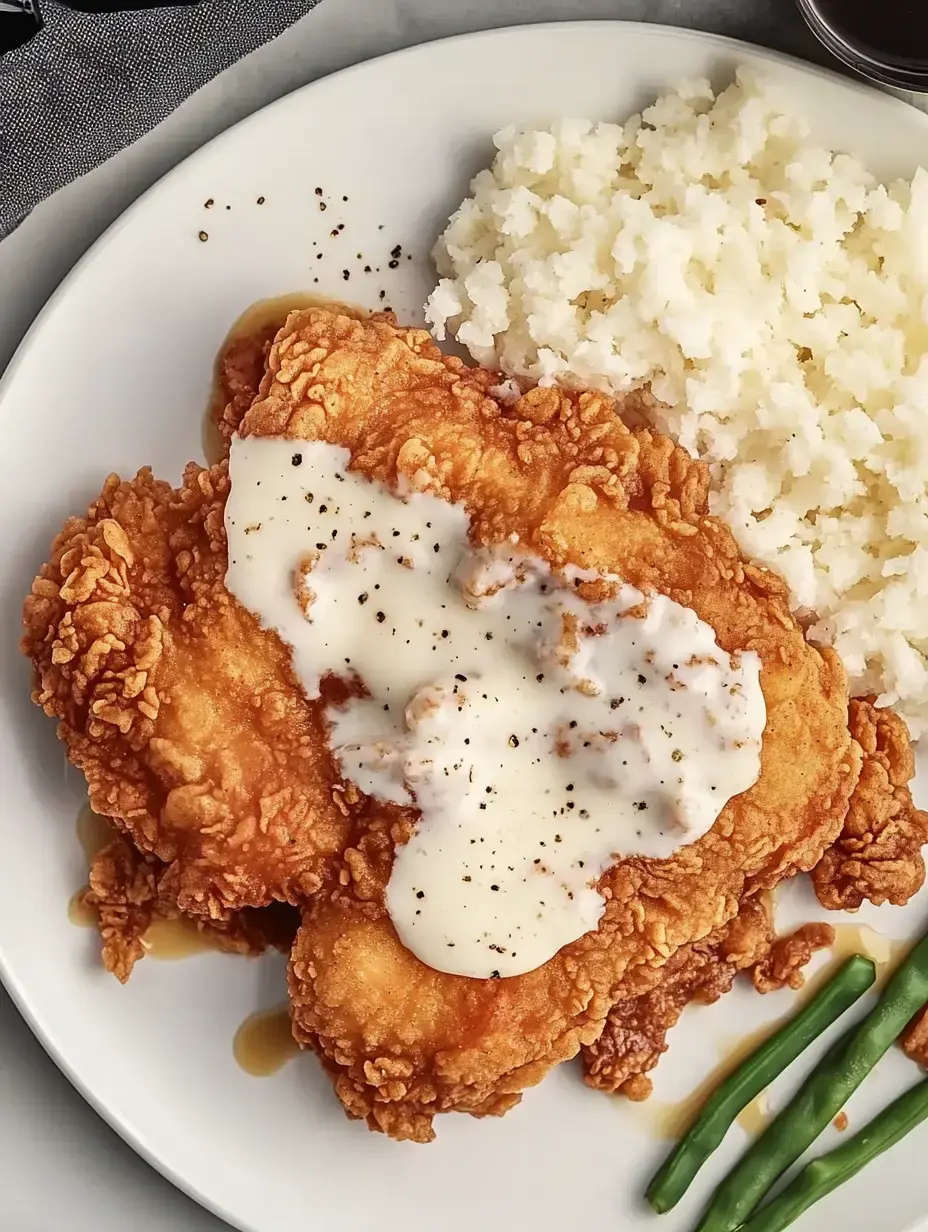
STEP EIGHT: Put your beautiful crispy chicken on plates and pour that silky gravy over the top. A little sprinkle of fresh cracked pepper makes it look like it came from a fancy restaurant.
Troubleshooting Tips
After making this dish for years, here's how I fix common problems:
- Coating slipping off? Make sure to dry your chicken thoroughly first and let it rest after coating.
- Still pink inside? Check your meat thermometer and make sure you've pounded the chicken to even thickness.
- Oil getting cooler? Work with smaller batches and keep your thermometer handy.
- Got lumpy gravy? Just pour it through a fine mesh strainer. Works every time.
Tasty Side Dishes
At our house, chicken fried chicken needs the right companions.
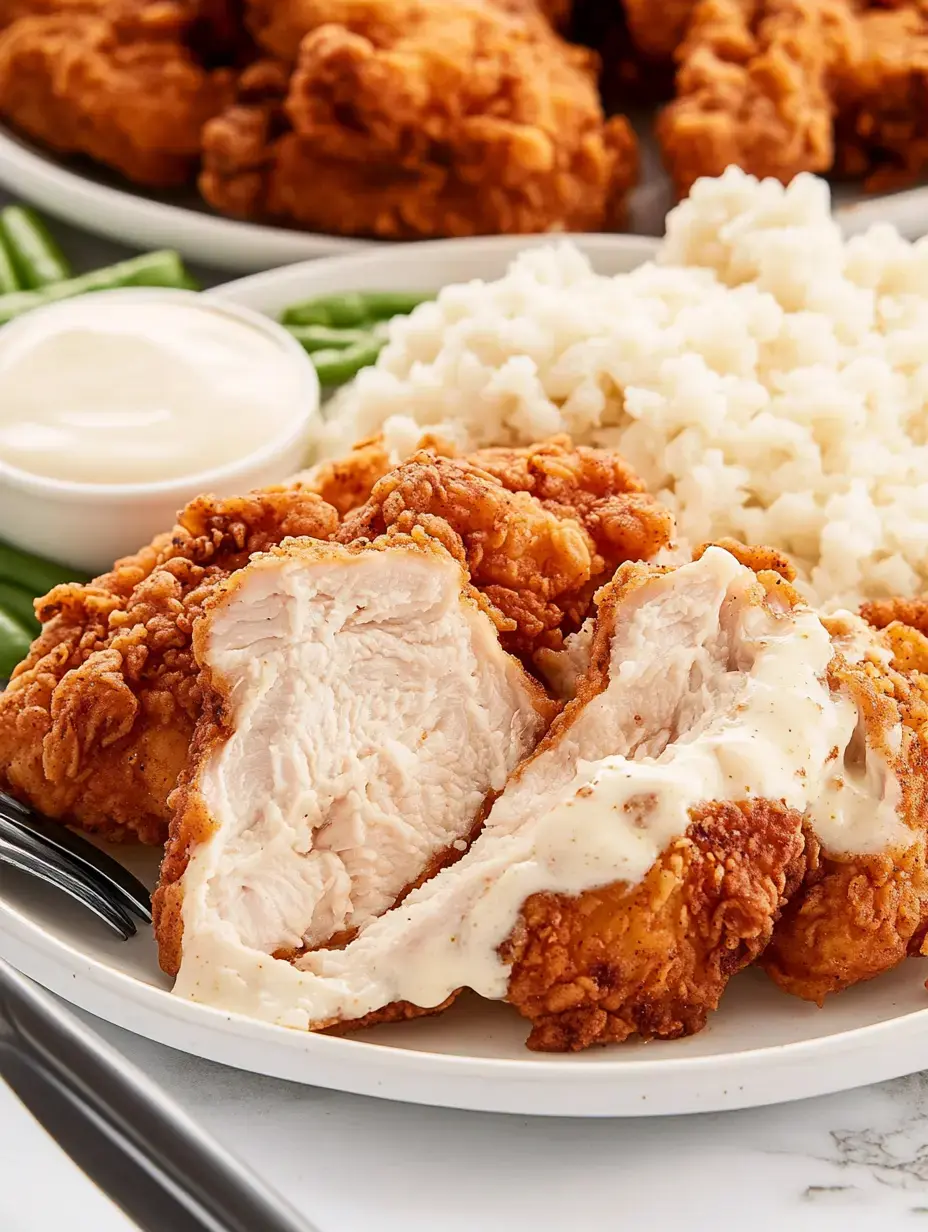
We always enjoy it with fluffy mashed potatoes.
Sometimes I serve tender green beans and small roasted potatoes to round out the meal.
For something special, I make sweet glazed carrots as a nice contrast.
Warm, fresh biscuits are perfect for sopping up any extra gravy.
Storage Advice
Let me share how I keep leftovers tasting almost as good as fresh.
MAKE AHEAD: Want to save time? You can bread your chicken and keep it in the fridge for up to four hours before frying. The coating actually sticks better this way.
IN THE FRIDGE: Store leftover chicken in a container with a bit of space between pieces. It'll keep for two days. Store gravy in a separate container.
IN THE FREEZER: First freeze your cooked chicken pieces on a baking sheet, then pack them in a freezer container. Works great.
Reviving Your Leftovers
REHEATING:
- Oven Method: I put leftover chicken on a wire rack in a 325°F oven for about 15 minutes. This keeps the outside crispy.
- Quick Fix: The microwave works in a pinch - just heat for a minute or two.
- Stovetop Revival: A quick warm-up in a skillet with a tiny bit of oil brings back the crispiness.
- Gravy Refresh: Just warm it up slowly and add a splash of milk to make it creamy again.
Your Questions Answered
What oil works best?
I really like canola oil, but vegetable or peanut oil are fine too. They can all handle high heat without smoking.
Can I use chicken thighs?
For sure. Just flatten them to even thickness and give them a minute or two longer to cook completely.
Not getting crispy chicken?
Watch your oil temperature carefully. If it's too low, you'll get soggy coating. Too many pieces at once can also drop the temperature too quickly.
More Gravy Tricks
Having trouble with your gravy?
The key is to keep whisking while you slowly add milk. If you still get lumps, just strain it through a sieve.
How heavy should the coating be?
You want it thick enough to crunch but not so heavy it falls off. My double-dipping method gives you that perfect balance.
No leftover frying oil?
You can use all butter if needed, but that bit of frying oil adds amazing taste. I always save some just for the gravy.
Closing Thoughts
This chicken fried chicken has been a staple in my kitchen for years. It brings together that perfect mix of crunchy coating, tender meat, and creamy gravy that just feels like home. I hope you'll try it out. I bet it'll become a favorite at your table too.

Final Thoughts
Turn simple chicken into a crunchy, golden meal with a creamy gravy on top. This favorite dish is quick to whip up in no time!
Common Questions About This Recipe
- → Why does the buttermilk and egg need to be room temp?
When buttermilk and eggs aren’t cold, they mix better. This makes the breading stick evenly and gives a better crunch.
- → Is it okay to make the gravy early?
Yes, keep it in the fridge for 3 days. To reheat, warm it slowly and add a bit of milk to thin it out.
- → How do I keep fried chicken warm while finishing other pieces?
Use a 200°F oven and place the cooked pieces on a rack inside to keep them crispy and warm.
- → What if my chicken pieces vary in size?
To cook evenly, flatten the chicken to a similar thickness. For thick pieces, check and cook a little longer.
- → Can I skip the frying oil in the gravy?
If needed, swap the used oil for extra butter. The oil adds flavor, but butter alone still delivers great results.