
 Save
Save
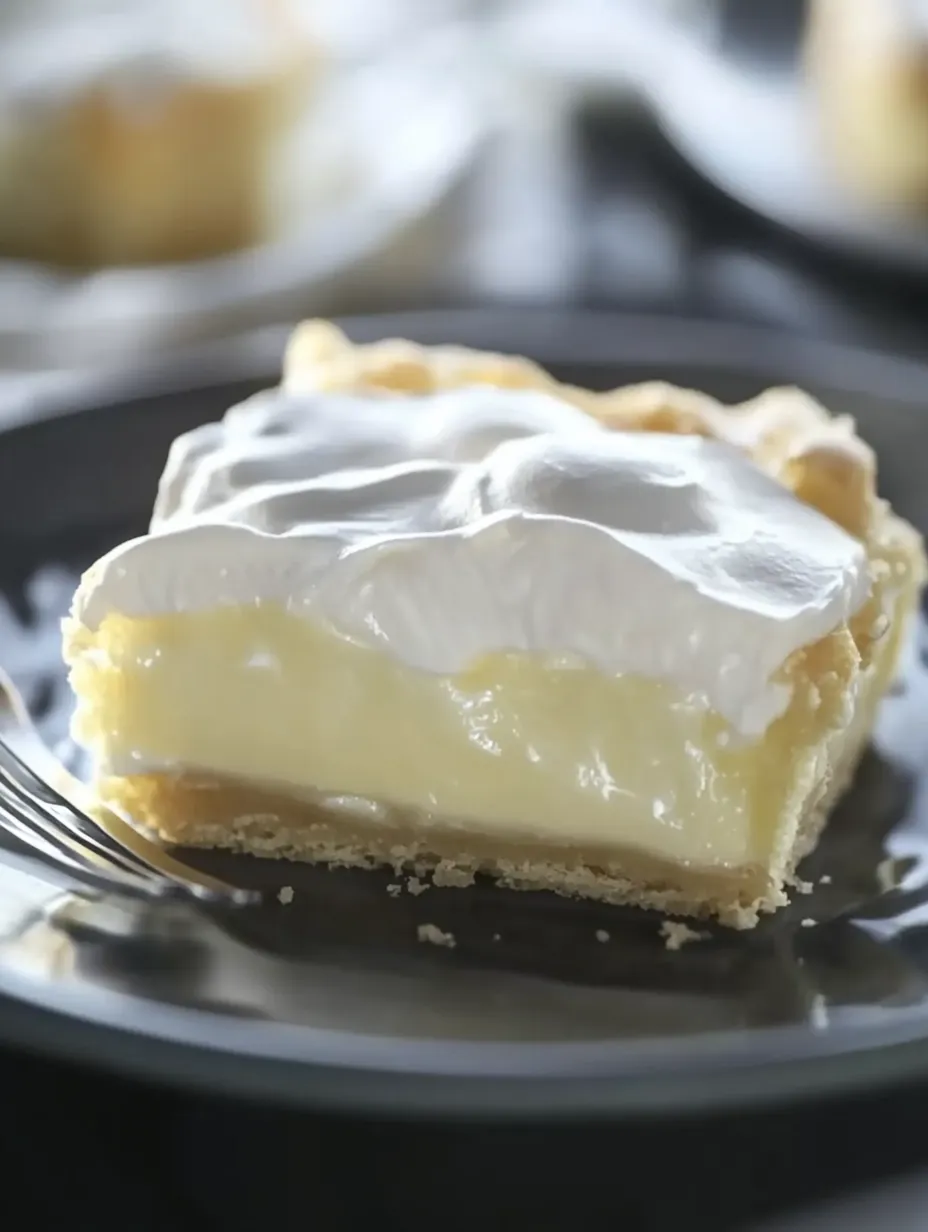
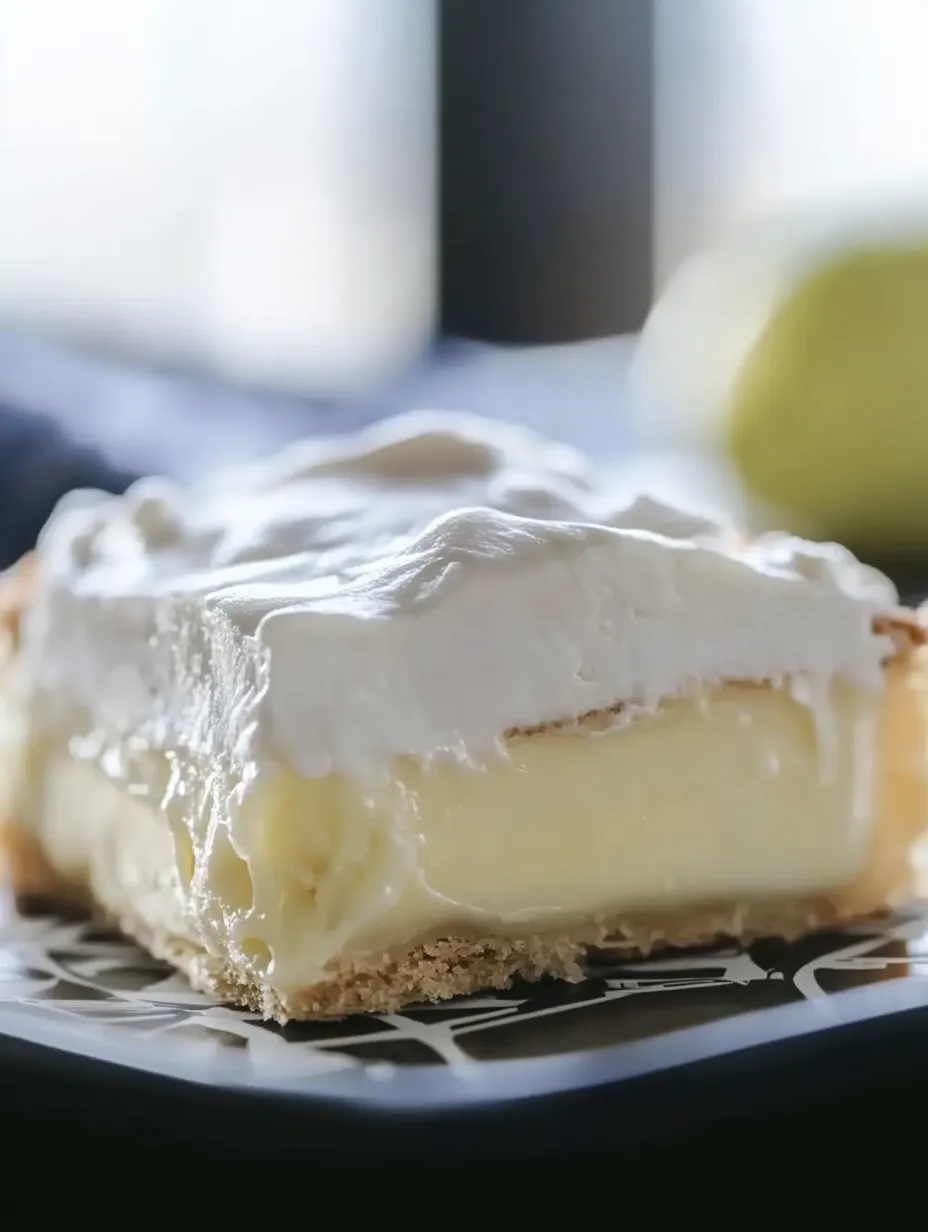
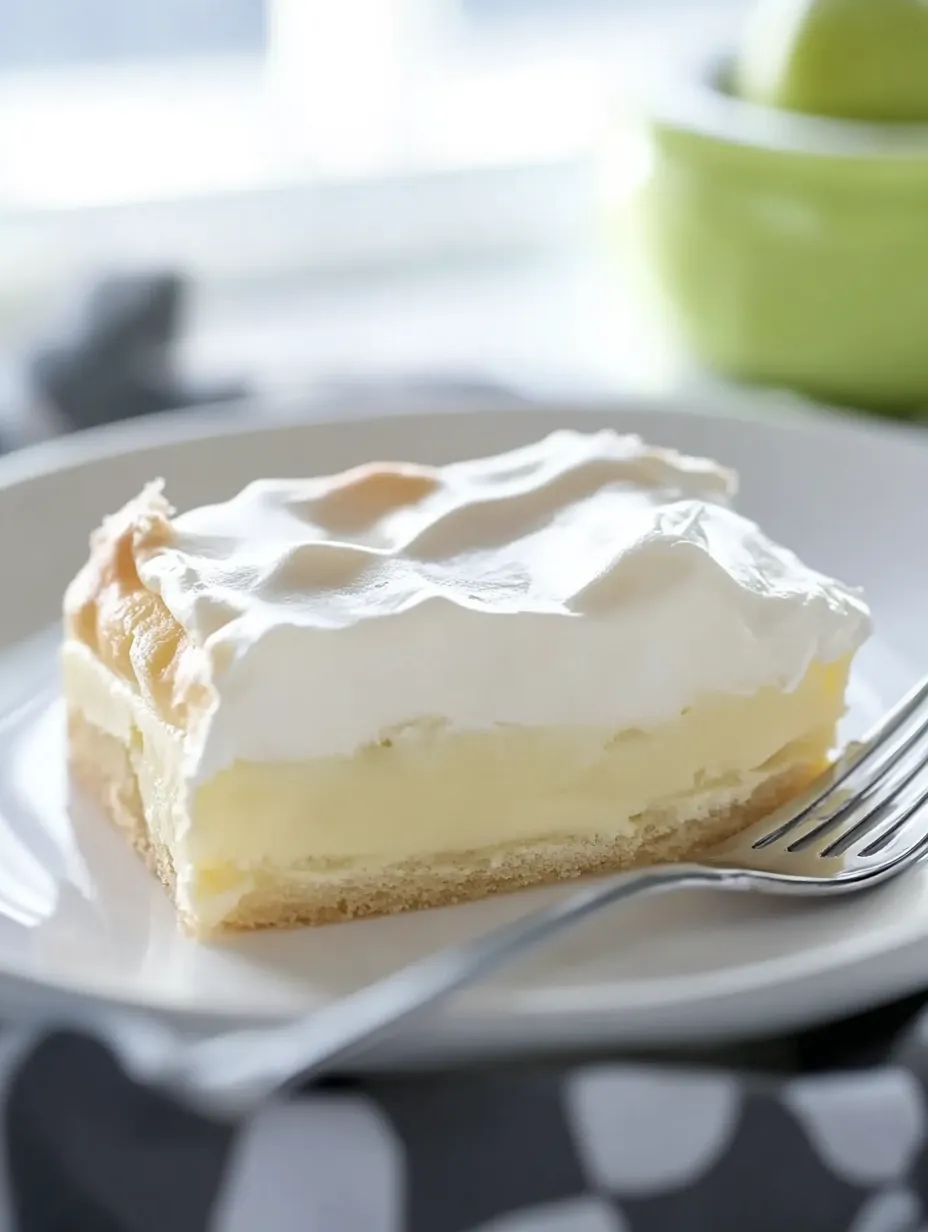
Picture biting into a cream puff that's been transformed into a sliceable treat. This Cream Puff Cake has a soft, pillowy crust that expands wonderfully while baking, creating the ideal base for a velvety filling that dissolves on your tongue. Together they make a stunning yet surprisingly easy dessert that sits right between fancy and comforting—great for special events or when you're just craving something absolutely divine.
I first tried this amazing dessert at a tiny café where I worked serving tables about twenty years ago. People would come in just to get a piece of this cake, and after I made it at home the other day, I remembered exactly why with just one taste. My family wasn't sure about a "cream puff cake" at first but quickly changed their minds when the whole thing was gone in minutes during our Sunday meal.
Main Elements
Dough Foundation
- Water: Makes up the base of the choux pastry, creating steam while baking that lets the crust rise and get its unique texture
- Unsalted Butter: Adds thickness and taste to the crust while helping it turn that lovely golden shade when baked
- All-Purpose Flour: Gives the pastry its form but still keeps it tender when properly mixed with the wet stuff
Core Framework
- Salt: Boosts all the flavors in the crust without actually tasting salty, adding depth that works against the sweetness of the filling
- Eggs: They're what makes choux pastry special, offering protein structure that captures steam and helps the dramatic rise while making everything richer
- Baking Spray: Not really an ingredient, but it stops sticking and makes serving way easier while keeping your beautiful creation intact
Velvety Filling
- Cream Cheese: Gives a bit of tang and body to the filling, making sure it's not too sweet while creating that smooth feeling in your mouth
- Instant Vanilla Pudding: Adds flavor and firmness to the filling, making it easy to slice while giving that familiar vanilla comfort
- Milk: Wakes up the pudding mix and makes just the right thickness when mixed with cream cheese
Final Layer
- Whipped Topping: Makes a fluffy finish that brightens the whole dessert visually and texturally, so each bite feels like you're eating a cloud
Cooking Approach
Getting Ready
Start your baking journey by heating your oven to 350 degrees Fahrenheit, making sure it's fully hot before your cake goes in. Grab a 9×13-inch baking dish and coat it well with baking spray, getting the sides as well as the bottom so nothing sticks later.
Making The Pastry
In a medium pot, add water and heat it until it's bubbling over medium-high heat. Put butter in the bubbling water and wait till it comes back to a boil, watching the butter melt completely into the water. Take it off the heat right away once it starts boiling again so it doesn't burn or break apart.
Creating The Dough
Dump your flour and salt into the hot water-butter mix all at once, mixing hard with a wooden spoon until it all comes together in a ball that pulls away from the pot sides. This quick change is the first bit of magic in making your cream puff base.
Adding The Eggs
Move your warm dough ball to a stand mixer bowl with the paddle attached. Start adding eggs one by one, letting each egg mix in completely before adding another. This careful approach ensures you get a smooth, even texture throughout your pastry dough without any streaks or separation.
Building Texture
After all eggs are in, turn mixer speed to high and let it run for a full 4-5 minutes. This long mixing builds gluten structure while adding air, both needed for proper rising during baking. The dough should change from stiff and paste-like to smooth and a bit shiny.
Spreading The Dough
Dump your ready dough into your waiting baking dish, noticing how thick it is, almost like pudding. Lightly spray your fingertips with baking spray so they don't stick, then gently push the dough into an even layer across the bottom of your pan, making sure to get the corners too.
Baking It Right
Put your pan in the hot oven and bake for 20-25 minutes, fighting the urge to peek by opening the oven door during this time. Watch through the glass as the magic happens—the dough will dramatically puff up and rise, especially around the edges, making a lovely crater for your filling.
Cooling Down
Take your baked crust from the oven and admire its golden color and impressive shape. Let it cool completely to room temperature, during which it will sink slightly but keep its raised edges and small dip in the middle—the perfect bowl for your filling.
The first time I whipped up this cake, I freaked out when I saw how much it rose in the oven, thinking I'd messed up badly. My daughter looked through the oven window and said it looked like the cake was trying to run away! We had a good laugh when it settled perfectly while cooling, making that ideal hollow center. Now we actually look forward to watching that temporary rise every time we make it.
Making The Filling
Turn basic ingredients into an amazing filling by mixing instant vanilla pudding with cold milk until it starts to thicken. This quick-setting mixture is the base of your cream layer, giving both structure and classic vanilla flavor that works perfectly with the pastry.
While your pudding sets up, beat cream cheese in your stand mixer until it's totally smooth with no lumps at all. This first beating is crucial for a silky end texture, so give it the full 3-4 minutes to get properly light and get rid of any graininess that might ruin the luxurious mouthfeel.
Mix your ready pudding with the whipped cream cheese, beating another 3-4 minutes until fully blended. The filling should end up smooth, rich, and hold soft peaks when you lift the beater. This extra mixing puts air into the mixture, creating a lighter texture that balances out how rich the ingredients are.
Putting It Together
Spread your cream filling carefully over the cooled crust, working from the middle outward to avoid tearing the delicate pastry base. The filling should totally fill the natural dip in your crust, making a flat surface across the whole dessert. Use an offset spatula for the smoothest look and most professional appearance.
Cover your filled cake with a thick layer of whipped topping, spreading it all the way to the edges to completely seal in the cream filling. This protective layer keeps everything fresh while making it look better and adding texture contrast to each bite. Make fancy swirls with your spatula for an extra touch of elegance.
Chill your assembled cake for at least 2-3 hours before serving, though letting it sit overnight works even better. This resting time lets flavors blend while the filling firms up to just the right sliceable consistency. The waiting is worth it for the final texture and how well the flavors come together.
Great Combinations
Make a gorgeous dessert table by serving this cake with fresh seasonal berries. The bright tanginess of strawberries, blueberries, or raspberries cuts through the richness of the cream filling, creating a wonderful flavor balance. A small dish of extra berries lets guests add their own fruit topping to each slice.
Think about offering a warm chocolate sauce for drizzling over individual servings. The contrast between the cool, creamy cake and warm, rich chocolate creates a sensory experience that takes this already special dessert to restaurant quality. The chocolate also looks amazing with its dramatic drizzle pattern across the white topping.
For coffee fans, pair slices with small cups of espresso or cappuccino. The bitter notes in the coffee work well with the sweet, vanilla-scented cake, cleaning your palate between bites and making each serving more enjoyable. This combo makes for an especially grown-up ending to dinner parties.
Flavor Changes
Try different pudding flavors to completely change this versatile dessert. Chocolate pudding makes a rich, cocoa-filled center that chocolate lovers will go crazy for, while lemon pudding gives a bright, citrusy twist perfect for summer gatherings. The pastry base works great with pretty much any flavor you can think of.
Make a mocha version by dissolving 1 tablespoon of instant espresso powder in 1 tablespoon of hot water, then cooling and mixing it into the filling. Top with chocolate shavings for a coffee-shop style dessert that's an impressive end to dinner parties. The slight bitterness of coffee makes the sweetness of the cream even better.
For special events, add 1/4 cup of your favorite liqueur into the filling mixture. Amaretto, Grand Marnier, or Kahlúa each add fancy flavor notes that turn this homey dessert into something worth celebrating. Just remember that the alcohol flavor gets stronger as the cake chills, so start with just a little.
Keeping It Fresh
Keep your cake perfectly fresh by storing it in the fridge, wrapped tightly with plastic wrap. The cake will stay at its best for 3-4 days, though the crust gradually gets softer as time passes. Many fans actually like this softer texture that develops on the second or third day.
Make individual portions for easy future snacking by cutting the chilled cake into squares and freezing them on a baking sheet until solid. Move frozen pieces to a container with parchment paper between layers, where they'll keep well for up to one month. Thaw in the fridge overnight before eating.
Bring new life to slightly older cake by adding fresh fruit topping just before serving. Sliced strawberries, peaches, or kiwi not only add healthy stuff but also bring new excitement to the dessert with their bright flavors and colors. A light sprinkle of powdered sugar over the fruit makes it look professionally finished.
I still think about the first time I served this cake at a family get-together after finding the recipe again. My aunt, who hardly ever talks about desserts, took one bite and right away asked how to make it. What makes this cake so special isn't just how good it tastes but how it brings people together through shared enjoyment. When I make it now, I think of that small café where I first found it, all the customers who loved it back then, and how it keeps creating new memories around my own table. Some recipes are more than just food—they're like time machines that connect us across years through the simple joy of something delicious.
Common Questions About This Recipe
- → Why is my crust unevenly puffed?
- No worries! Choux pastry naturally puffs more on the edges. Once topped, it smooths out nicely.
- → Can I prep this the day before?
- Totally! It’s even better after resting overnight since the flavors blend and set just right.
- → What’s the best way to store leftovers?
- Put it in the fridge, covered up, for max three days. The base softens a bit but still tastes amazing.
- → Can I swap Cool Whip for homemade whipped cream?
- Sure! Just sweeten it slightly and stabilize it with half a teaspoon of gelatin to keep it from getting watery.
- → Can I mix up the flavors?
- Of course! Swap in chocolate or lemon pudding, or add a splash of flavored extract to the cream cheese layer.