
 Save
Save
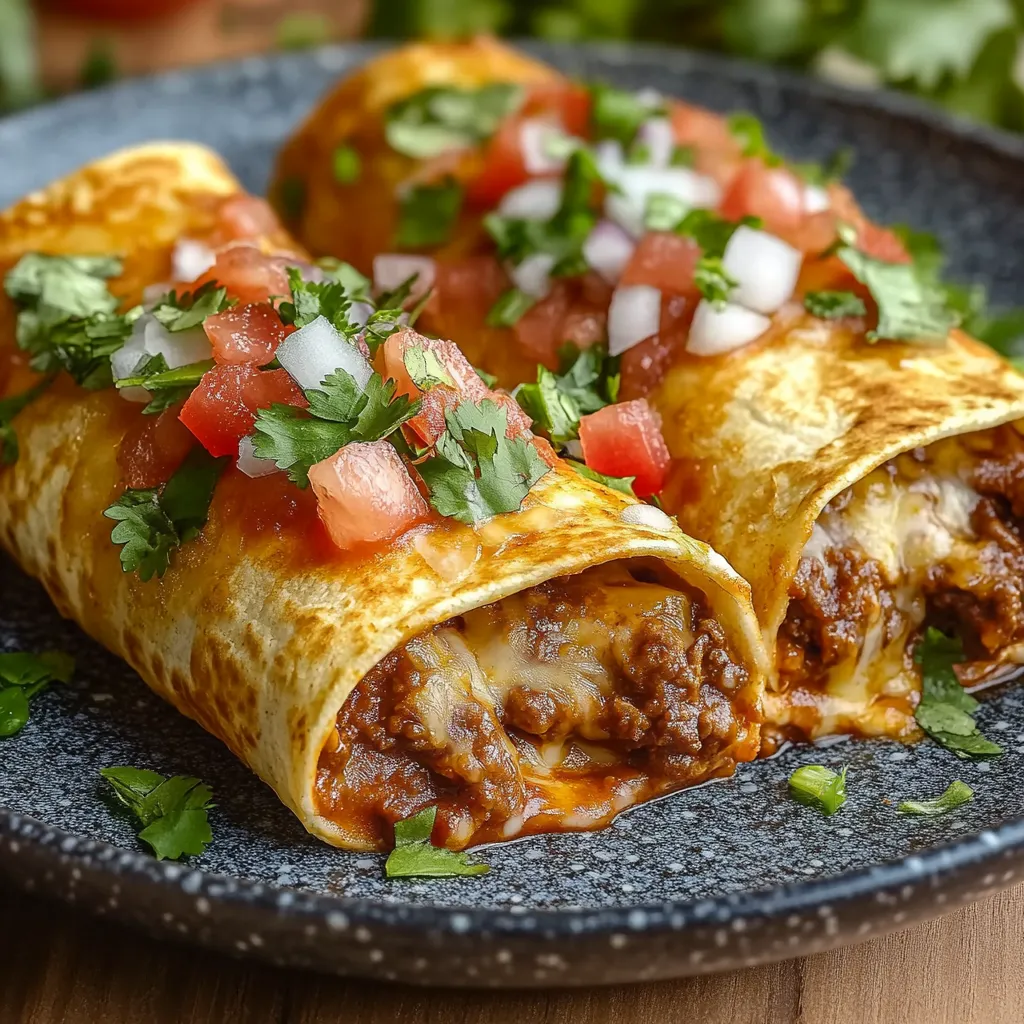
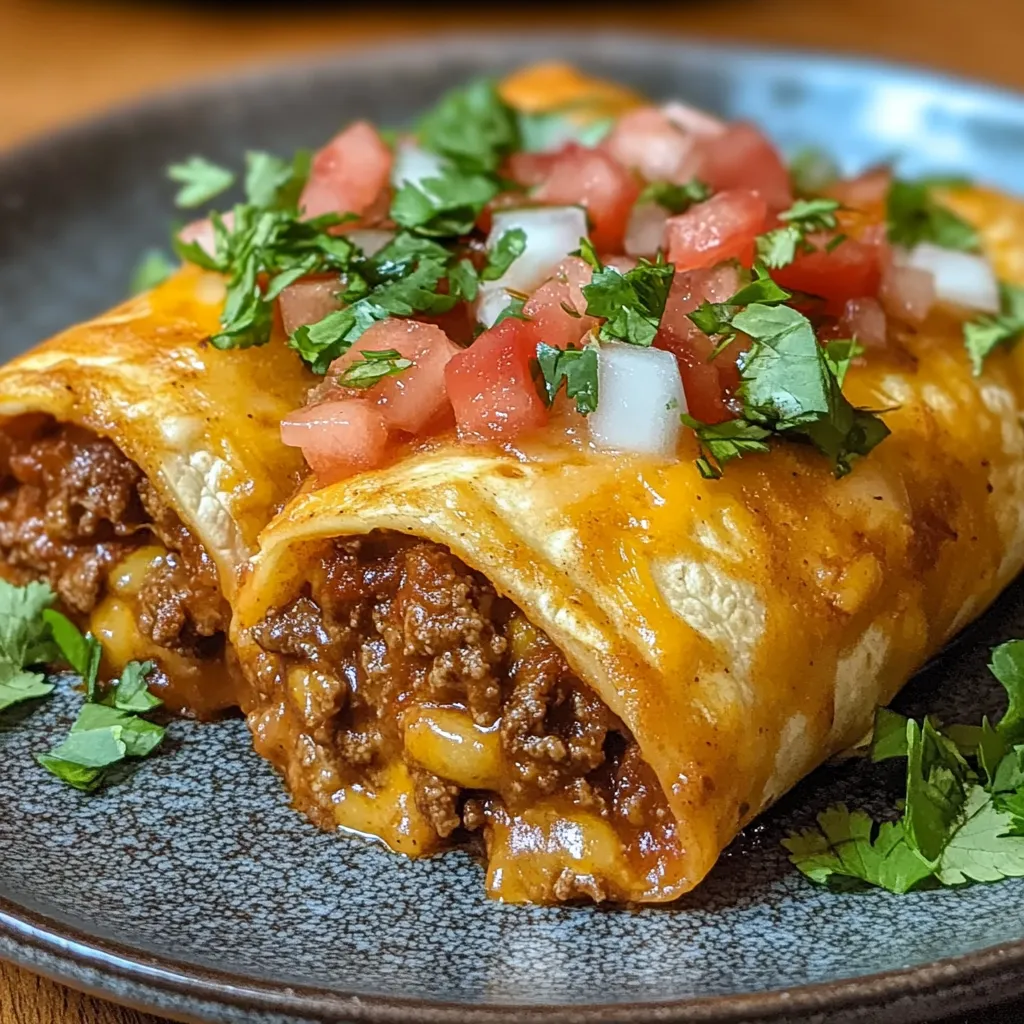
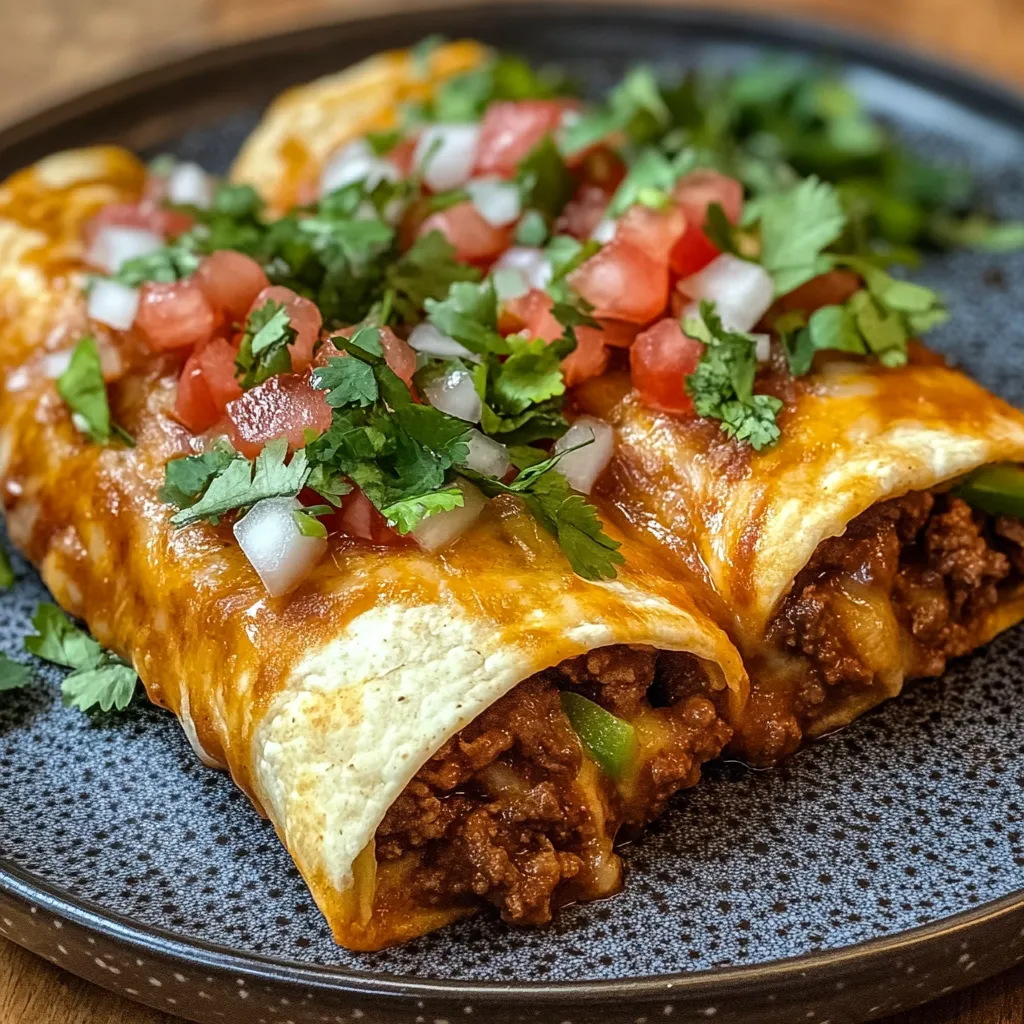
Ground beef chimichangas turn basic kitchen staples into something amazing – flavorful ground beef, smooth beans, and gooey cheese all tucked inside a flour tortilla and fried to a gorgeous golden crunch. After spending several years down in Texas, I found out these weren't just things you order at restaurants but something anyone can nail at home. These Tex-Mex treats bring real southwestern taste to your dinner table in less than half an hour, making them great for busy nights or weekend get-togethers when you want something a bit special.
My first try making chimichangas at home was a total flop – soggy, dripping with oil. The filling went everywhere, and they wouldn't brown right. After plenty of fails and some tips from my next-door neighbor (who had a mom from El Paso), I learned you absolutely must roll them tight and put them seam-down in the oil first. Now we make them once a month, and my husband actually likes them better than what we get at our neighborhood Mexican spot.
Ingredients
- Flour tortillas: Go for the big burrito size (10-12 inch) ones that feel soft and bendy; if they feel hard or dry, they'll break when you roll them
- Ground beef: Pick 80/20 meat for the right mix of taste and moisture; anything leaner gets too dry, while fattier beef makes your filling too greasy
- Refried beans: They work as both flavor and a sticky helper to seal your wrap; I think pinto beans have the best smooth texture, but black beans do the job too
- Shredded cheese: Grate your own for way better melting than the bagged stuff; mix cheddar with Monterey Jack for the tastiest melt
- Chili powder: The key to good Tex-Mex cooking; I like to heat mine in a dry pan for half a minute first to wake up the flavors
- Cumin: Gives that classic earthy smell that makes southwestern food so good; buy whole seeds and crush them yourself for the freshest kick
- Oregano: Mexican oregano tastes totally different from the Italian kind; it's worth finding for its bright, wild flavor notes
- Vegetable oil: Use a plain oil that can get really hot; I really like peanut oil because it has a clean taste and fries things perfectly
Instructions
- Get the beef nicely browned:
- Use a really hot pan for proper browning instead of steaming. Crumble the meat into tiny pieces while it cooks, giving it a stir now and then until you can't see any pink spots. This browning adds tons of flavor. Dump it in a strainer to get rid of extra fat that would make your chimichangas soggy.
- Make the meat taste amazing:
- Put your drained beef back in the pan over medium heat. Mix in all the spices plus some water, stirring so everything mixes well. The water helps the spices bloom and creates a light sauce that sticks to the meat. Let it bubble gently until the liquid's gone, making those flavors stronger. Give it a taste and add salt if needed before turning off the heat.
- Get your oil ready:
- Pour about 1/2 inch of vegetable oil into a heavy pan. Heat it to around 375°F, which usually takes 5-7 minutes on medium heat. If you don't have a thermometer, drop in a tiny bit of tortilla – it should bubble up right away but not turn dark too fast.
- Get your tortillas soft:
- Quickly wave each tortilla over an open flame or warm it in a dry pan for about 10-15 seconds on each side. This makes them stretchy so they won't crack when you roll them. Keep them under a kitchen towel to stay warm while you work.
- Put them together carefully:
- Lay a warm tortilla flat and spread about a spoonful of refried beans in a line near one edge, leaving about an inch empty around it. Add 2-3 spoonfuls of seasoned meat on top of the beans, then sprinkle plenty of cheese over it. Don't stuff too much in – that's how they burst open when frying.
- Learn the right rolling method:
- Fold the closest edge over the filling, tucking it under slightly to make a tight roll. Fold both sides in like you're making an envelope, then keep rolling away from yourself until you've got a secure package. The tighter you roll, the better it stays sealed and the less likely filling will escape during frying.
- Fry them the right way:
- Using tongs, carefully put each chimichanga in the hot oil with the seam facing down first. This permanently seals the edge. Fry for 1-2 minutes until deep gold, then gently turn to cook all sides evenly. Use the tongs to hold them in place to brown the ends too, so they're crispy all over.
- Drain them well:
- Move them to a plate lined with paper towels, keeping them separate. Pat the tops with more paper towels. Let them sit for 2-3 minutes before serving so the inside can set up a bit and the outside gets super crispy.
We've got this family thing called "Chimichanga Fridays" during summer when my sister brings her kids over. The grown-ups like them topped with homemade green salsa and a little drizzle of Mexican crema, while the kids pile theirs high with lettuce, tomatoes and sour cream. I've watched my sister's husband polish off four in one sitting – they're seriously that good!
Variations to Try
Through years of playing around with chimichangas, I've found so many tasty filling combinations. Shredded chicken cooked in green salsa makes a zippy, tangy version that goes great with pepper jack cheese. For something with deeper flavor, try adding a spoonful of sauce from canned chipotle peppers to your beef filling.
When vegetarians come over, I cook finely chopped bell peppers, onions, corn, and zucchini until they're golden brown, then mix with black beans and a bit of smoked paprika. Even the dedicated meat-eaters ask for this version when they visit. The trick with veggie fillings is cooking out all the extra moisture before you roll them up.
My weekend special uses leftover slow-cooked pork shoulder or brisket, pulled apart and mixed with a touch of barbecue sauce. The smokiness from the meat plus the crunchy tortilla creates an unforgettable taste that mixes Tex-Mex with southern BBQ flavors.
Serving Suggestions
The classic chimichanga plate normally comes with Spanish rice and refried beans on the side. For something lighter, try serving with lime-cilantro rice and a simple cabbage slaw dressed with just lime juice and salt – the tanginess cuts through the richness nicely.
One thing people don't think about but works amazingly well is pickled red onions. Those tangy, bright pink rings add freshness that balances out the savory, fried parts perfectly. Just slice an onion really thin and soak it in lime juice with a pinch of salt for half an hour before serving.
When you're having friends over, set up a chimichanga bar where everyone can add their own toppings. Put out bowls of lettuce, diced tomatoes, sliced avocado, different salsas, sour cream, and hot sauces. This hands-on approach makes dinner more fun and lets everyone fix theirs exactly how they want it.
Conclusion
I've been tweaking this recipe since I moved away from Texas fifteen years ago, and it's become the dish I'm known for when people come over. There's something really special about watching friends take that first bite – hearing the crunch as the tortilla breaks open to the savory filling inside. Food has always been how I show love, and these chimichangas do that perfectly. They've helped me show countless friends how good homemade Tex-Mex can be, proving you don't need to go out to enjoy authentic southwestern flavors. With a bit of practice, you'll be making restaurant-quality chimichangas that your family will ask for every week.
Common Questions About This Recipe
- → Can I bake instead of frying these wraps?
- Absolutely! Lightly brush your rolled wraps with oil, bake at 400°F, and let them turn golden for 20 minutes. Flip halfway for even crisping.
- → How can I freeze them to use later?
- Wrap each one in plastic before frying, and pop them in a freezer bag. They'll last for three months. Defrost overnight in the fridge before frying as usual.
- → What can I swap for ground beef?
- Try using turkey, chicken, plant meat, or even shredded meats like pork or chicken. Just tweak the spices for the protein!
- → Why are my wraps opening while frying?
- Roll tightly and always fry seam-side down first. Toothpicks can help hold them together, but don't forget to take them out before serving.
- → What goes well with these crispy wraps?
- Pair them with Mexican rice, corn salad, black beans, or a side salad. Add extras like guacamole, salsa, or lime wedges to top it off!