
 Save
Save
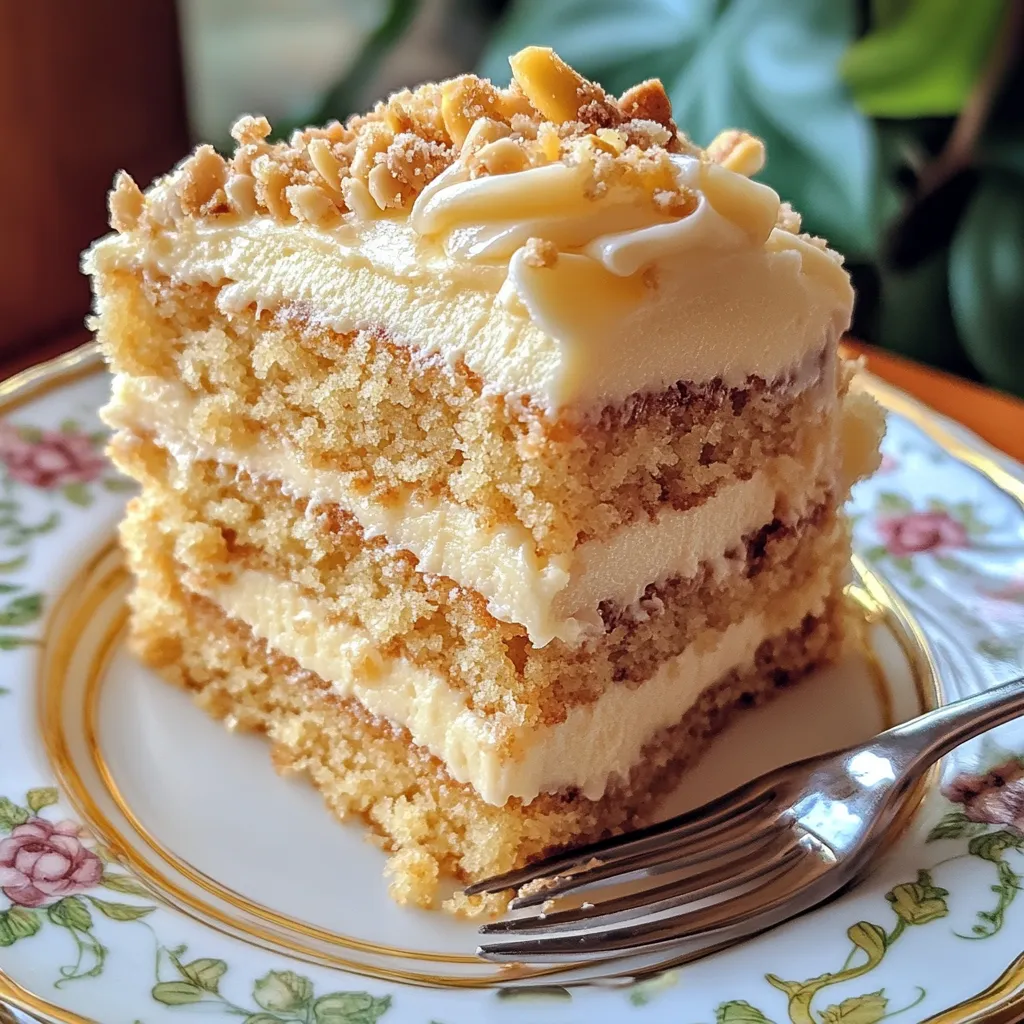
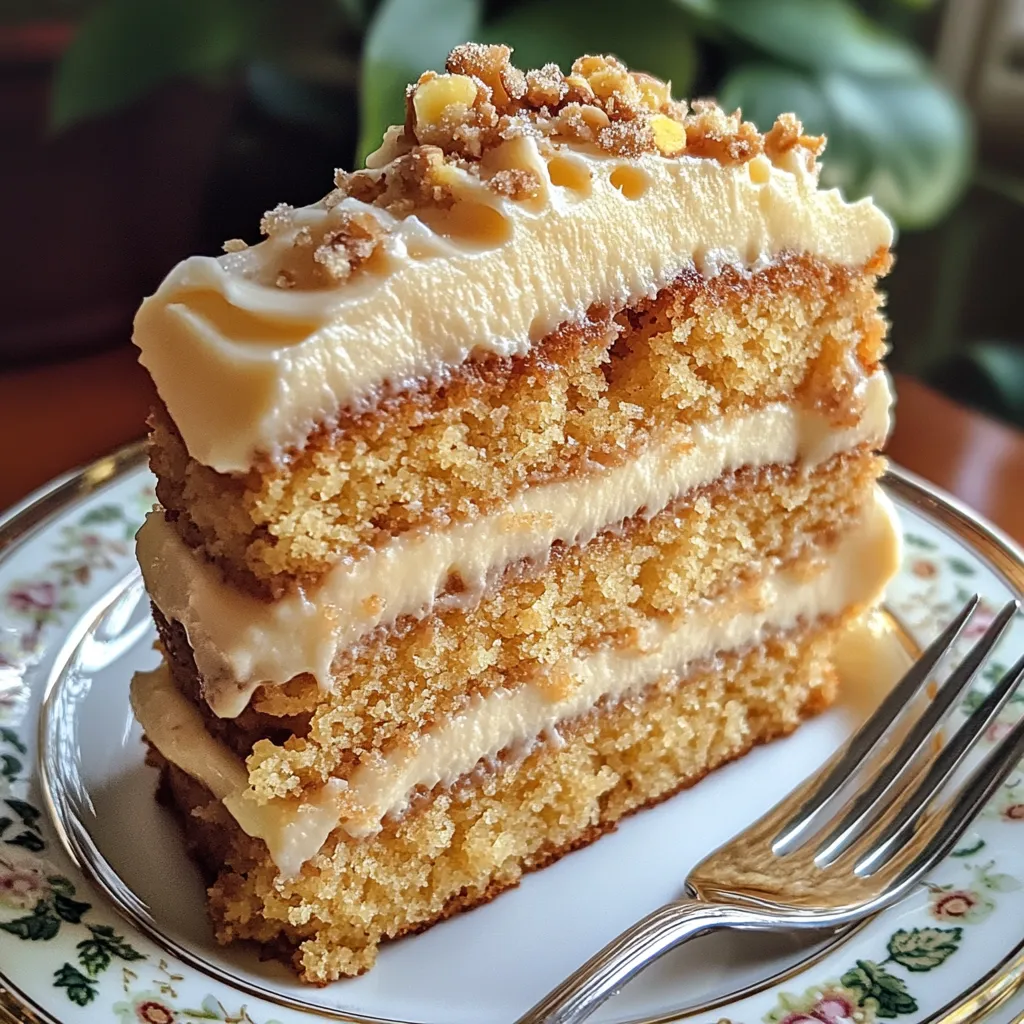
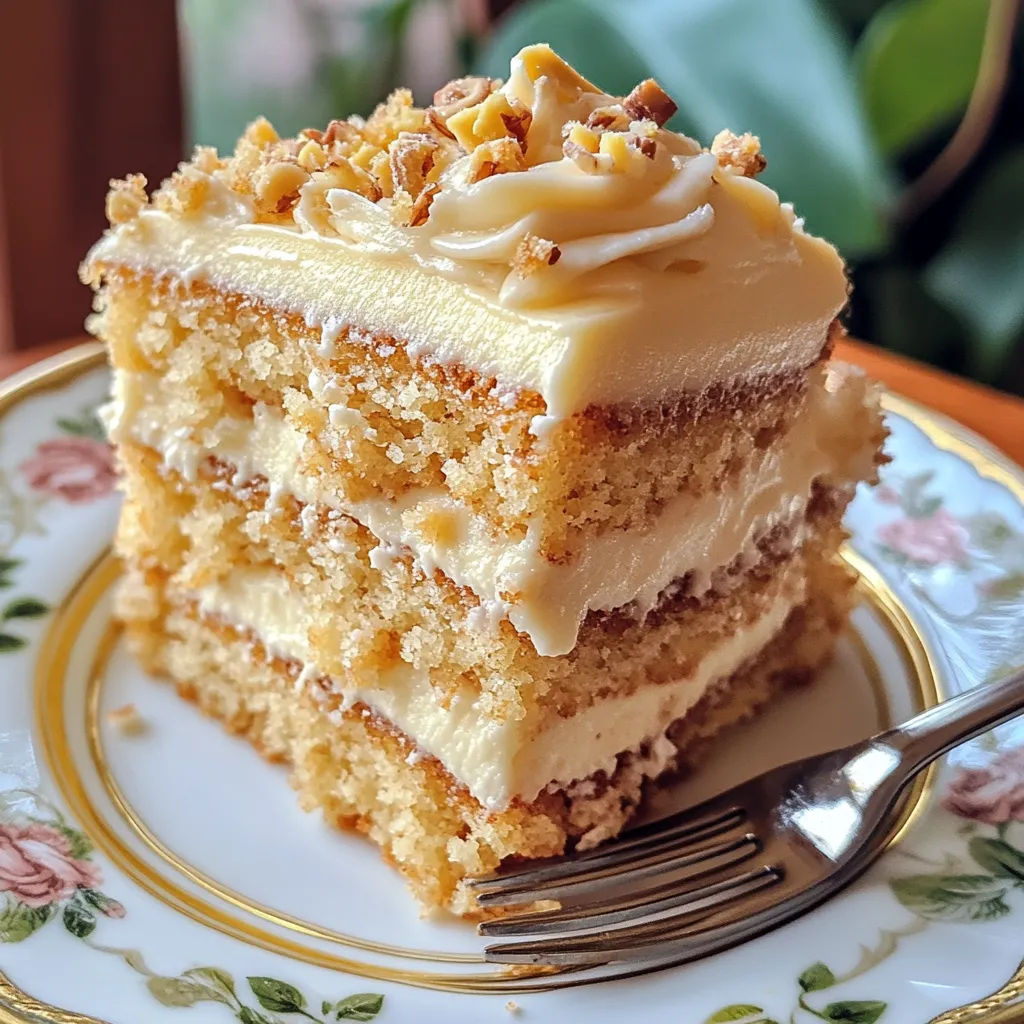
Old-fashioned Granny Cake brings back all the magic of traditional baking. This super moist cake soaked with pineapple gets even better when brown sugar and pecans crown the top, and warm buttery icing seeps into every bite. It's the kind of treat that always showed up at family gatherings and holiday tables. When you take a bite, you'll love how the sweetness, moisture, and cozy feeling blend together, making you pause and enjoy every moment.
I found this gem hidden in my grandma's cookbook, with vanilla drops and tiny handwritten tips all over it. The first time I made it, everyone in my house got swept back to their childhood days by the amazing smell. The coolest thing about it is how the hot icing sinks into the cake, making these awesome pockets of sweetness that work so well with the crunchy pecans on top.
Cake Components
- White sugar: Makes the cake just sweet enough and keeps everything soft and tender
- All-purpose flour: Forms the cake's backbone and soaks up all that great pineapple juice
- Baking soda: Works with the tangy pineapple to make the cake rise nicely
- Salt: Brings out all the tastes and cuts through the sweetness
- Eggs: Hold everything together and add a rich, full texture
- Crushed pineapples: The key player that keeps everything moist with a hint of tropical flavor
- Brown sugar: Turns into a caramel-like layer that partly melts while baking
- Pecans: Give that must-have crunch and nutty taste that works well with the sweet stuff
Icing Elements
- Evaporated milk: Adds thick creaminess without making the icing runny
- White sugar: Melts into the warm mix for smooth sweetness
- Unsalted butter: Gives that rich feel and spreads flavor everywhere
- Vanilla extract: Brings warm, fragrant notes that make everything taste better
Baking Journey
- Kitchen Preparation:
- Heat your oven to 350°F and brush your 9×13-inch pan with plenty of grease, making sure to get every spot so nothing sticks.
- Mixing Magic:
- Grab a big bowl and mix your dry stuff—white sugar, flour, baking soda, and salt—stirring well to get rid of lumps. Add your eggs and dump in the whole can of crushed pineapple with all its juice. Stir everything together gently until it's just mixed, keeping some texture but making sure there aren't any dry spots. Your batter should look thick but pourable, with tiny pineapple bits throughout.
- Assembly Process:
- Pour your pineapple batter into your greased pan, spreading it out to all the edges. Make your topping by sprinkling chopped pecans all over, then covering everything with an even coat of brown sugar that'll work wonders as it bakes. The sugar will partly melt into a crispy, caramelized top while the pecans toast up nicely.
- Icing Creation:
- As your kitchen fills with amazing smells, get your special icing ready. Mix evaporated milk, sugar, and butter in a pot over medium heat, stirring all the time as the butter melts. Let it come to a gentle bubble—watch carefully as it starts to thicken a bit—then take it off the heat and mix in vanilla. You want warm icing that pours but isn't too thin.
- Final Touch:
- Take your cake out when a toothpick comes out mostly clean. While it's still hot, poke holes all through the top with a toothpick. Right away, pour the warm icing over the whole cake, watching it flow into the holes and around the toasty pecans. Let everything cool completely in the pan, giving the icing time to soak in and make your cake amazing.
My grandma always told me to use canned pineapple instead of fresh for this cake. She said the steadier sweetness and texture made the cake turn out better every time. In our family, we love having this cake slightly warm with coffee after Sunday meals. There's just something about warm cake with bitter coffee that sticks in your memory forever.
Perfect Pairings
This simple-looking cake goes great with thoughtful sides that boost its homey charm. Cut big squares and serve with lightly sweetened fresh whipped cream with tiny specks of vanilla bean. For fancy times, warm up each piece a bit and put a small scoop of butter pecan ice cream on top to melt down into the cake. Coffee or hot tea cuts through the sweetness perfectly, making for a truly satisfying dessert.
Recipe Reinvention
Switch up this beloved classic throughout the year with smart tweaks. Try toasted walnuts or macadamia nuts instead of pecans for different flavors. Add a quarter teaspoon of cinnamon to the mix for a warm spice that goes great with pineapple. Make a tropical version by using coconut milk in place of evaporated milk in the icing and sprinkle toasted coconut on top.
Freshness Tips
Your Granny Cake stays incredibly moist when stored right. Keep it covered on your counter for up to three days, though it actually tastes better after the first day as the flavors mix together. For keeping it longer, put it in an airtight container in the fridge for up to a week. Pop individual pieces in the microwave for 15-20 seconds before eating to bring back that fresh-baked feel and buttery taste.
This Granny Cake has become my go-to treat for family get-togethers over the years. When I bring it out, everyone starts talking about food memories and recipes passed down through generations. What I love most about this simple dessert is how it's more than just its basic ingredients. In a world full of fancy, complicated sweets, there's something truly special about serving a dish that feels like coming home.
Common Questions About This Recipe
- → Can I swap canned pineapple for fresh?
- Sure thing! Just crush your fresh pineapple and add 1/4 cup of its juice or water to get the same texture and sweetness.
- → How should I keep leftover cake fresh?
- You can cover the cake and leave it on the counter for three days or in the fridge for about a week. It’ll stay soft thanks to the icing and pineapple.
- → What if I don’t have pecans?
- No problem! Walnuts, almonds, or even leaving the nuts out entirely will work just fine.
- → Why’s it called Granny Cake?
- It gets the name from being a classic, comforting dessert that grandmothers often made, bringing back memories of simpler times.
- → Can I bake this ahead of time?
- Absolutely! This dessert gets even tastier after a day, so it’s perfect for planning ahead. Just wrap it well after it cools.