
 Save
Save
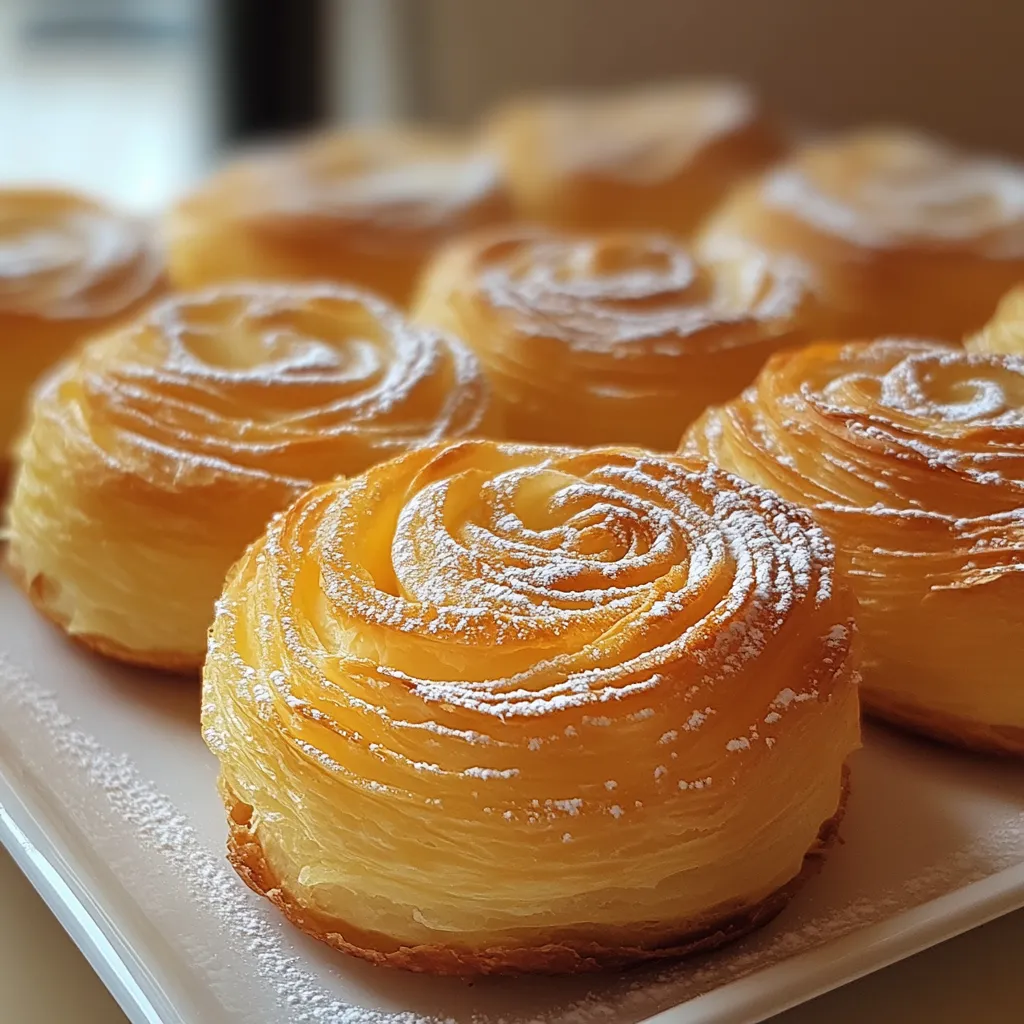
Flaky, buttery swirls of dough rise beautifully in these show-stopping treats that blend the crispy edges of croissants with the soft shape of muffins. Every bite offers an amazing contrast between the crunchy outside and the soft, cloud-like inside—creating a fancy-looking pastry you can totally make at home.
I first tried cruffins at a fancy bakeshop charging almost $8 each and thought I should try making them myself. What started as just playing around in the kitchen has turned into our family's Sunday tradition, with my kids always fighting over which fillings we'll use that week.
Key Components
- All-Purpose Flour: Makes the base that lets you build those lovely thin layers.
- Active Dry Yeast: Helps your dough rise slowly so all those beautiful layers stay separate.
- Unsalted Butter: The magic maker that creates those amazing flaky layers when you fold everything together.
- Warm Milk: Wakes up your yeast and adds a rich taste that goes great with butter.
- Granulated Sugar: Gives a tiny bit of sweetness and feeds the yeast to make everything rise nicely.
Making Awesome Cruffins
- Getting Your Dough Ready:
- Start by mixing warm milk with yeast until it gets foamy and bubbly. Then mix in your dry stuff until you've got smooth, stretchy dough that'll change as it rises.
- Creating Those Layers:
- Once your dough has puffed up the first time, roll it thin and spread soft butter all over. This step is super important for getting those flaky layers that make cruffins so special.
- Twisting Them Into Shape:
- Cut your buttered dough into long strips and twist them into spirals with the cut sides facing up. This shows off all the pretty layers and gives cruffins their signature look.
- Waiting For The Rise:
- Let your twisted cruffins sit in muffin tins for their second rise. This extra waiting time lets the yeast work through all that butter, which is super important for the right texture.
- Baking Them Up:
- Cook until they're deep golden brown so the outside gets nice and crispy while the inside stays soft and a bit chewy. You'll know they're almost done when your kitchen smells amazing.
My first try at making cruffins was almost a total flop when I tried to hurry things along. The butter got too warm and my husband laughed, calling them 'depressed croissant pancakes.' I learned that working in a cool kitchen with really cold ingredients makes all the difference.
Great Combos
These fancy swirls taste amazing with a hot cappuccino or rich hot chocolate for a special breakfast treat. When friends come over for brunch, try setting up a cruffin station with different fillings and toppings so everyone can make their own version.
Tasty Twists
Spice up your cruffins by adding some orange zest and cardamom to the dough for an amazing smell. Make chocolate ones by spreading a thin chocolate layer with the butter. For something savory, mix in herbs and cheese for breakfast or appetizers that aren't sweet.
Keeping Them Fresh
Once they've cooled down completely, put your cruffins in a sealed container at room temperature and eat within two days. If you want to save them longer, wrap each one in plastic and freeze up to two months, then warm in a 350°F oven for 5-7 minutes to get that crispiness back.
Now that I've got the hang of it, I've found that cruffins are way more forgiving than regular croissants. You can play around with different ideas while still getting that wow-factor look that makes everyone think you spent all day baking. Whether we have them for a special breakfast or serve them with ice cream for dessert, these swirly treats always make people smile.

Common Questions About This Recipe
- → How are cruffins and croissants different?
- Cruffins share the fluffy layers of croissants but are shaped in muffin tins, resulting in a twisted spiral look.
- → Can I skip making the dough from scratch?
- Absolutely! Pre-made puff pastry or croissant dough works too. Roll it out, fill it, cut it up, and shape as needed.
- → What if the layers don't rise properly?
- If the butter melts too soon, the layers won't form. Keep the dough cool while working with it, chilling between steps if needed.
- → Do I need special tools?
- All you need is a muffin tray and a rolling pin. A stand mixer is nice for kneading but not required.
- → Can I make bite-sized versions?
- Sure! Use a mini muffin tray and shorten the bake time to about 15 minutes. Keep an eye on them as they bake.