
 Save
Save
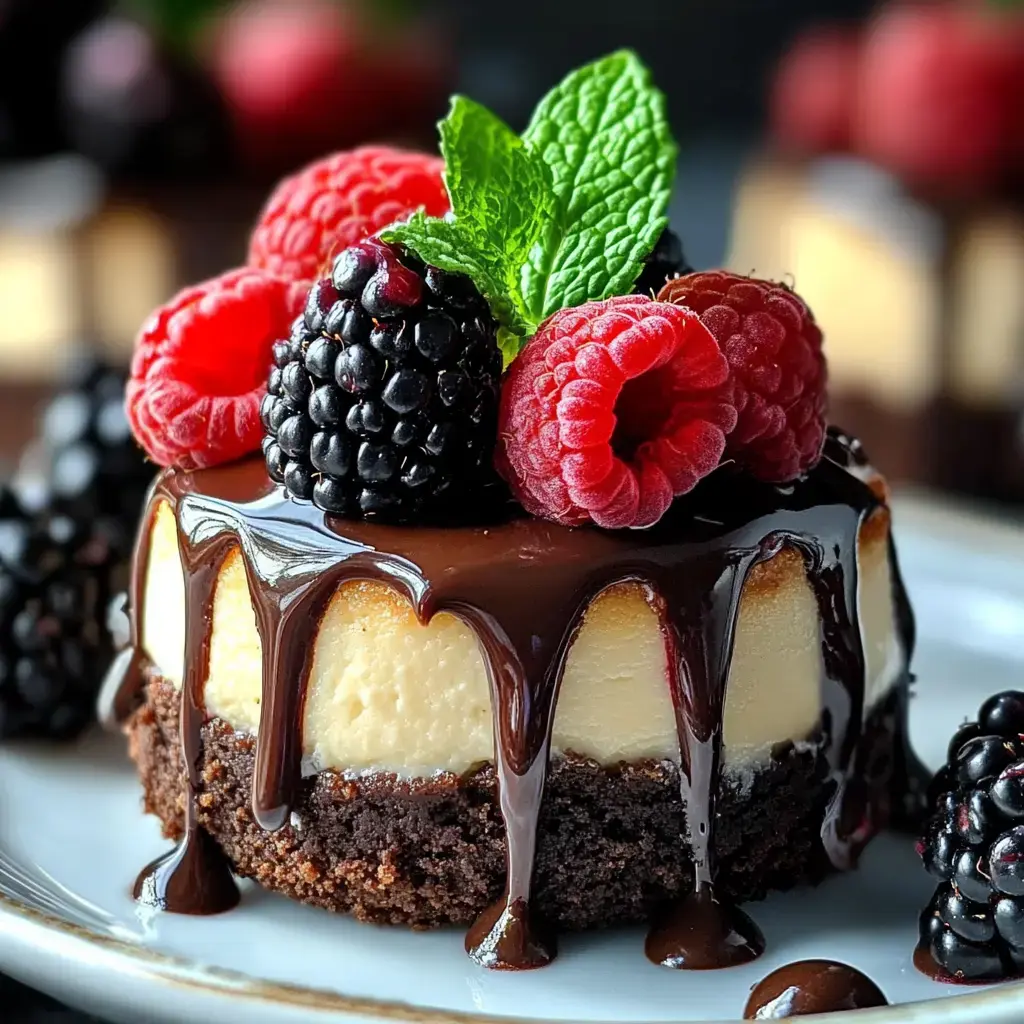
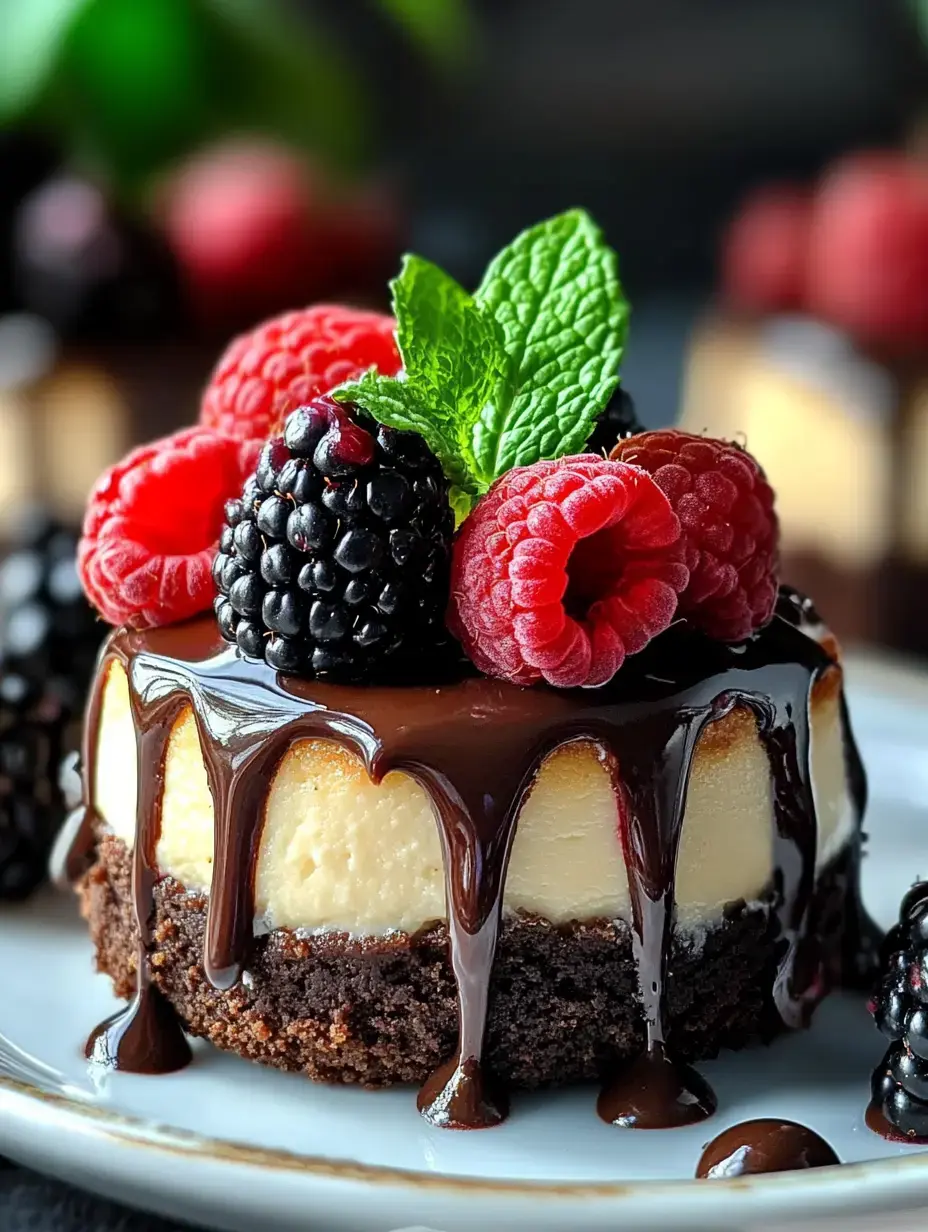
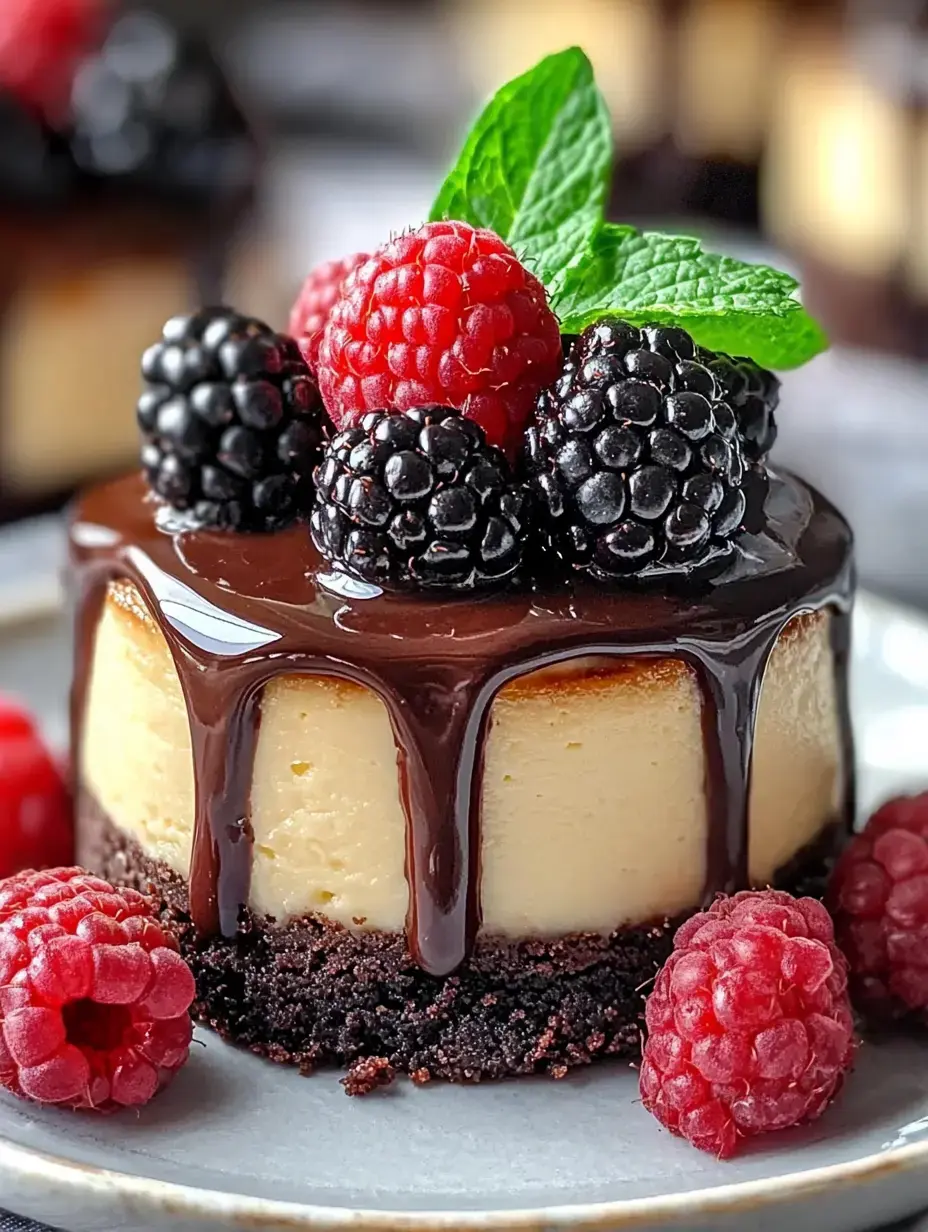
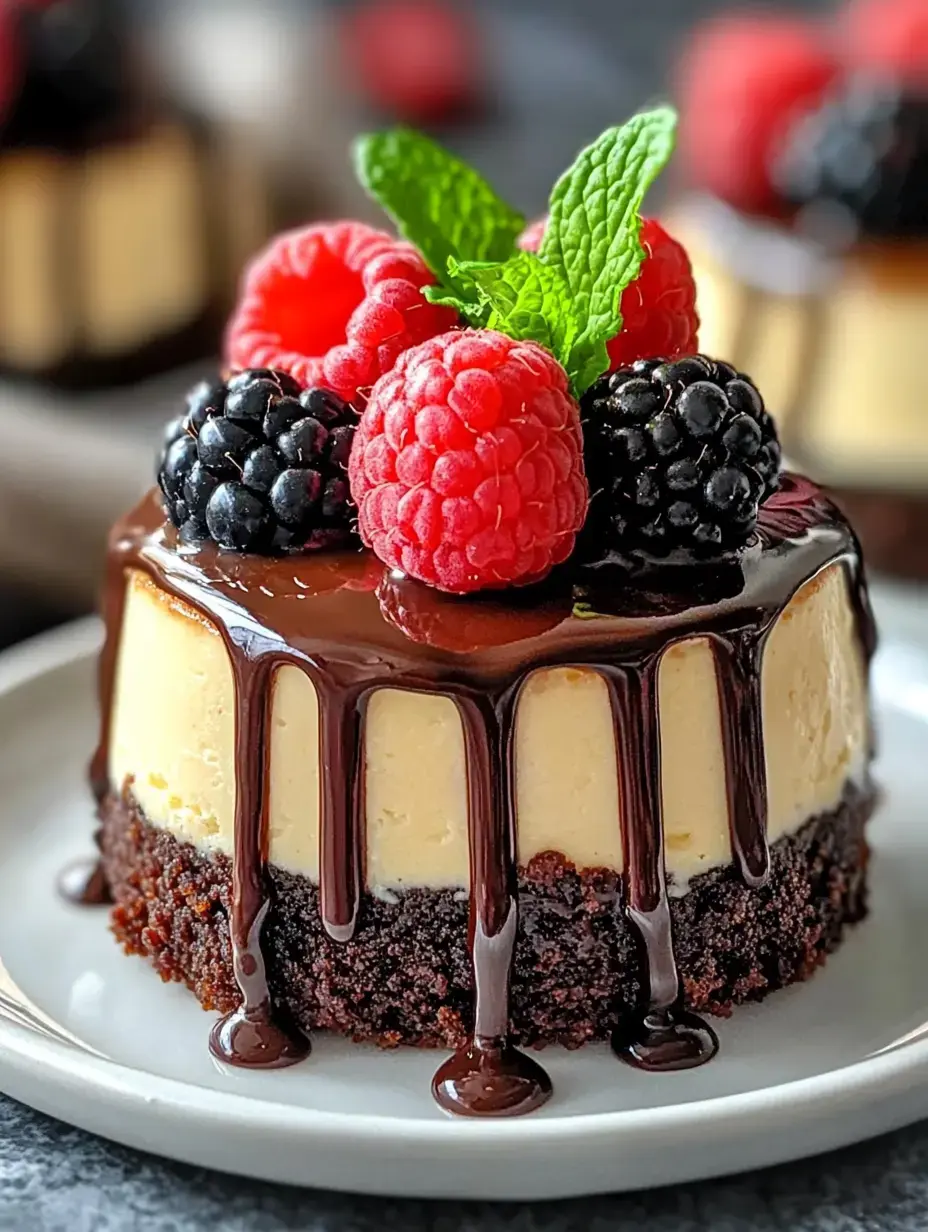
I've gotta share one of my absolute favorite sweet combos – these awesome Brownie Bottom Mini Cheesecakes that blend two killer desserts into bite-sized heaven. I came up with this idea when I couldn't pick between brownies and cheesecake one night and thought, why choose? The combo of that fudgy chocolate base with the smooth, creamy top is just mind-blowing good.
What Makes Them Stand Out
Wanna know the real magic here? It's all about how these flavors work together. The deep chocolate brownie foundation pairs perfectly with the velvety cheesecake layer, and every mouthful feels like a treat. Even my constantly bickering kids go quiet when these are cooking – the aroma is just that good.
Creating Our Foundation
We'll kick things off with our brownie base. Always use butter that's been sitting out a while – it blends way better that way. Make sure your cocoa powder is top-notch since it's the star of your chocolate flavor. Don't forget that tiny bit of salt – it brings out all the tastes in the most amazing way.
The Smooth Top
Now for the best bit – that dreamy cheesecake topping. You absolutely must use cream cheese that's soft and room temp if you want that perfectly smooth result. A little vanilla adds some warmth and the sour cream brings just the right tang. Sometimes when I'm feeling fancy, I'll pour in some heavy cream too.
Flavor Harmony
The real wonder of these mini treats is how the layers work together. The rich chocolate base gives you depth while the light cheesecake brings balance. You get both tastes in every bite – they really seem like they were always meant to go together.
Getting Ready
First up, warm your oven to 350°F. Put paper liners in your muffin tin – you'll thank me later when they pop out so easily. While your oven gets hot, let all your stuff sit out and come to room temp – it really does make everything mix up better.
Baking Wonders
Start on the brownie bottom by melting butter and stirring in sugar till it looks shiny. Let it cool down before you add eggs – nobody wants cooked egg bits in their brownie mix! Add your dry stuff just until it all comes together – we want them to stay fudgy not cake-like.
Creating Creamy Tops
For the cheesecake part, beat your cream cheese till it's totally smooth – watch out for any lumps! Add sugar bit by bit then drop in eggs one at a time. Mix in sour cream and vanilla last. Your batter should look super smooth and taste amazing.
Baking Secrets
Here's my trick for perfect mini treats – bake them just until the outside sets but the middle still wobbles slightly. Then cut the heat, open the oven door a crack, and let them cool slowly right there – this stops them from cracking. It's tough to wait but so worth it.
Chilling Out
Let these little guys cool all the way before you try taking them out. Then they need to hang out in the fridge at least two hours, but overnight works even better. Waiting is super hard but trust me, it pays off big time.
Avoiding Splits
Want my tips for cheesecakes that don't crack? Use room temp ingredients, mix gently, and cool them down slowly. Also, don't fill your cups too full – about three-quarters works great. These tiny details make a huge difference in how they turn out.
Adding Flair
Now's your chance to get creative. Sometimes I just add a bit of whipped cream on top. Other days I'll throw on some fresh fruit, chocolate bits, or drizzle some caramel. During the holidays I go all out with themed toppings like crushed mints at Christmas time.
Great Companions
These mini treats go amazingly well with a nice hot coffee. For fancy gatherings I'll serve them with some sweet wine. My kids always want milk with theirs. They work any time of day, honestly.
Made for Sharing
These are fantastic for get-togethers since everyone gets their own little dessert. I like to put them on a pretty stand with some berries scattered around. No matter how many I make, they always get gobbled up fast.
Lighter Versions
Want something not so heavy? Try using low-fat cream cheese or swap Greek yogurt for the sour cream. They still taste awesome, just a bit less rich. You can cut back on sugar too – these treats are pretty flexible with changes.
Custom Touches
Don't be afraid to play around with different tastes. Add some coffee powder to the brownies for a mocha feel. Swirl in peanut butter or caramel sauce. There are so many ways to change these up – that's what makes baking so fun, you can really make it your own.
Switch Things Up
Feeling adventurous? Try different chocolates – dark for extra richness or throw in some chips for texture. Sometimes I add a drop of almond flavor to the cheesecake part and it gives this amazing deep taste.
Sharing My Kitchen Joy
These mini cheesecakes have become the dessert everyone asks me to bring to parties. They show that sometimes not deciding between two sweets leads to something even tastier. I bet they'll become a hit in your home too.
Common Questions About This Recipe
- → Can I make these before serving?
Absolutely! Prepare them 1-2 days earlier and chill in the fridge. Add your favorite toppings when ready to serve.
- → What’s the benefit of oven cooling?
Letting them cool in the oven keeps cracks away and ensures a smooth, even texture as they set.
- → Can I freeze leftover ones?
Yes, tightly wrap them up and freeze for 3 months max. Let them defrost in the fridge overnight before enjoying.
- → How can I check if they’re done?
The edges should look firm, while the middle moves a little. This ensures they’ll finish setting as they cool.
- → What kind of toppings are best?
Try some ganache, fresh fruits, caramel drizzle, or light chocolate shavings. Keep it simple to balance the flavors.