
 Save
Save
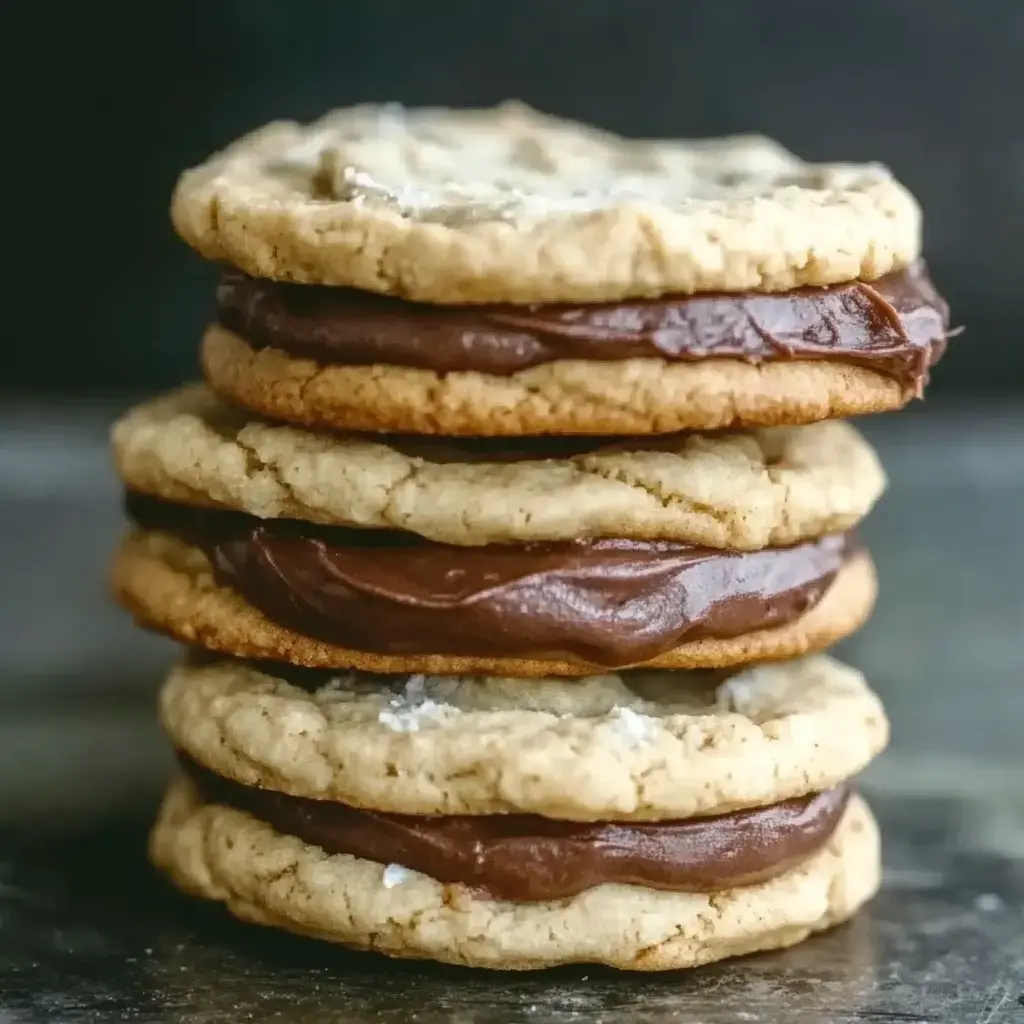
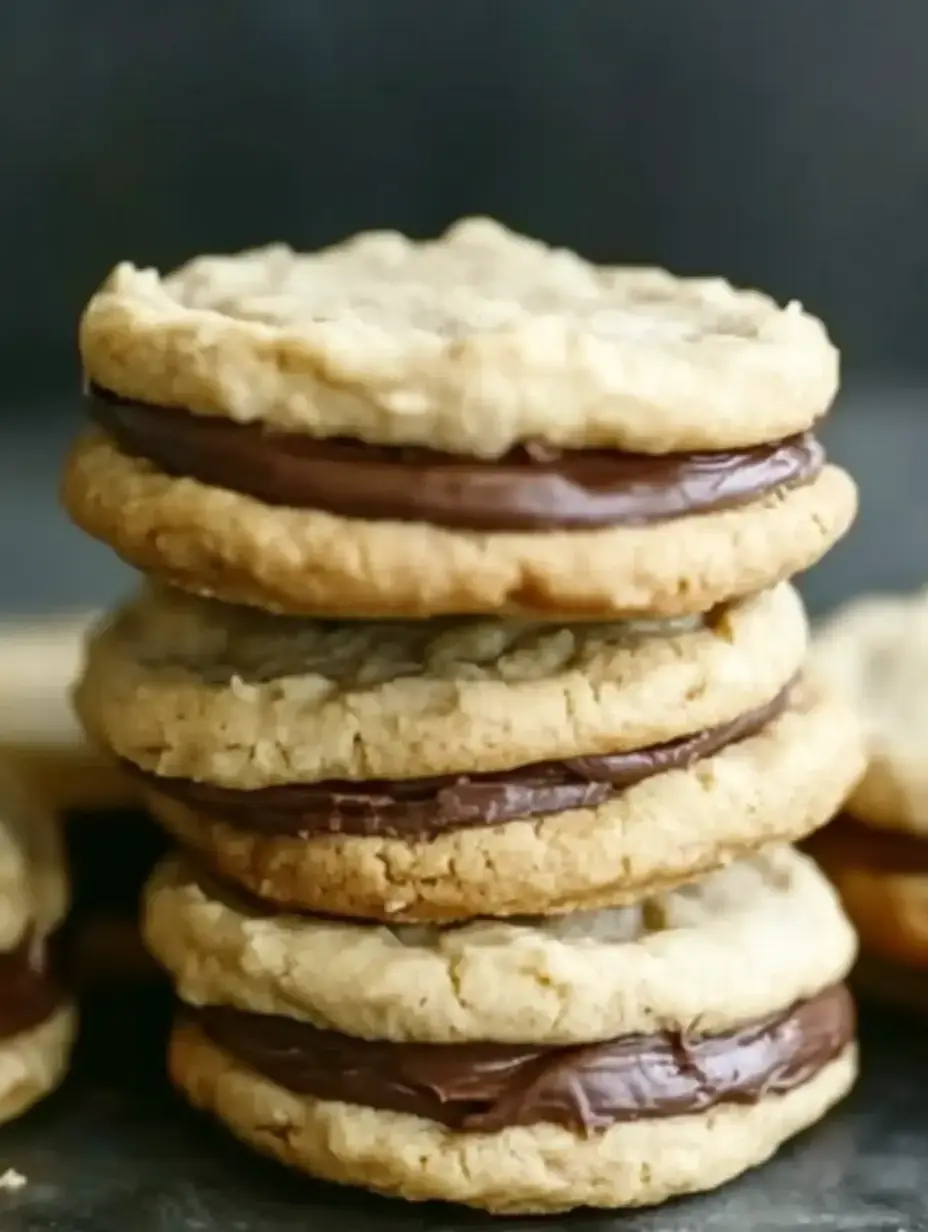
Our whole family just loves these chewy peanut butter sandwich treats with their thick chocolate fudge middle. I stumbled upon this idea one wet weekend when the kids wanted something yummy. When smooth peanut butter meets chocolatey filling, it's just wonderful with each mouthful. You'll definitely want to make these your go-to cookie treats, I promise.
Why These Treats Stand Out
Through many baking attempts, I've found that getting cookies just right isn't easy. These ones stay delightfully soft yet don't crumble when you add a thick fudge layer between them. Mixing peanut butter with chocolate hits all those sweet spots you're looking for. They're perfect when kids return from school or when friends pop in without warning.
Your Ingredient List
- Smooth Peanut Butter: 1 cup (grab a fresh jar for best results)
- Brown Sugar: ¾ cup (firmly packed for extra chew)
- All-Purpose Flour: 1¼ cups (run it through a sifter first)
- Egg: 1 large (room temperature works better)
- Butter for Cookies: ¼ cup (softened enough to press)
- Butter for Filling: 3 tablespoons (melted and slightly cooled)
- Cocoa Powder: ¼ cup (unsweetened gives the best flavor kick)
- Powdered Sugar: 1½ cups (sift to keep the filling smooth)
- Vanilla Extract: 1 teaspoon (real vanilla makes everything better)
Baking Steps
- Create Your Cookie Mix
- Warm your oven to 350°F. Beat the butter with brown sugar until it's light and puffy. Stir in the peanut butter and egg until smooth. Fold the flour in gently just until everything comes together.
- Shape and Cook
- Drop tablespoon-sized chunks onto your cookie sheet with parchment. Push each ball down with fork tines to make crisscross patterns. Bake for 10 to 12 minutes until you see the edges turning golden.
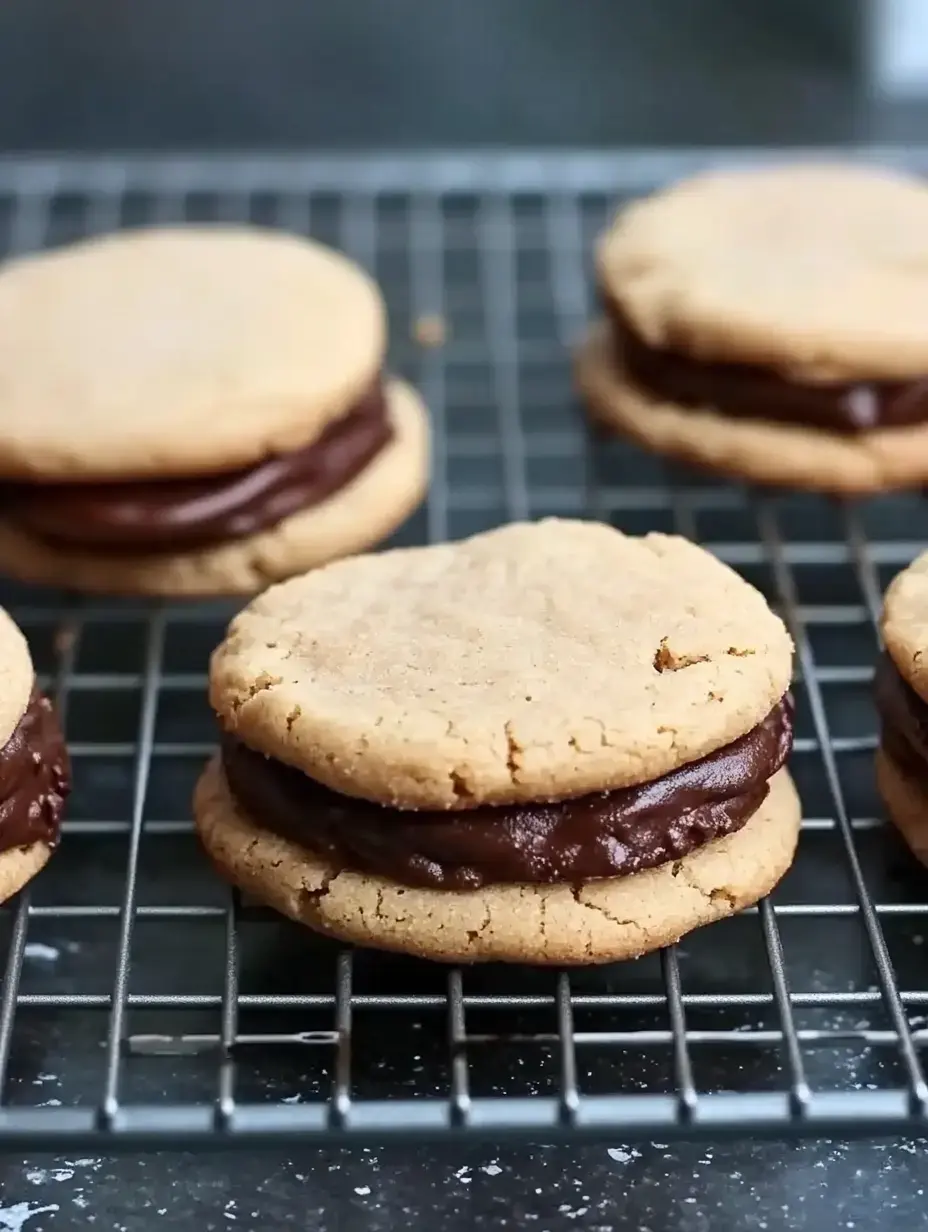
- Let Them Rest
- Keep the cookies on their tray for a few minutes before moving them. This step helps them stay intact and keeps their shape perfect.
- Create The Filling
- Combine melted butter, cocoa, powdered sugar, and vanilla in a bowl. Add a tiny bit of warm water if needed to make it easy to spread.
- Assemble Your Treats
- When cookies feel cool, spread some filling on the bottom of one and press another cookie against it. Let them sit so the filling can firm up.
A Dreamy Combo
The smell that fills my kitchen when these are baking is just amazing. There's something so right about mixing that peanut butter taste with rich chocolate filling. This turns a simple snack time into something you'll want to slow down and enjoy.
Great For Every Event
I found this in my grandma's recipe box but tweaked it by adding the fudge middle. They're big hits at school fundraisers and always disappear first. My kids ask for them during our movie evenings and I've started giving them as gifts to neighbors and my kids' teachers.
Tweak It Your Way
Keep your sandwich cookies in an airtight box and they'll stay good for three days if left out or seven days in your fridge. I sometimes add chopped peanuts to the cookie mix for some crunch. My daughter can't get enough when I mix in dried cranberries, while my son thinks a tiny bit of sea salt sprinkled on the filling makes them taste even better.
Common Questions About This Recipe
- → What happens if I bake them too long?
If baked too long, the cookies can turn hard and lose their soft bite, which makes them less ideal for sandwiching with frosting.
- → Can I prepare the chocolate filling early?
The chocolate filling spreads best when it's warm and smooth. If it cools too much, it becomes firm and harder to work with.
- → How do I store these cookies after making them?
Keep them in a sealed container at room temperature. They're best eaten within 3-4 days, though the cookies might soften a little over time.
- → Is it okay to freeze them?
You can freeze the cookies without frosting for up to 3 months. It's better to make the filling fresh when you're ready to assemble them.
- → Why roll them in sugar before baking?
Rolling them in sugar gives a light crunch on the outside, adding sweetness and making them sparkle while staying soft inside.