
 Save
Save
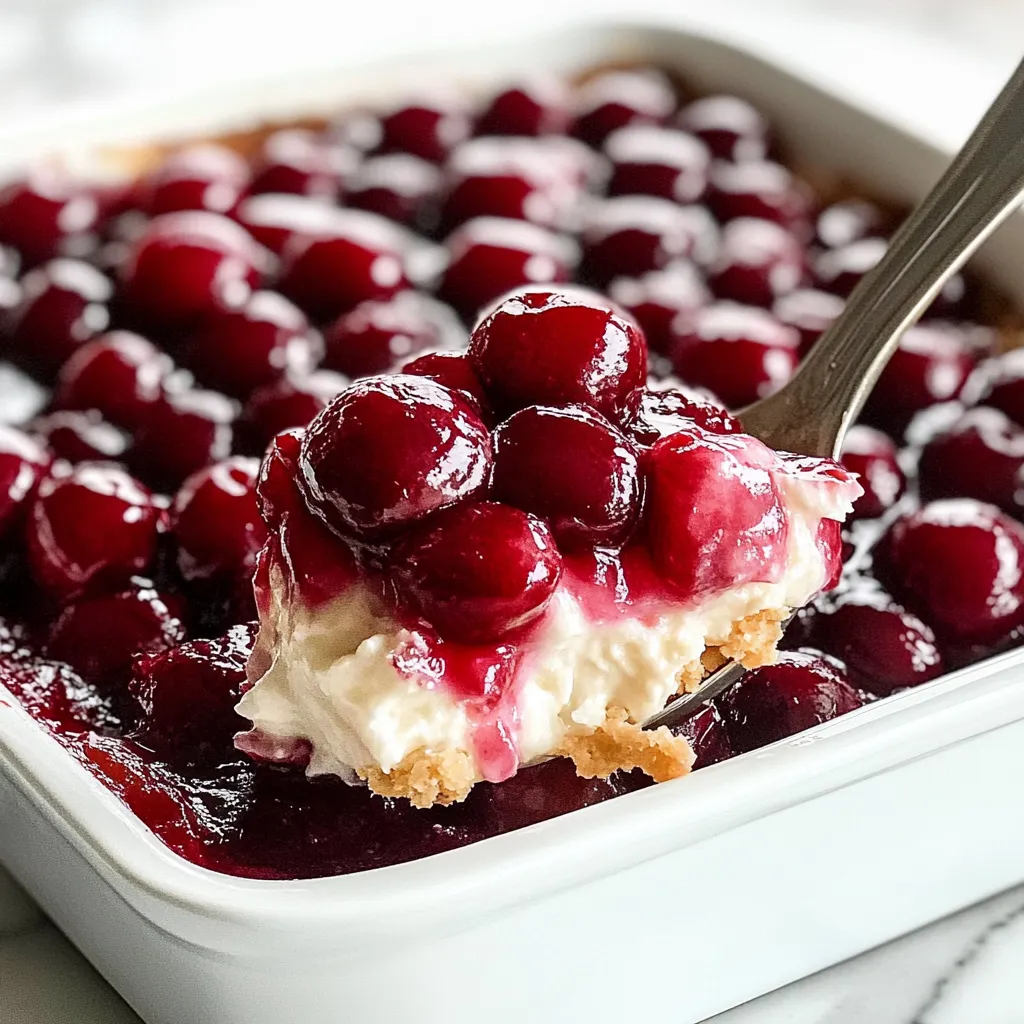
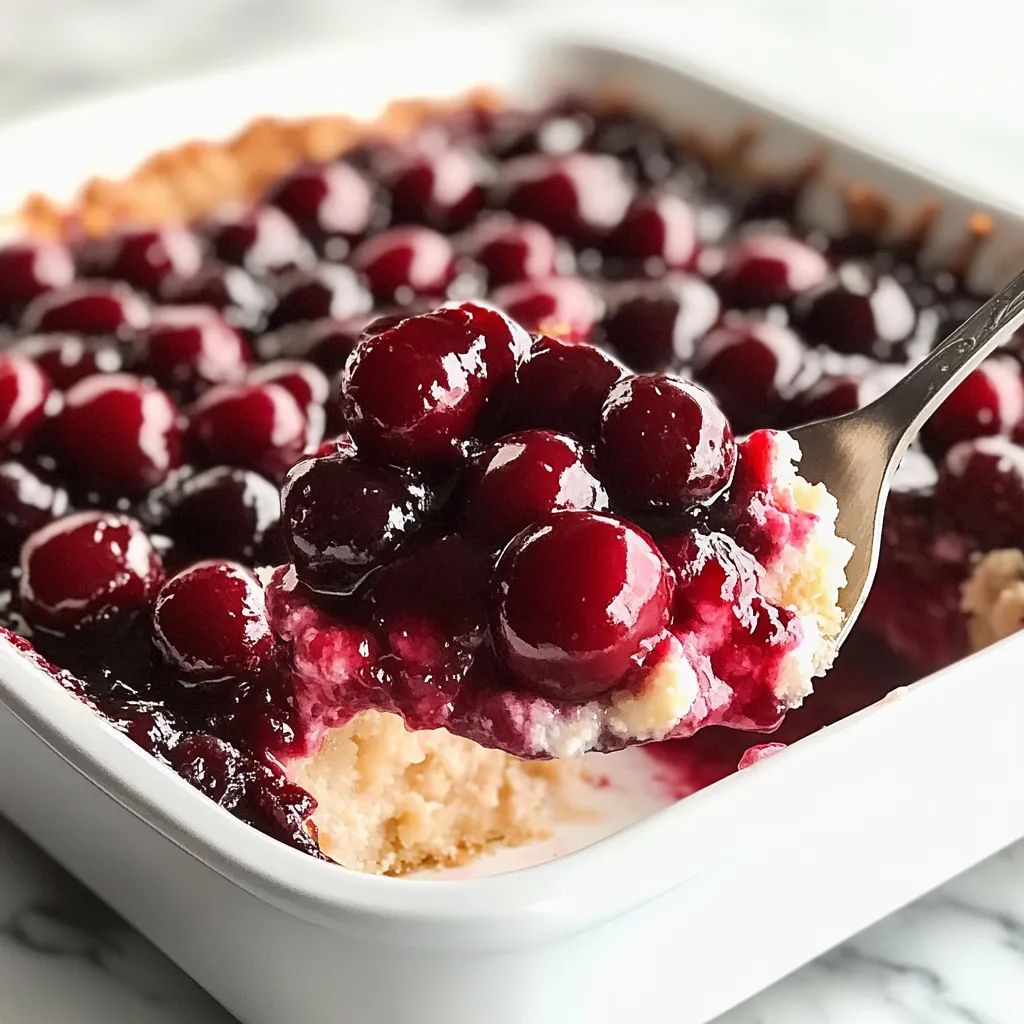
The magical blend of airy angel food cake, velvety cream cheese, and bright red cherries comes together in this dreamy no-bake treat. The incredible contrast between light cake chunks and luscious creamy sections, topped with vivid cherry goodness, turns this old-school dessert into a dazzling centerpiece for any party. Every bite delivers a wonderful mix of sweetness, tanginess, and multiple textures that turn basic ingredients into something truly special.
I've been using this as my go-to dessert for community potlucks and family events since I found it. I always smile when I see guests' eyes widen at those pretty layers. The first time I brought it to a Christmas dinner, I hadn't even made it back to my car before three different people wanted me to tell them how to make it.
Fantastic Ingredients Guide
- Angel food cake: Gives you that fluffy foundation; grab a good one from the store or make your own for best results
- Full-fat cream cheese: Makes the creamiest, most indulgent filling; just make sure it's nice and soft
- Premium cherry pie filling: Adds the best taste and look; try to find one with lots of whole cherries
- Pure vanilla extract: Makes everything taste better; skip the fake stuff
- Stabilized whipped topping: Helps your dessert stay pretty and perky
Delightful Preparation Process
- Cake Prep:
- Slice angel food cake into small, even cubes that'll soak up all the yummy flavors.
- Smooth Mixture:
- Whip the softened cream cheese till it's completely lump-free before adding other stuff.
- Easy Combining:
- Mix whipped topping with cream cheese blend using soft, sweeping movements.
- Pretty Stacking:
- Build alternating sections of cake, cream, and cherries for a wow-worthy look.
- Finishing Touch:
- Spoon remaining cherries on top, letting their juices create pretty red drips.
- Patience Part:
- Let it chill completely so everything comes together just right.
My grandma showed me this dessert at a family cookout years ago, and I couldn't take my eyes off it. She always told me that taking your time was the secret—carefully spreading each layer and letting it cool properly. Even now, I can almost hear her giving me pointers whenever I make it.
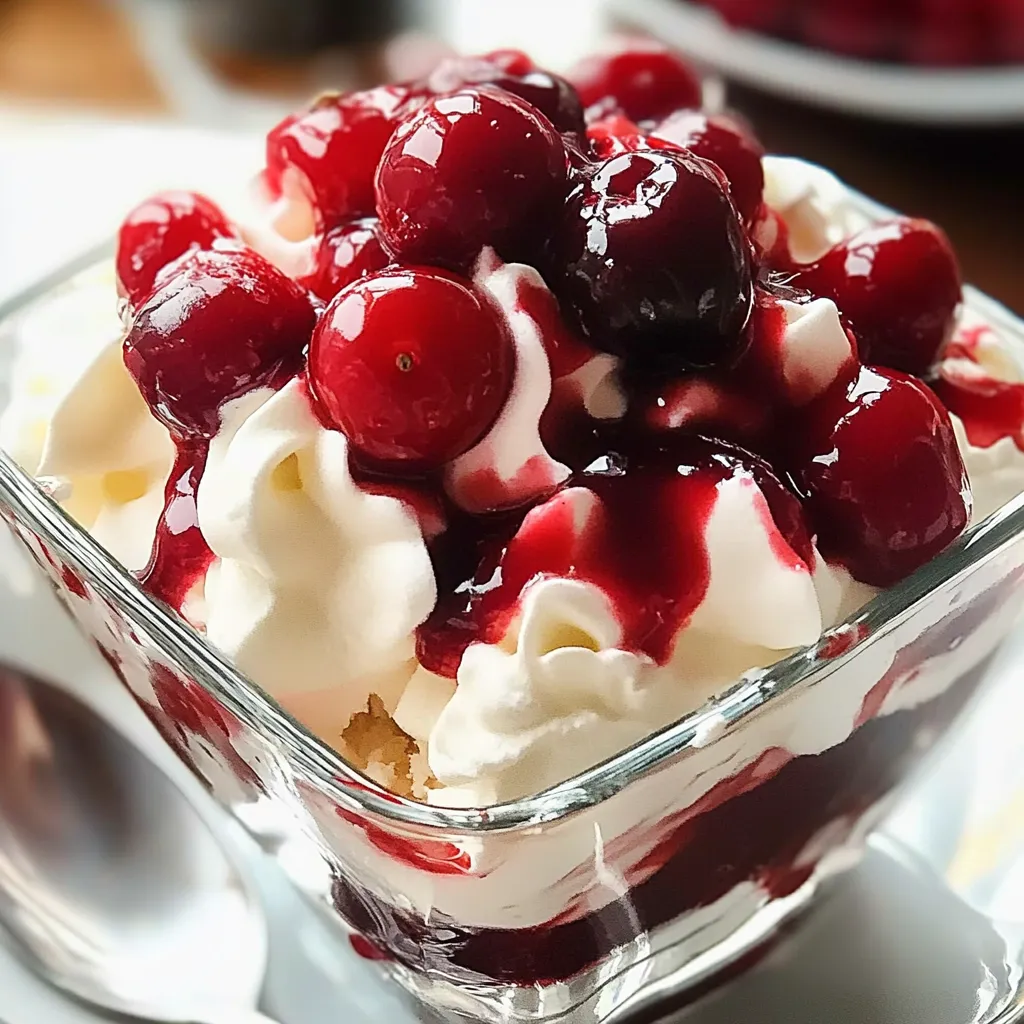
Wonderful Presentation Ideas
Show off this magical dessert in a see-through trifle bowl to highlight all those gorgeous layers. For smaller portions, put them in clear dessert glasses or little jars. A tiny bit of chocolate shavings or a fresh mint leaf on top makes it look fancy without going overboard.
Tasty Twists to Try
Switch things up by using different fruit toppings like blueberry or strawberry pie filling instead. Try adding a chocolate pudding layer between the cream cheese for a black forest feel. Or go tropical with crushed pineapple and coconut cream mixed into your filling.
Keeping It Fresh
Cover and keep in your fridge for up to three days, though it usually gets eaten way before that. You can make it a full day ahead if you want, just keep it cold until you're ready to serve. If you make personal portions, they'll stay good in airtight containers in the freezer for about a month.
After making this cherries in the snow dessert countless times, I've realized it's not just food – it gets people talking, creates memories, and builds family traditions. Whenever I serve it, I think about how something so pretty and tasty can bring so much happiness to the folks I care about.
Common Questions About This Recipe
- → Is this good to make in advance?
- Totally! Prep it a day ahead. In fact, it tastes even better chilled overnight.
- → Can fresh cherries work in this?
- Not really. You need cherry pie filling for that perfect thickness and sweetness.
- → What can replace Cool Whip?
- Whip up 3 cups of heavy cream with 2 tablespoons of sugar as a substitute.
- → Can this dessert go in the freezer?
- Freezing isn’t ideal. The creamy layer gets weird after thawing.
- → How long does it stay fresh?
- Wrap it up and refrigerate for up to 3 days.