
 Save
Save
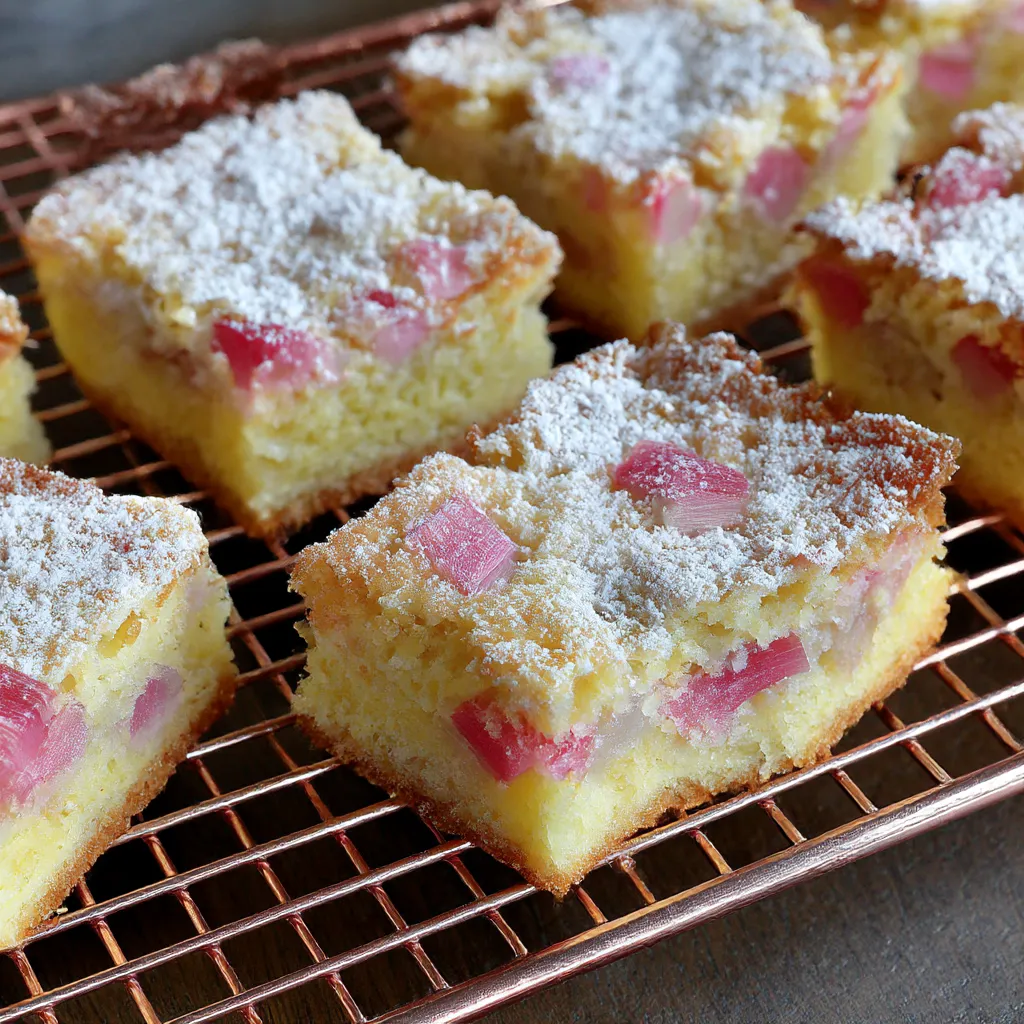
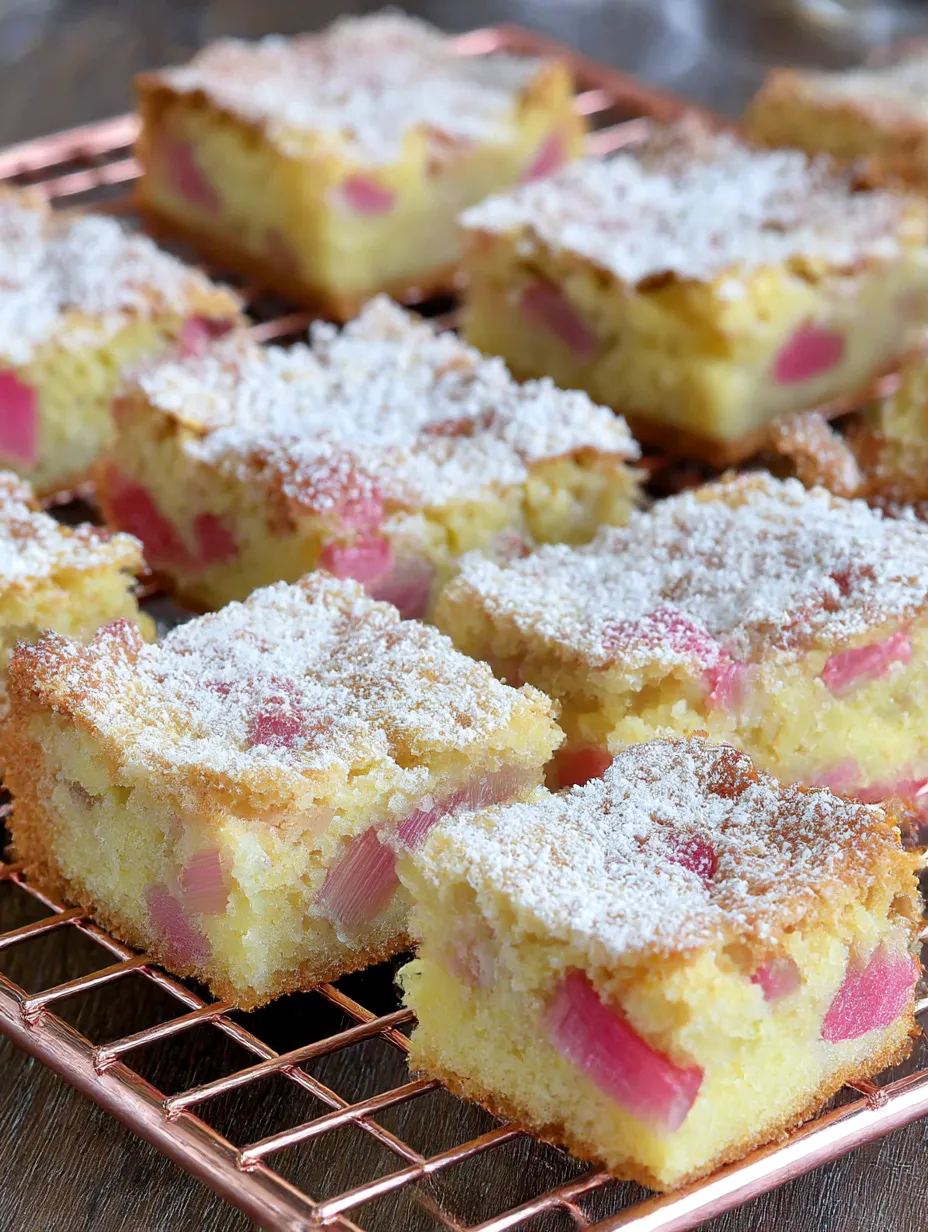
Perfectly sweet and with that signature tart flavor these 3 Ingredient Rhubarb Squares are my go-to for quick guests or a fuss-free afternoon treat I love how everything comes together in a single bowl and takes just thirty minutes from start to finish Minimal clean up and pure nostalgia in each bite
The bright tang of rhubarb always cheers me up and these squares are right at home next to a cup of tea I made these on a whim for a neighbor and now she requests the recipe from me at least twice every spring
Ingredients
- Canned condensed milk: this sweetens and binds so you do not need any extra sugar or eggs for this pick a can with no caramelization for the cleanest flavor
- Self-raising flour: gives that fluffy cake texture and saves a step since it already includes the leavening look for fresh flour to ensure a good rise
- Diced rhubarb: brings a tart punch and beautiful color look for crisp stalks with deep red ends for the prettiest result
- Confectioners sugar for dusting: totally optional but adds an elegant finish that makes them feel bakery special
If you want even redder rhubarb pieces
use the grenadine soaking trick and choose the brightest stalks you can find at the market
Step-by-Step Instructions
- Prepare Your Pan:
- Line a nine inch square cake pan with parchment paper and preheat your oven to three hundred fifty degrees Fahrenheit This makes it easy to lift the squares out clean later
- Mix the Batter:
- Stir together condensed milk and self-raising flour in a large bowl Use a sturdy spoon the batter will be very sticky and thick so make sure every bit of flour is blended in
- Fold in Rhubarb:
- Add diced rhubarb to the bowl Fold slowly so every piece is coated Take your time so the batter holds together
- Pan and Smooth:
- Scrape batter into lined pan Push it into the corners and flatten out the top with a spatula It is meant to be thick so do not worry if it looks dense
- Bake:
- Bake for twenty five minutes The bars will turn soft golden on the edges The rhubarb should look glossy and a little jammy
- Cool and Finish:
- Let everything cool fully in the pan Once set lift out and cut into sixteen neat squares Dust with confectioners sugar if you like for a sparkly touch
My favorite part is that tangy hint of spring from the rhubarb It reminds me of visiting my grandmother whose garden had endless rhubarb that we would chop without measuring just straight into the bowl
Storage Tips
Store cooled squares in an airtight container at room temperature for up to three days For longer freshness place them in the fridge where they will keep well for about five days They also freeze nicely Just wrap portions individually in plastic wrap before placing them in a container or freezer bag
Ingredient Substitutions
If you cannot find self-raising flour make your own by adding one and a half teaspoons of baking powder and a quarter teaspoon of salt to each cup of all purpose flour For the rhubarb swap in another tart fruit like gooseberries or chopped cranberries but nothing quite replaces that original spring flavor
Serving Suggestions
Enjoy these squares with a mug of black tea or strong coffee They also taste lovely topped with a bit of vanilla yogurt for dessert or crumbled over a scoop of ice cream at the end of a busy day
Cultural and Seasonal Notes
Rhubarb is one of those classic cold climate crops that show up right as the weather turns gentle Every North American backyard seems to have a scarlet clump in the corner of the garden These squares are a nod to rural farmhouse kitchens where no part of the rhubarb patch went to waste
Common Questions About This Recipe
- → Can I use fresh rhubarb instead of canned?
Totally, just chop up that fresh rhubarb and put it right in like the directions say.
- → What can I use if I don't have self-raising flour?
Mix regular flour and some baking powder—that’ll do the trick just fine.
- → Do I have to soak the rhubarb in grenadine?
Nope, it’s just for color if you want it. The bars taste the same either way.
- → How do I know when the squares are done baking?
The top’s gonna look done and light brown. Let them cool off all the way so you get neat slices.
- → Can these be made ahead of time?
For sure. Store them in a tight container on the counter and they’ll be good for a couple of days.