
 Save
Save
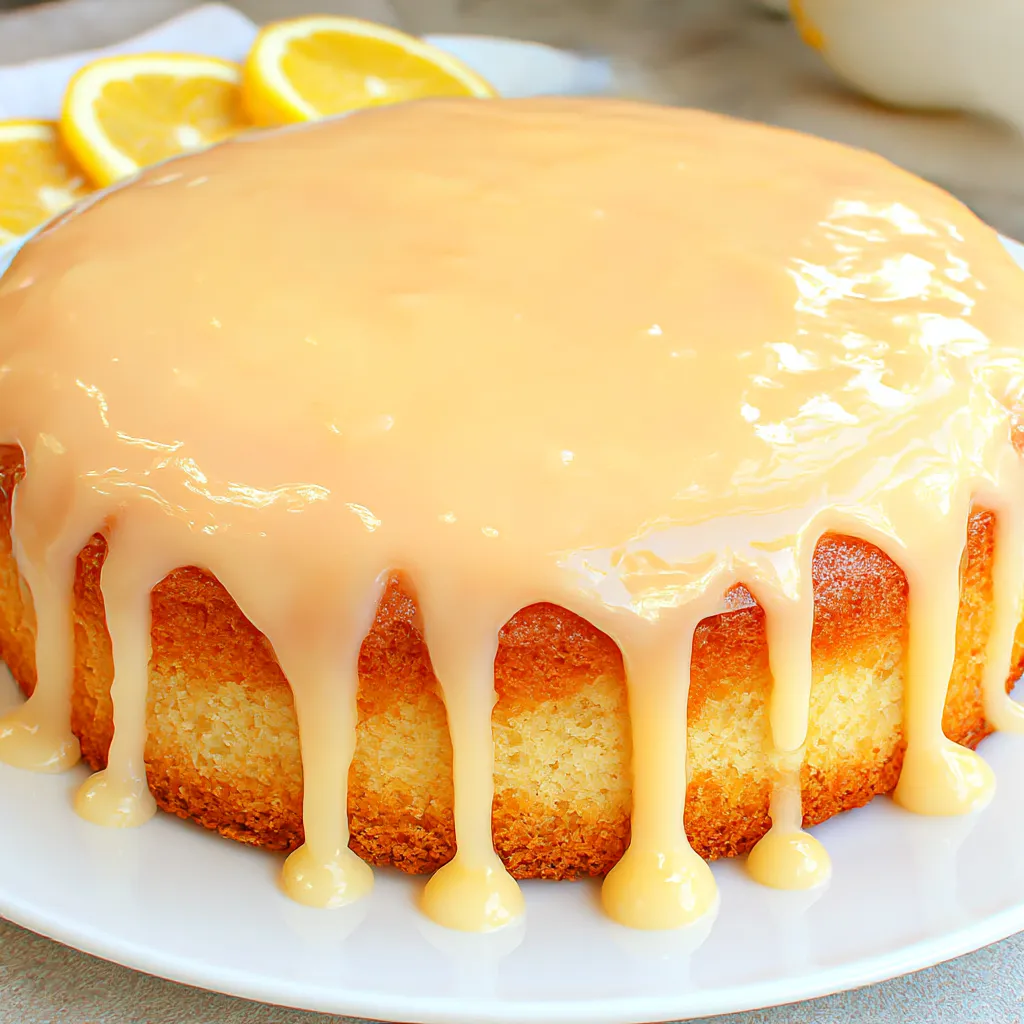
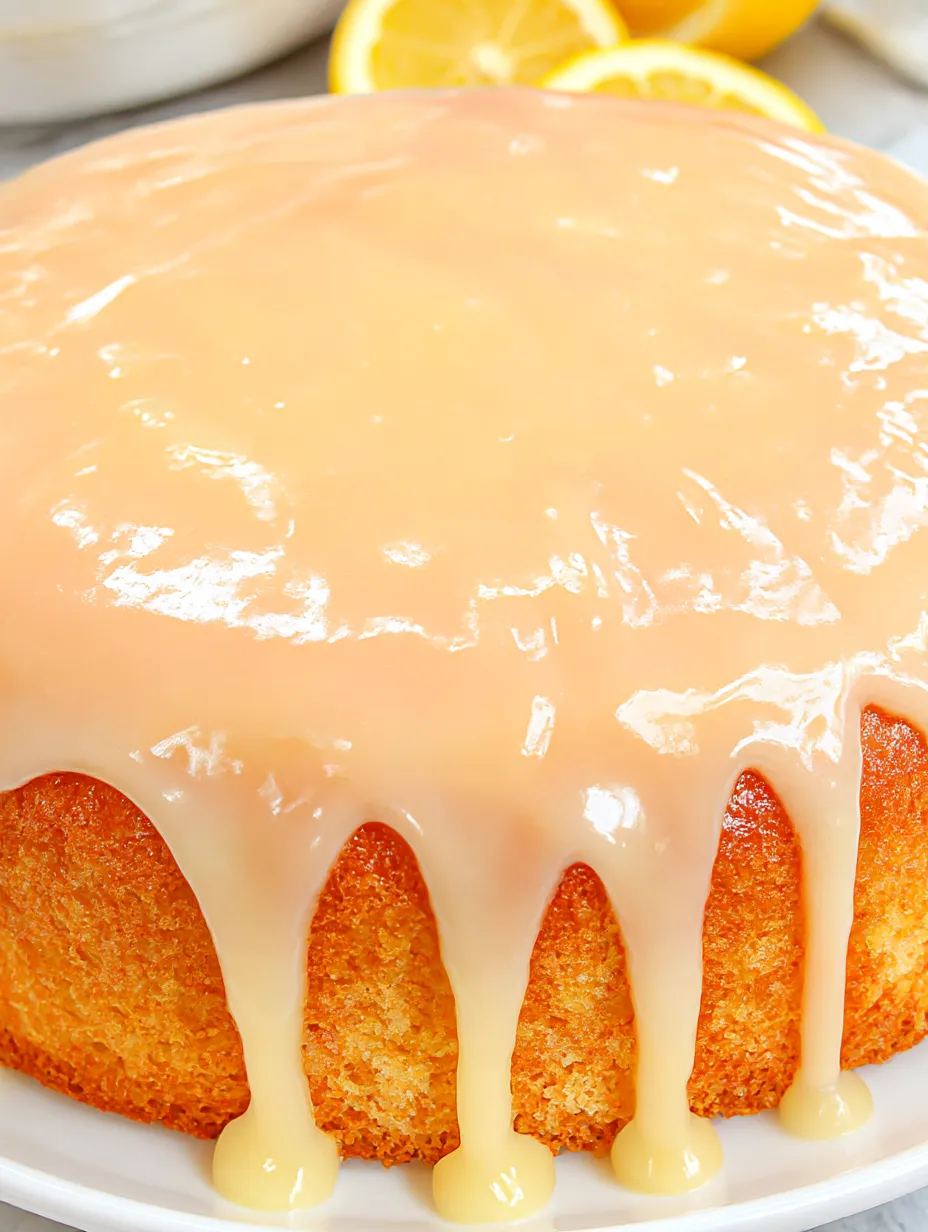
With this dreamy white mirror glaze, your cake turns into a stunner that could pass as something from a fancy bake shop. The glassy shine instantly makes anything look ultra special. First time I poured this silky goodness over a cake, no one believed I'd made it myself!
The first time I made this for my daughter’s birthday, I was sure it would flop but it set up perfectly and everyone wanted to know my trick.
Gorgeous Ingredients
- Gelatin powder: Holds it all together so you get a glass-gloss look Use plain, good-quality unflavored powder here
- Heavy cream: Lends the glaze a smooth rich finish and creamy mouthfeel Choose the full fat for best shine
- Water: Needed for activating the gelatin and to cook your sugar syrup Use filtered water for cleanest flavor
- Granulated sugar: Sweetens and thickens the glaze and dissolves nicely if it’s extra fine
- Food coloring (optional): Mixes in easily for whatever color you’re after Gel food coloring lets you keep the texture glistening
- White chocolate: The key step for both pretty shine and sweet taste Pick out the best chocolate bars you can afford
Easy Step-by-Step
- Serve It Up:
- Move your cake to a plate and wait for the crowd to be wowed
- Set and Forget:
- Leave your cake to rest for ten to fifteen minutes till the glaze is firmed up and touch-dry
- Smooth Quickly:
- Use a spatula fast to cover any bare bits before the glaze starts thickening up
- Glaze Time:
- Set your cake on a rack with a tray under it Start pouring at the center and let the glaze cover it from the top out to the edges
- Get Colorful (if you want):
- Stir in a couple drops of gel color if you like and mix well so the color is even all over
- Chill the Glaze:
- Give the glaze a rest till it’s about ninety degrees Fahrenheit That’s just right for pouring smoothly without melting the cake
- Strain for Smoothness:
- Push the blended glaze through a fine sieve to ditch any bits or bubbles for a perfect top
- Blend It All:
- Pop the whole mix into a food processor or blender Blend till it looks glassy and super silky This gets you the best shine
- Mix It Together:
- Toss the soft gelatin into your hot sugar syrup and whisk fast to melt it Pour that all over the chocolate and stir till it’s nice and uniform
- Melt the Chocolate:
- Drop your white chocolate into a microwave-safe bowl or double boiler and melt slow Stir well so you don’t get any lumps
- Make the Syrup:
- Heat sugar and water in a pot, stirring as you go Wait for it to softly boil, then pull it off
- Bloom the Gelatin:
- Sprinkle gelatin over cool water, let sit till it puffs up and looks spongy This makes sure it’ll melt in smoothly
Honestly, it’s the white chocolate that makes both the gleam and taste pop Every time I use it, I think of giggling with my sister as we tried to decorate cakes and ended up making a mess (but tasty messes!)
Keeping It Fresh
Pop your finished cake in the fridge without covering it for up to three days The glaze keeps the cake moist If you end up with extra glaze, store it airtight in the fridge and gently warm it when you’re ready to use again
Switch Ups
You can swap in white candy melts if you’re okay with a milder flavor For a no-dairy version, coconut cream is your pal Always use plain powdered gelatin so your glaze actually sets up
Ways to Show Off
For max shine, chill the cake before serving so you get super clean slices Glaze is gorgeous on little cakes and cupcake tops too Throw on some gold leaf or edible pearls for a fancier finish
A Bit of Backstory
French pastry chefs wanted desserts to steal the show so they made mirror glazes famous Instagram helped spread the trend Now you can nail those glossy French looks from your own kitchen
Common Questions About This Recipe
- → What's the point of using gelatin in mirror glaze?
Gelatin keeps the glaze firm and slick. It makes the top smooth and bright once you pour it on.
- → Is it alright to color the white mirror glaze?
You sure can. Add some gel food colors for bold looks and the glaze will still set perfectly.
- → How do I keep the glaze from getting bubbles?
Get it super smooth by blending well, then pour it through a fine strainer. That does the trick.
- → When do I pour mirror glaze for the best shine?
Let the glaze cool down to about 90°F, then pour over a really cold cake for an even, shiny coat.
- → How should I put mirror glaze on a cake?
Stick your cake on a rack over a tray. Start pouring in the middle and spread out fast with a spatula.