
 Save
Save
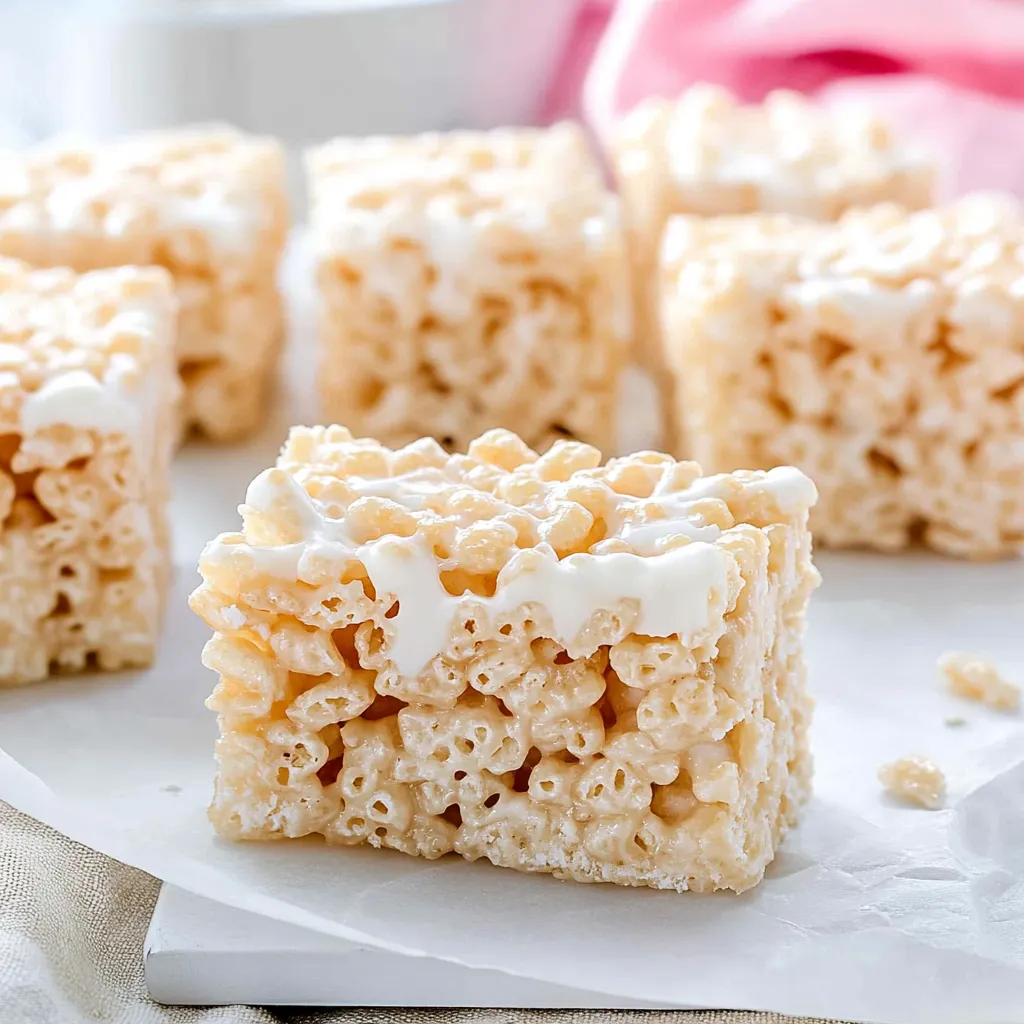
Turn basic ingredients into unbelievably chewy Rice Krispie Treats with this no-fail approach that makes thick, soft, vanilla-infused squares. This homemade version steps up the classic snack with specific methods and hidden components that build an amazing texture and taste that completely outshines the standard recipe.
After making batch after batch, I found that adding real vanilla extract and only using fresh components makes treats that seem like they're crafted with handmade marshmallows.
Key Ingredients
Salted butter creates wonderful taste contrast
New marshmallows guarantee the right consistency
Rice cereal needs to be completely fresh
Real vanilla extract brings richness
Additional marshmallows make stretchy pockets
Making Treat Wonders
Pick salted butter for better flavor.
Keep some marshmallows aside to mix in later.
Pour in real extract for fancy flavor.
Mix in cereal carefully without crushing.
Push down lightly to keep treats soft.
Dampen your fingers to stop the mixture sticking.
Spending years making these treats taught me that how you make them and what you use really matters.
Delightful Serving Suggestions
Make these treats extra fun by cutting them with cookie cutters into cool shapes. Put together an awesome snack board with different flavors side by side. When you're hosting, wrap each square in clear wrap with bright ribbons to give guests a take-home treat.
Tasty Twists
Switch things up to suit different tastes and events. Go with Cocoa Krispies if you love chocolate, or pick Fruity Pebbles for something bright and fun. Try a campfire version with Golden Grahams, or toss in some M&Ms for birthday or holiday fun. Every option still stays perfectly chewy but brings new flavors to enjoy.
Keeping Them Fresh
Your treats will stay yummy if you keep them in a sealed container or bag at room temp for about two days. Want to save them longer? Stick them in freezer bags and freeze up to three months. They'll thaw fast on the counter and still taste amazing.
Fixing Common Problems
Avoid these mistakes with some smart fixes:
- Treats too hard? Don't push down too much when shaping
- Hands getting messy? Wet your fingers before touching
- Weird texture? Always buy fresh stuff
- Treats coming out flat? Try a smaller baking dish
Smart Tricks
Toast the butter until golden for richer taste
Put in marshmallows twice for better texture
Line your pan with parchment for easy lifting
Always wet your fingers when patting down
My experience with Rice Krispie Treats started with simple snacks and grew into crafting the ultimate gourmet version. Just remember, truly outstanding treats come from good ingredients handled the right way, making a childhood favorite that tastes even better than you remember.
Common Questions About This Recipe
- → What's the deal with fresh marshmallows?
- Using fresh ones ensures smooth melting and the best results.
- → How do I avoid them sticking everywhere?
- Press them down with damp hands or fingers.
- → Is freezing these okay?
- Absolutely—layer with parchment and store in freezer bags.
- → Any way to make them gluten-free?
- Swap in gluten-free cereal and double-check marshmallow ingredients.
- → Why go easy on pressing them?
- Light pressing keeps the bars soft and fluffy.