
 Save
Save
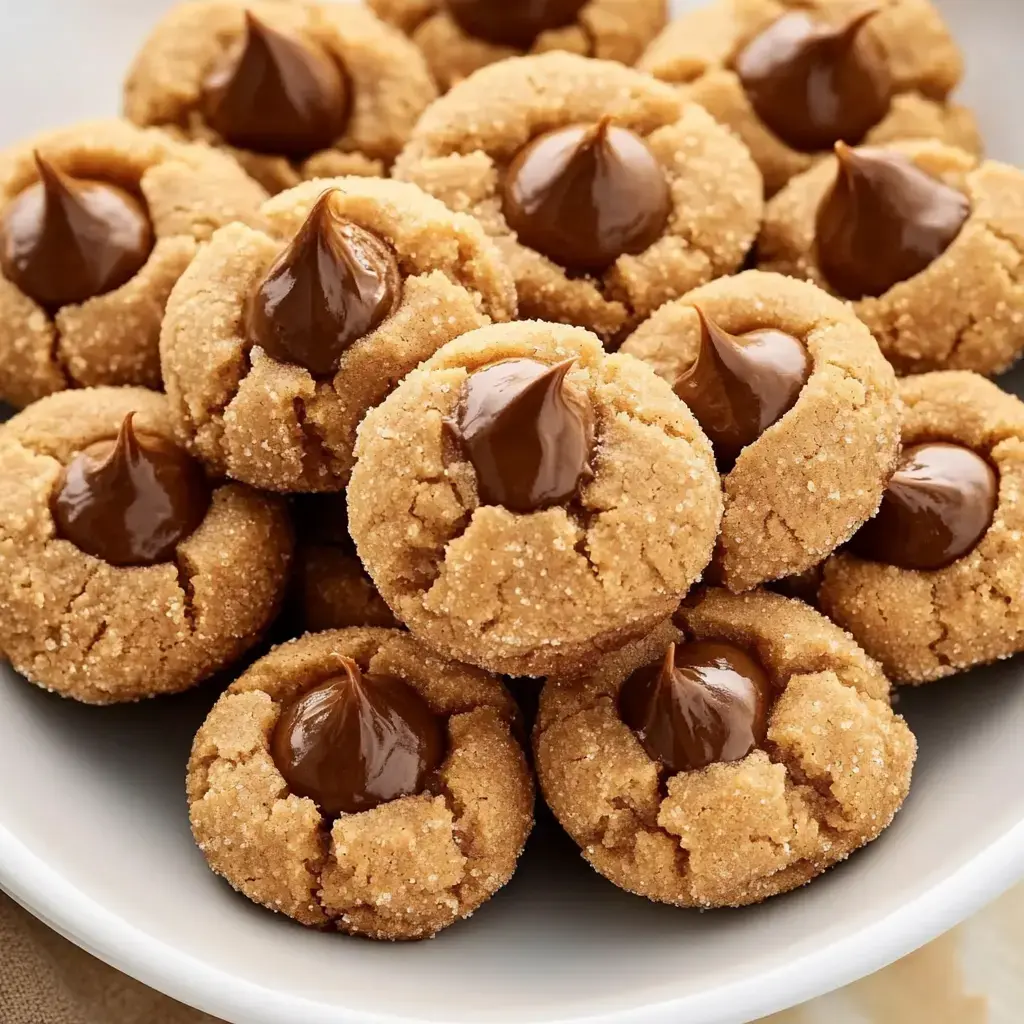
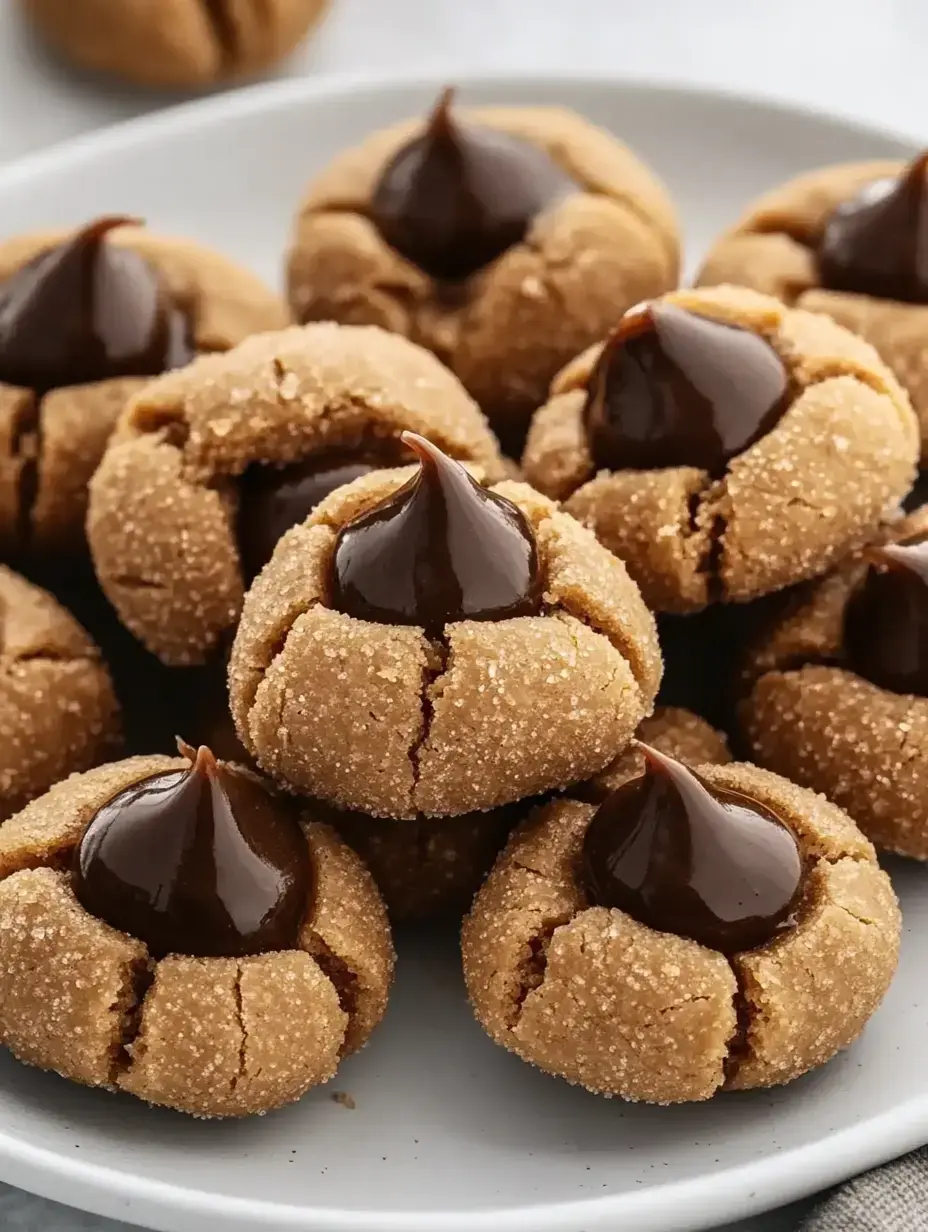
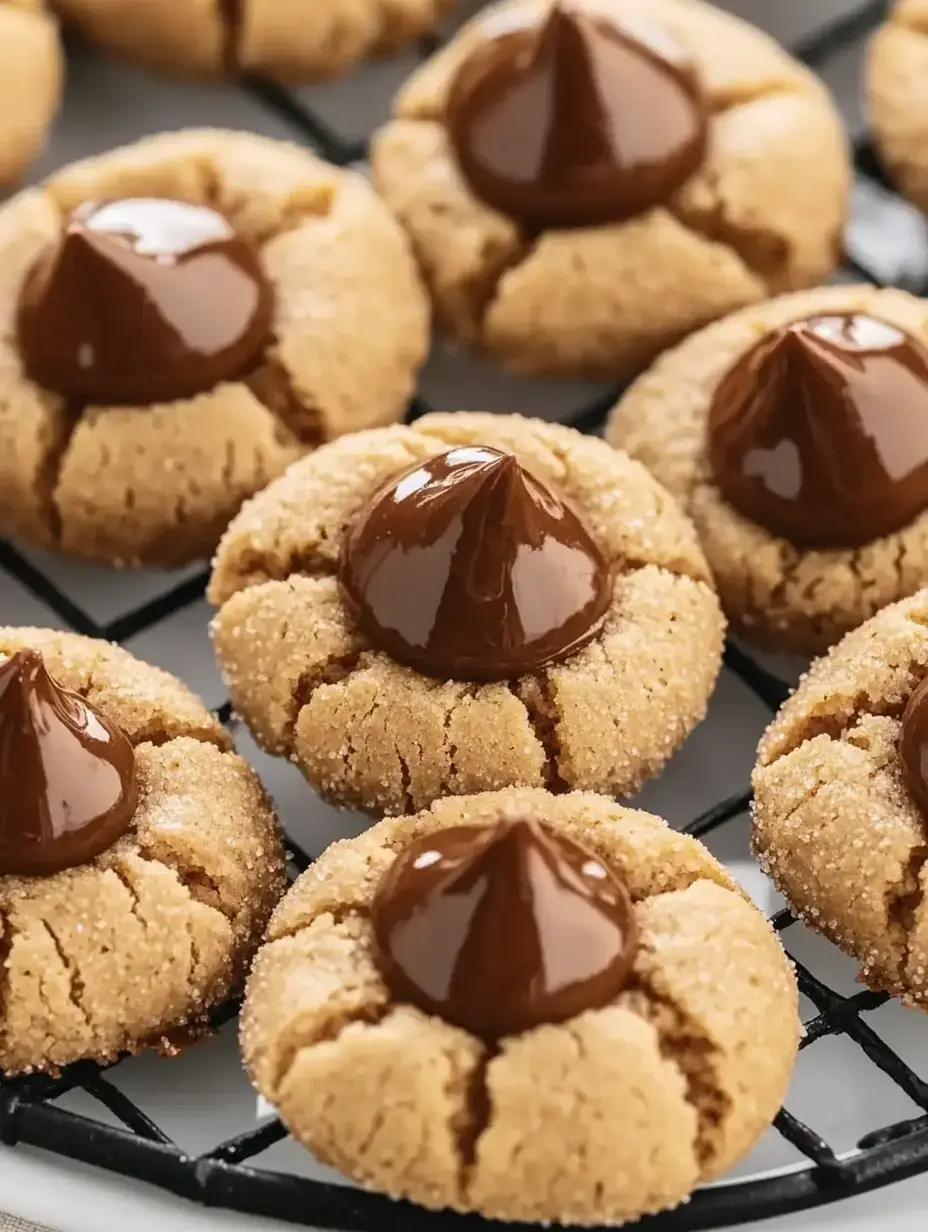
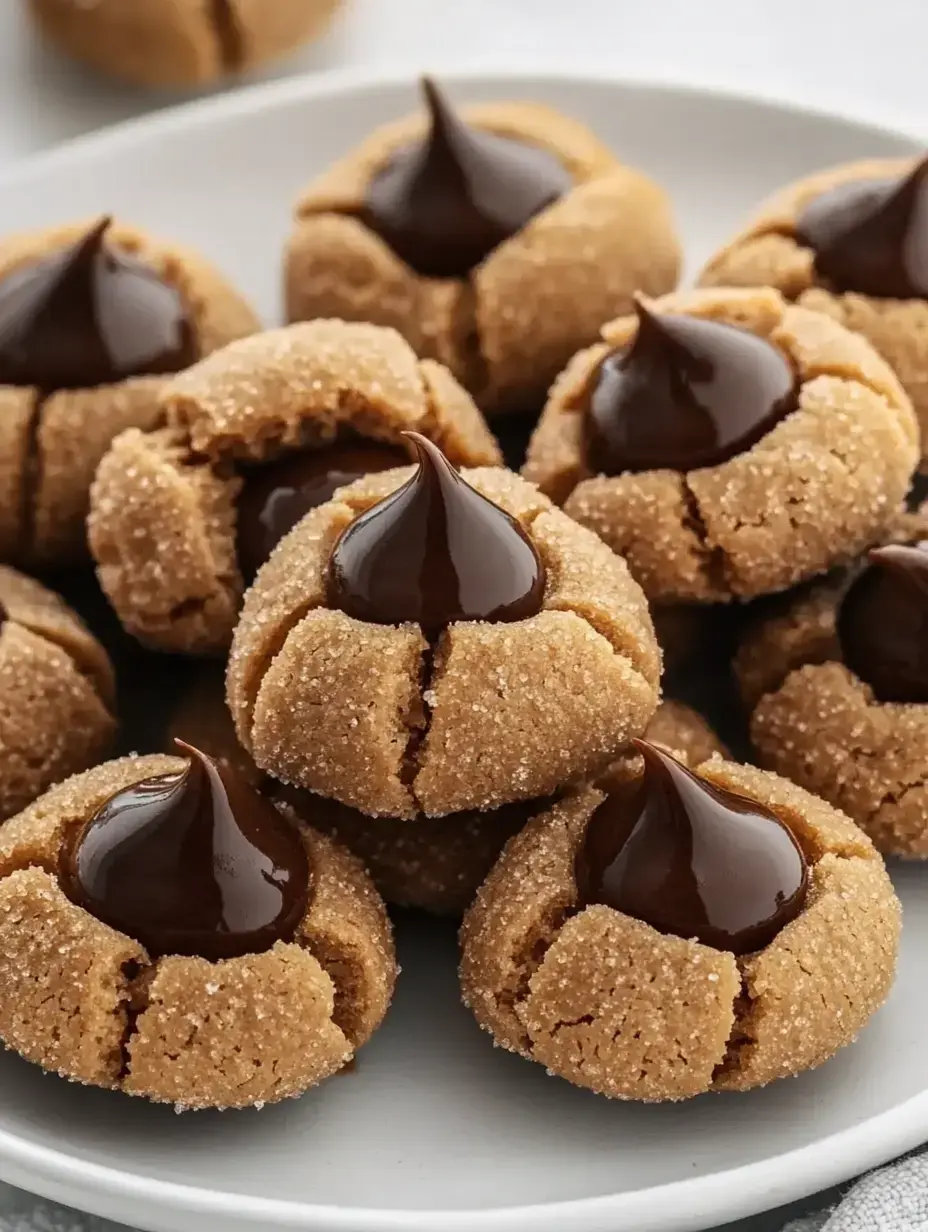
Whenever I whip up these peanut butter blossoms, my home overflows with the most wonderful memories. These sweet treats, featuring their tender peanut butter base and that classic chocolate kiss nestled on top, always get everyone smiling. I've been creating these delights since my early days cooking in grandma's kitchen, and they still warm my heart each time I make them. There's something truly special in every bite.
Check Out How Simple These Come Together
BASIC STUFF: I always have these things ready in my cupboard: flour, baking soda, salt, smooth peanut butter (we can't get enough of JIF at our house), butter, white sugar, brown sugar, an egg, vanilla, and those famous Hershey's Kisses.
EASY PROCESS: We'll combine our dry stuff first, then beat the peanut butter-butter mix with our sugars, drop in an egg and vanilla, and mix everything up. After cooling the dough, we'll coat our balls in sugar, bake them just right, and top each with a chocolate kiss.
TIMING AND AMOUNT: It'll take roughly 2 hours and 25 minutes (mostly just waiting for dough to chill), and you'll end up with 28 beautiful cookies.
Why This Recipe Won't Let You Down
I've played with this recipe for years and found some real game-changers. First off, don't skip chilling the dough—it's what helps our cookies hold their shape instead of turning into flat discs. My best tip? I store Hershey's Kisses in the freezer—they're way easier to handle when cold. My friends at cookie swaps always want to know my secret for such picture-perfect treats. And the taste? Just the right balance of sweet and nutty—they'll quickly become your favorite too.
Round Up Your Supplies
Here's what you'll want for these pantry favorites:
The peanut butter gives that deep nutty taste we all crave. Sugar coating adds such a beautiful shine. The chocolate kisses make the perfect finishing touch.
Grab these at the store:
- 1 ½ cups flour
- ¾ teaspoon baking soda
- ½ teaspoon salt
- ¾ cup smooth peanut butter
- ½ cup unsalted butter, softened completely
- ⅓ + ½ cup white sugar (⅓ for the dough, ½ for rolling)
- ⅓ cup packed light brown sugar
- 1 large egg at room temp
- 2 teaspoons vanilla
- 28 Hershey's Kisses (stick these in the freezer right now!)
Smart Substitution Ideas
Through countless batches of these cookies, I've tried some tasty twists that my family can't get enough of:
- I sometimes mix in half crunchy peanut butter for some bite—the kids go wild for this version!
- Give turbinado sugar a shot for rolling—it makes them extra sparkly with a lovely crunch.
- My husband's top pick? Switching to dark chocolate kisses for a more grown-up flavor.
- Try this sneaky change—a tiny drop of almond extract instead of vanilla. Just use a smaller amount as it's more powerful.
- My kids love picking special colored sugars for rolling during holidays—Christmas red and green always looks amazing!
Let's Get Baking
Get ready for your house to smell amazing! I've made these countless times and I'll walk you through all my little tricks.
QUICK NOTE: Don't rush your butter softening in the microwave—let it happen naturally on the counter! Same with your egg—room temp really matters here.
STEP ONE: First, whisk your flour, baking soda, and salt together in a bowl. Put this aside for later.
STEP TWO: Now for the good part! Blend your peanut butter, soft butter, and both sugars until they're smooth as silk. I find medium speed on my hand mixer works perfectly for this.
Working Your Cookie Magic
STEP THREE: Now add your egg and vanilla. Keep mixing until everything looks totally blended. I love watching it all come together!
STEP FOUR: Slowly mix in those dry ingredients. I always run my spatula around the bowl to catch everything. Your dough should feel soft but not sticky to touch.
The Key to Amazing Results
STEP FIVE: Now comes the waiting game! Cover your bowl and stick it in the fridge for at least an hour. Sometimes when I'm busy, I leave mine overnight and they turn out fantastic. Don't skip this cooling step—it's what makes these cookies stand out from the rest.
Prepping For The Oven
STEP SIX: While waiting, get your baking sheets ready with parchment paper—nothing ever sticks to it! Put some sugar in a small bowl for coating. This is when I start feeling excited—the best part is just ahead!
Time To Form Your Cookies
STEP SEVEN: This part is so satisfying! Grab portions of dough (my 1½ tablespoon scoop is spot-on), roll them into balls, and coat them in sugar. Place them on your lined sheets. Each one is like a little promise of something delicious coming soon!
QUICK TIP: Keep track of your oven's actual temperature. Each oven runs a bit differently, and these treats deserve perfect timing.
Final Steps Before Baking
STEP EIGHT: Set your oven to 350°F. While it warms up, put your cookie sheets with the sugar-coated dough balls back in the fridge. This extra chill time is my trick for cookies that stay nicely shaped. I learned this the hard way, so trust me on this one!
Into The Oven They Go
STEP NINE: Arrange about 9-12 cookies per sheet—they need space to grow! Bake them for 10-12 minutes. Look for slightly golden edges and tiny cracks forming in that pretty sugar coating.
HANDY TIP: Don't forget those kisses in the freezer! Keep them cold until you need them. Cold chocolate keeps its shape better when pressed into warm cookies!
The Finishing Touch
STEP TEN: Here's where timing counts! Take those cookies out and right away press a cold Hershey's Kiss into the middle of each one. I love seeing them sink slightly into the warm cookie.
STEP ELEVEN: Let them sit on the hot baking sheet for five minutes—don't skip this! Then move them to a cooling rack. The toughest part now? Waiting until they're fully cooled!
Ways To Enjoy Your Creation
These cookies work for just about any occasion! They're perfect with afternoon coffee or tea. At cookie swaps, they're always the first ones gone. Sometimes I'll serve them alongside vanilla ice cream for something extra fancy. And don't miss my other cookie recipes—they're just as reliable!
When To Serve These Sweet Treats
I've brought these cookies to all kinds of gatherings. They're instantly recognized stars at holiday cookie exchanges!
They make the coziest Christmas Eve snack next to a mug of hot chocolate.
Wrap them in cute containers for thoughtful holiday presents.
My kids beam when they find these in their lunchboxes.
They shine on any dessert spread, holiday or not.
And sometimes, I bake them just because—who needs a special reason for cookies?
Storage Tips For Later
Want to plan ahead? Here's what works best:
EARLY PREP: The dough can stay in the fridge overnight—just wrap it well.
KEEPING FRESH: They'll stay good in a sealed container for five days—if they last that long in your house!
FREEZING OPTION: Need to save some? These freeze really well for up to two months. Just let them thaw on the counter when you're ready to enjoy them.
Fixing Common Cookie Problems
After making these tons of times, here's how I fix the usual issues:
- Cookies spreading too flat? Your dough got too warm. Cool it down in the fridge!
- Chocolate kisses turning too soft? Make sure they're super cold, and don't push too hard.
- Cookies seem dry? You might have too much flour. Try spooning flour into measuring cups instead of scooping.
- Sugar not sticking well? Roll the balls right after you form them.
What Makes These Stand Out
These aren't just any cookies—they're little moments of happiness! Peanut butter and chocolate go together for good reason. My testing buddies and I worked tons to get the texture just right—soft inside with enough structure to hold that chocolate top. Even first-time bakers can nail these—that's a promise!
Common Questions Cleared Up
Here's what people ask me most:
- Don't use natural-style peanut butter—the regular creamy kind works way better.
- You can totally freeze the dough balls! Just roll them in sugar before you bake.
- Always keep those kisses cold—it really matters for pretty-looking cookies.
- Feel like trying something new? Other chocolate types work great—just keep them roughly the same size.
Baking Memories
Making these peanut butter blossoms always connects me to those special times baking with my grandma. They're more than just cookies—they're wrapped in memories of messy aprons and kitchen giggles. I hope they become part of your family stories too. Enjoy your baking!
Common Questions About This Recipe
- → How does freezing the kisses help?
Chilling the chocolate kisses ensures they stay solid when added to hot cookies, keeping their iconic shape while sticking perfectly.
- → Can I prep the dough before baking?
Totally! Store the dough in the fridge, tightly covered, for up to 2 days. Keep it fresh by wrapping well to avoid dryness.
- → Why are my cookies overspreading?
To prevent spreading, chill the dough balls before baking and don’t skip cooling unused batter. Warm dough leads to flatter cookies.
- → Could I switch to crunchy peanut butter?
Creamy peanut butter gives consistent texture. Crunchy might make your cookies uneven or change how they spread.
- → How should I store these cookies?
Place them in an airtight container at room temp for no longer than 5 days. Use wax paper between layers to keep the kisses intact.