
 Save
Save
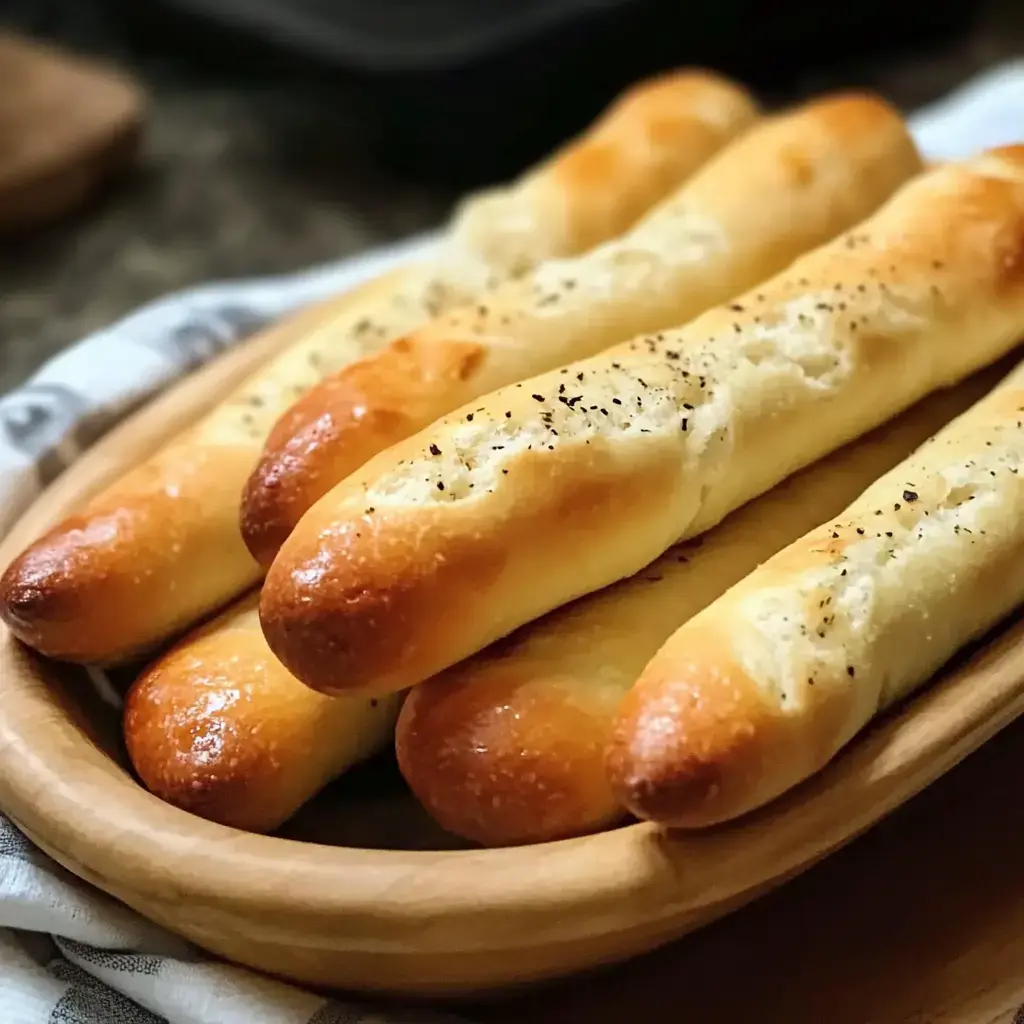
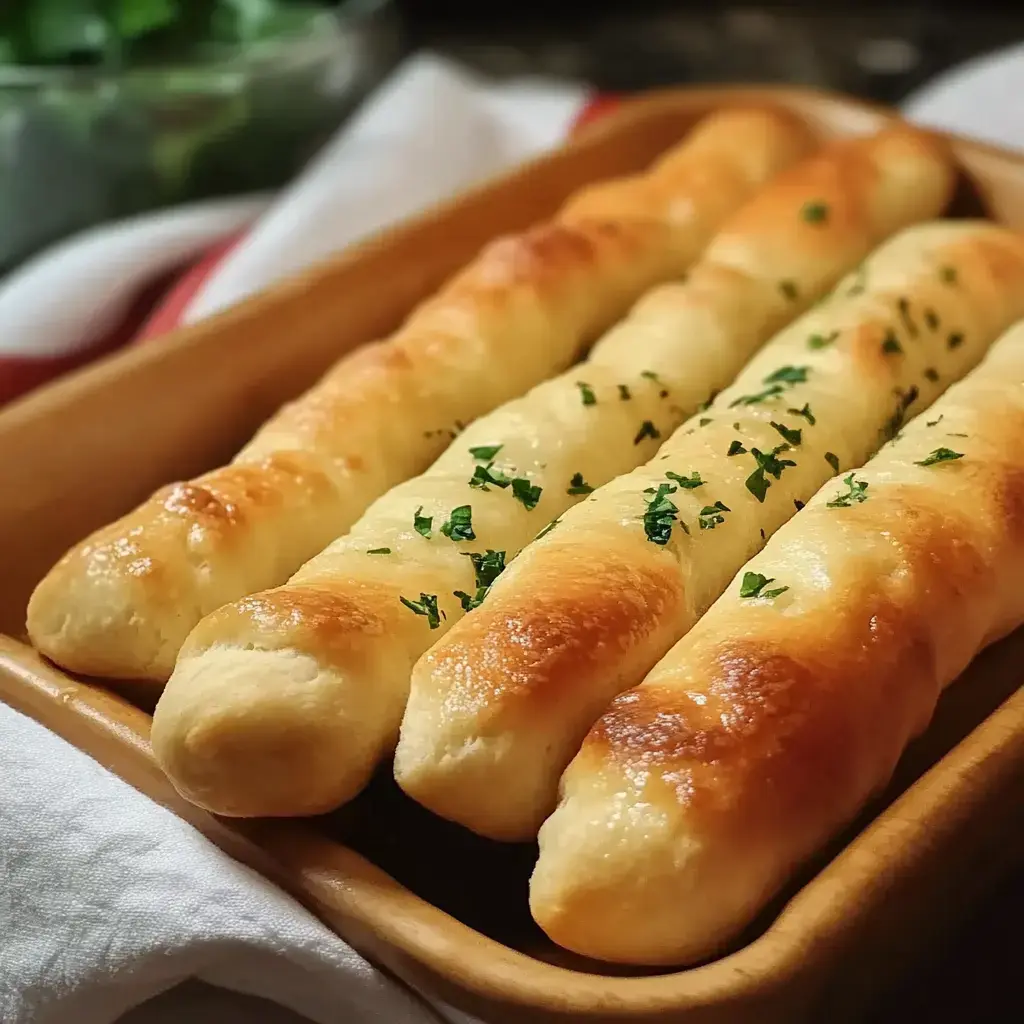
Homemade Italian-Style Soft Buttery Breadsticks
I've nailed the formula for those irresistible restaurant-style breadsticks everyone goes crazy for. Through many kitchen experiments, I've mastered creating these soft, golden-brown delights that mirror the famous ones we all crave. The magic lies in the well-matched combo of butter, salt and garlic powder that gives them that memorable flavor we can't get enough of.
How These Became a Family Favorite
Since figuring out this breadstick method, I can't imagine buying them again. They're identical to restaurant versions but taste even better coming straight from my own oven. I'm so happy I can whip them up without any additives and have them piping hot whenever the family asks. They match perfectly with everything from hearty soups to my favorite pasta.
Simple Ingredients You'll Need
- Water: Make sure it's warm (110°F/43°C) to wake up the yeast and form your dough.
- Garlic Powder: This gives that classic restaurant taste we all love.
- Salt: You'll need this for the dough and the tasty topping.
- Butter: Get unsalted for both mixing into dough and brushing on top.
- Flour: Regular all-purpose works great for a stretchy, soft texture.
- Sugar: Just a bit gets the yeast working.
- Yeast: The active dry kind makes them rise beautifully.
Breadstick Making Process
- Add the Topping
- When they're still warm, brush your breadsticks with melted butter and sprinkle plenty of garlic powder and salt to get that famous restaurant flavor.
- Bake
- Pop them in at 350°F (175°C) for about 20–25 minutes, giving the tops a light spray with cooking oil for that gorgeous golden color.
- Let Them Rise
- Put your shaped dough on a baking sheet lined with silicone, cover with a kitchen towel, and wait until they grow twice as big.
- Shape the Breadsticks
- Form the dough into a long roll and cut into equal pieces. Make each into a 6-inch stick by rolling outward from the middle using both hands.
- Prepare the Dough
- Get your yeast going in warm water with a bit of sugar. Combine with flour, salt, and melted butter using a mixer's paddle, then switch to the dough hook until everything's smooth and stretchy.
Tricks I've Learned Along the Way
After tons of tries, I've found that checking your yeast mixture for bubbles is super important - it means everything's working right. I always reach for my silicone baking mats now, they make cleanup so quick and help cook the breadsticks just right. Want smaller sticks? Just cut the dough into more pieces before shaping.
Perfect Pairings for Your Meal
We love dipping these breadsticks in homemade Alfredo or tomato sauce at our dinner table. They go amazingly with a hot bowl of Toscana soup or my take on Chicken and Gnocchi. There's something about their buttery softness that really takes every meal up a notch.
Common Questions About This Recipe
- → How long will they stay fresh?
Keep them in an airtight plastic bag at room temperature for two days. Warm them briefly before serving for the best flavor.
- → Can you freeze these breadsticks?
Absolutely! Bake them first, let them cool completely, and freeze wrapped tightly for up to three months. Heat them in the oven after thawing before enjoying.
- → Why is two rises necessary?
The first rise gives the dough flavor, and the second one makes them soft and airy. Skipping either step will change the texture.
- → How can I shape them correctly?
Use your hands to roll each piece outward from the middle. Aim for about a ¾-inch thickness to keep them looking classic and bake evenly.
- → How will I know when the dough’s ready?
Check if it’s doubled in size. In a warm spot, this takes around one hour the first time, and 30-60 minutes for the second rise.