
 Save
Save
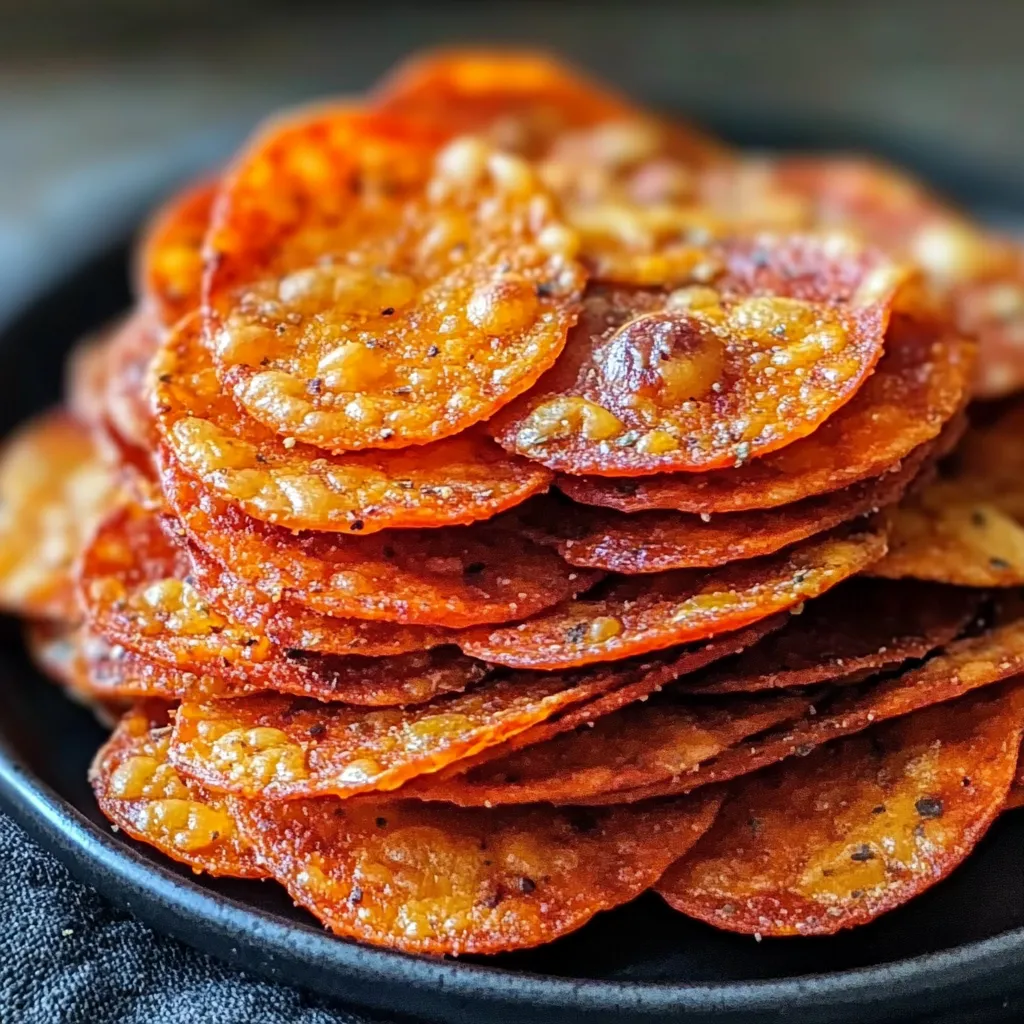
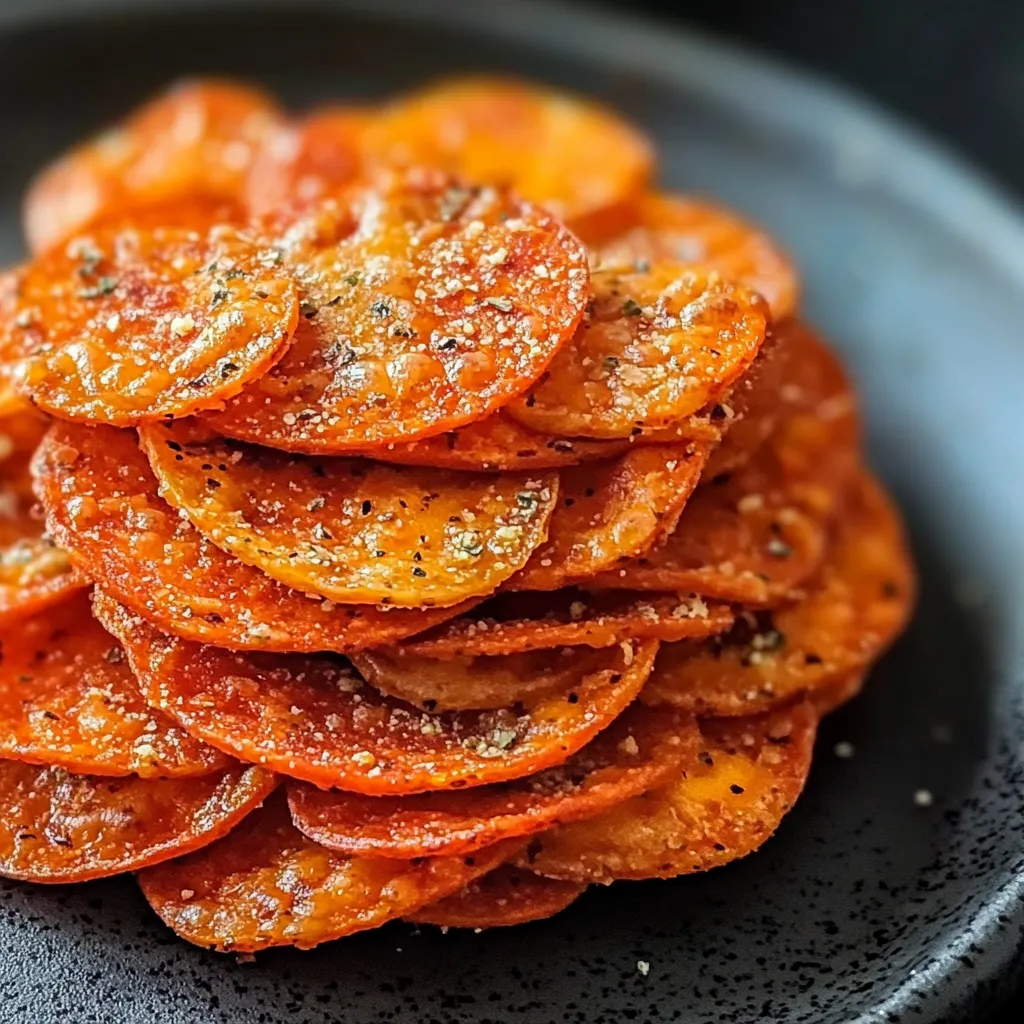
These Pepperoni Cheese Crisps turn basic items into addictive bites of crunchy, tasty goodness. When cheese melts around pepperoni, it creates golden crisps that pack amazing flavor in every mouthful. Using just three things and a muffin pan, you'll whip up a crowd-pleaser in no time, great for everything from casual TV nights to fancy get-togethers.
I came up with these crisps while trying to make low-carb snacks for our family game nights. The way the cheese turns golden-brown around the pepperoni makes this amazing taste that had everybody grabbing more. My little grandson calls them "pizza chips" and always asks for them whenever he stops by.
Key Ingredients:
- Cheddar Cheese: Go for sharp cheddar to get that bold taste and smooth melt. Grate it yourself since the bagged stuff has additives that mess with how it melts
- Mozzarella Cheese: Pick whole-milk mozzarella for that perfect stretch and mild, creamy flavor that works so well with the stronger cheddar
- Pepperoni: Get standard pizza-sized pepperoni with good meat-to-fat balance. The fat helps make them crispy and keeps them from sticking
Step-by-Step Guide:
- Start by heating your oven to exactly 375°F (190°C).
- Put the rack in the center so heat spreads evenly for perfect browning
- Put single pepperoni slices into each spot of a non-stick muffin tin,
- pushing down slightly so they form little cups to hold the cheese
- Combine your freshly shredded cheddar and mozzarella in a bowl until they're mixed well.
- This makes sure each crisp has both cheeses blended properly
- Drop the cheese mix onto each pepperoni slice,
- keeping it in the middle. About 1 tablespoon per crisp works best
- Keep an eye on them as they cook for 8-10 minutes.
- You want dark golden edges with a slightly softer middle - this mix gives the best texture
- Let them sit in the pan for exactly 5 minutes after baking.
- During this time, they'll firm up and get that fantastic crispy feel
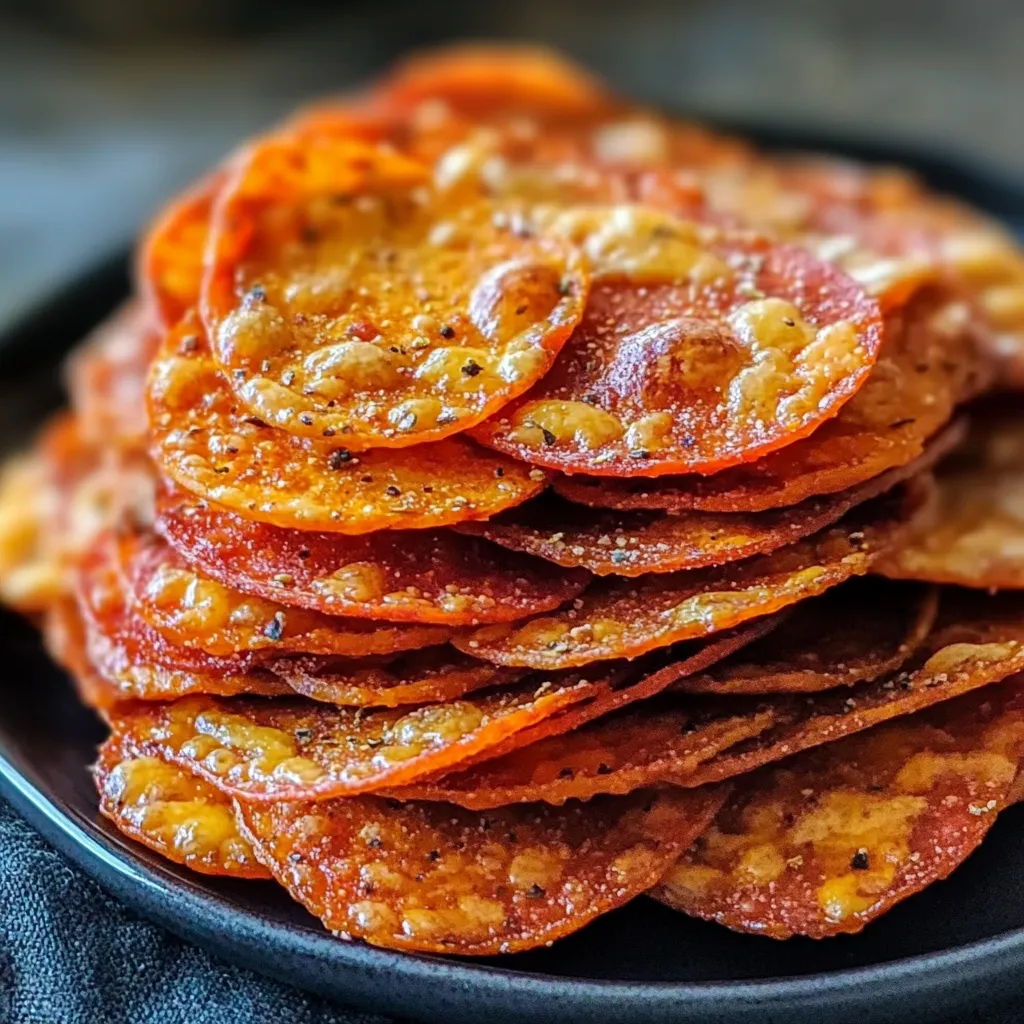
I really love the sharp cheddar in this. Coming from Wisconsin, I learned early that quality cheese changes everything. Those crispy, lacy edges remind me of how my grandma's grilled cheese sandwiches would get those crunchy bits of cheese around the sides.
Nothing goes better with these crisps than fresh marinara for dipping. There's something magical about dunking a hot, crispy edge into cool sauce - that temperature difference is just fantastic. Even the fussiest eaters at my table can't turn these down when they're fresh from the oven with their favorite dip.
Keeping and Serving:
Store any extras in a sealed container with paper towels lining the bottom. The towels soak up extra oil, helping them stay crunchy. While they'll last up to three days in the fridge, they're much better eaten within a day. Don't use the microwave to warm them up - instead, put them in a 375°F oven for 3-4 minutes until they get crispy again.
Different Ways to Make Them:
You can switch these up so many ways. Try using prosciutto instead of pepperoni for a fancier snack, or go with turkey pepperoni for something lighter. Sprinkle on some Italian herbs or red pepper flakes before cooking to change the flavor. My family really likes them with a tiny basil leaf stuck into the cheese before they go in the oven.
Fixing Common Problems:
The trick to stop sticking is waiting long enough after cooking. If you try to take them out too soon, the cheese won't be set right. Also, make sure your muffin tin is totally clean before you start - any leftover stuff can make them stick.
Expert Kitchen Tricks:
Warm up your muffin tin for 2 minutes before adding the pepperoni. This creates a quick sear that helps prevent sticking
Dab your pepperoni with paper towels first to remove extra oil and make them super crispy
Get perfectly sized crisps by using a small cookie scoop for measuring out your cheese mix
After making these crisps for years, I've come to see them as more than just a snack. They show how simple stuff, handled right, can turn into something special. Whether you're putting them out at a fancy party or munching on them during a quiet night in, these pepperoni cheese crisps always make people happy. The mix of crispy, salty, and cheesy makes them impossible to resist, and they fit in anywhere, no matter what kind of gathering you're having.
Common Questions About This Recipe
- → How long will these stay fresh?
- They keep well in the fridge for 3 days. Reheat in the oven to regain that crunch.
- → Can I swap the cheese type?
- Absolutely! Parmesan or Monterey Jack work well. Stick to firm cheeses that melt evenly.
- → Why aren't mine crispy?
- Bake a minute or two longer, but keep an eye on them to avoid burning. Preheating to 375°F is key too.
- → Are they good for keto?
- Yep, they fit perfectly with zero carbs and enough protein.
- → Can I skip the muffin pan?
- You can try using a lined baking tray. Just know they may spread out more.