
 Save
Save
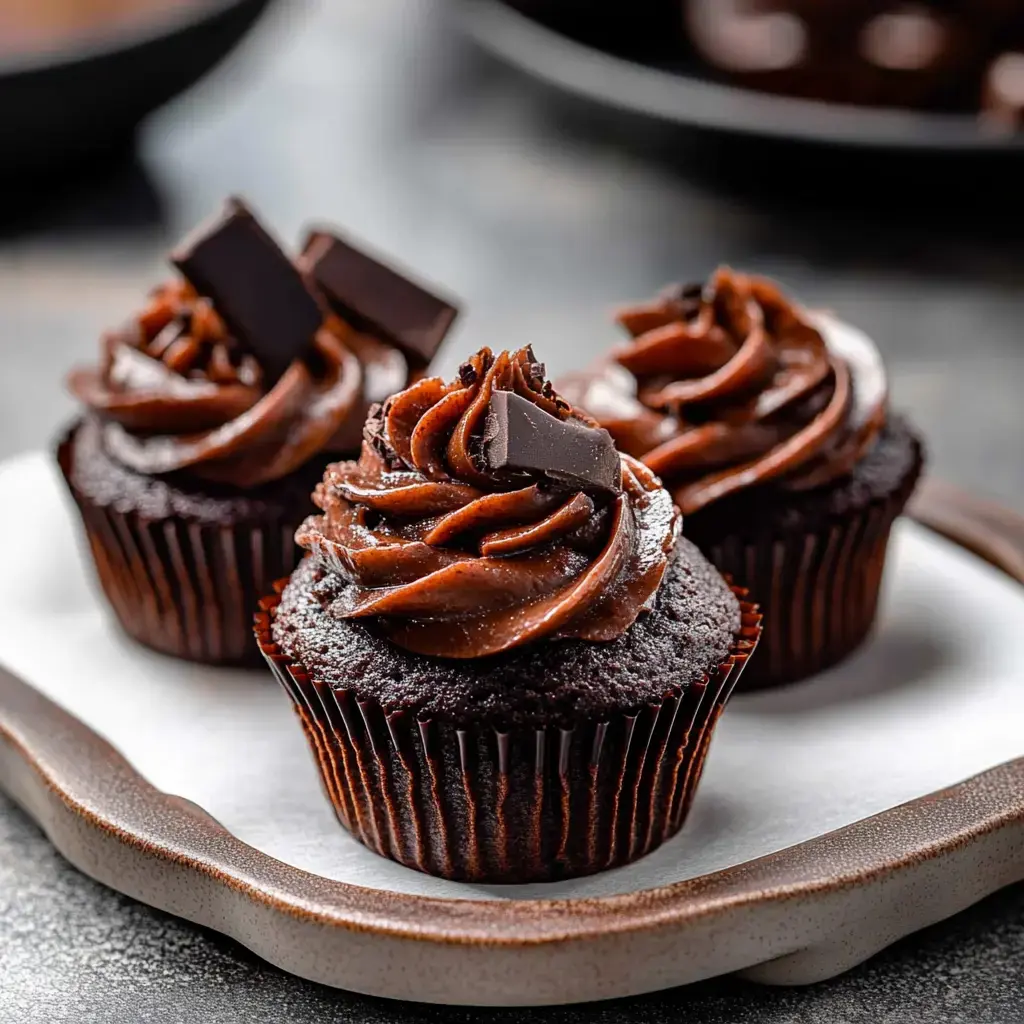
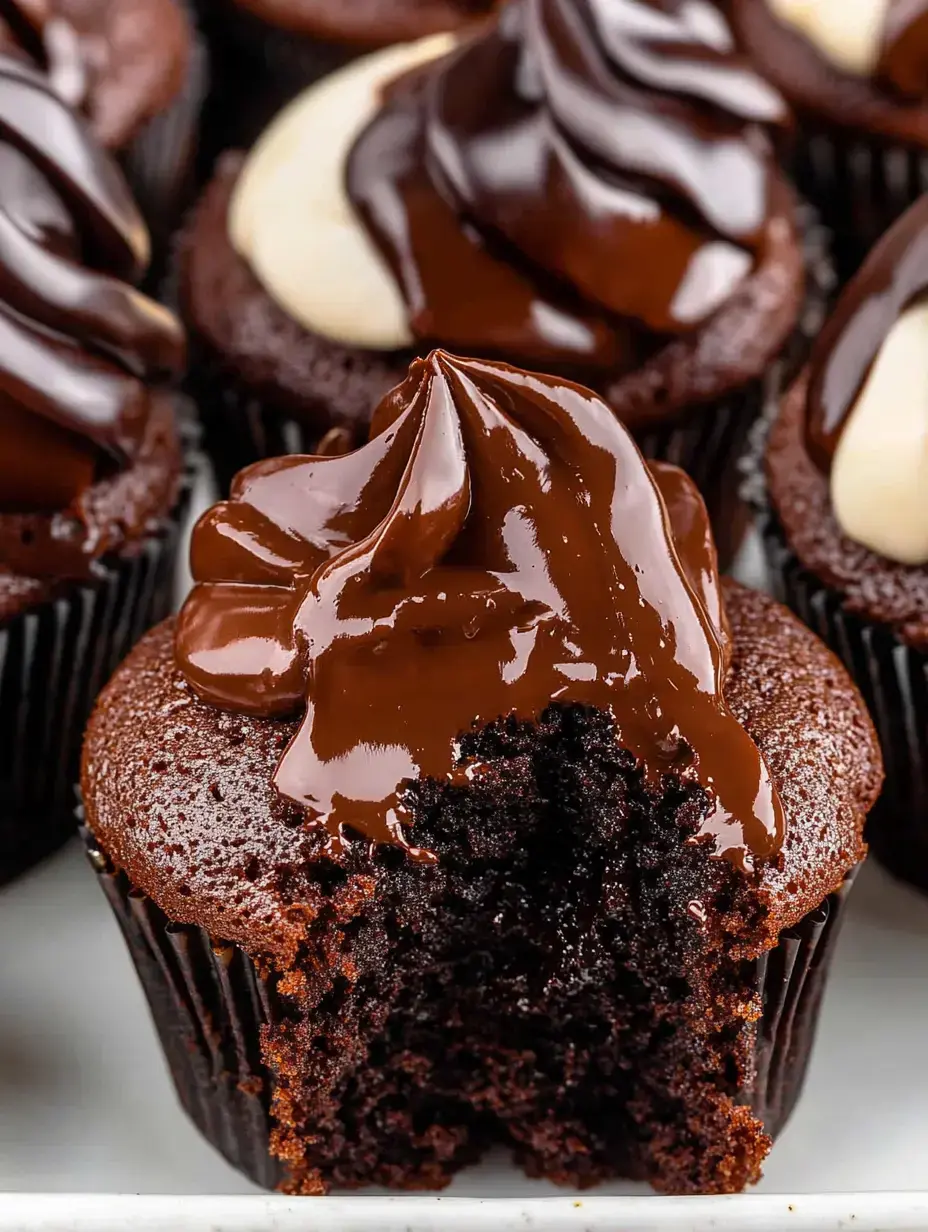
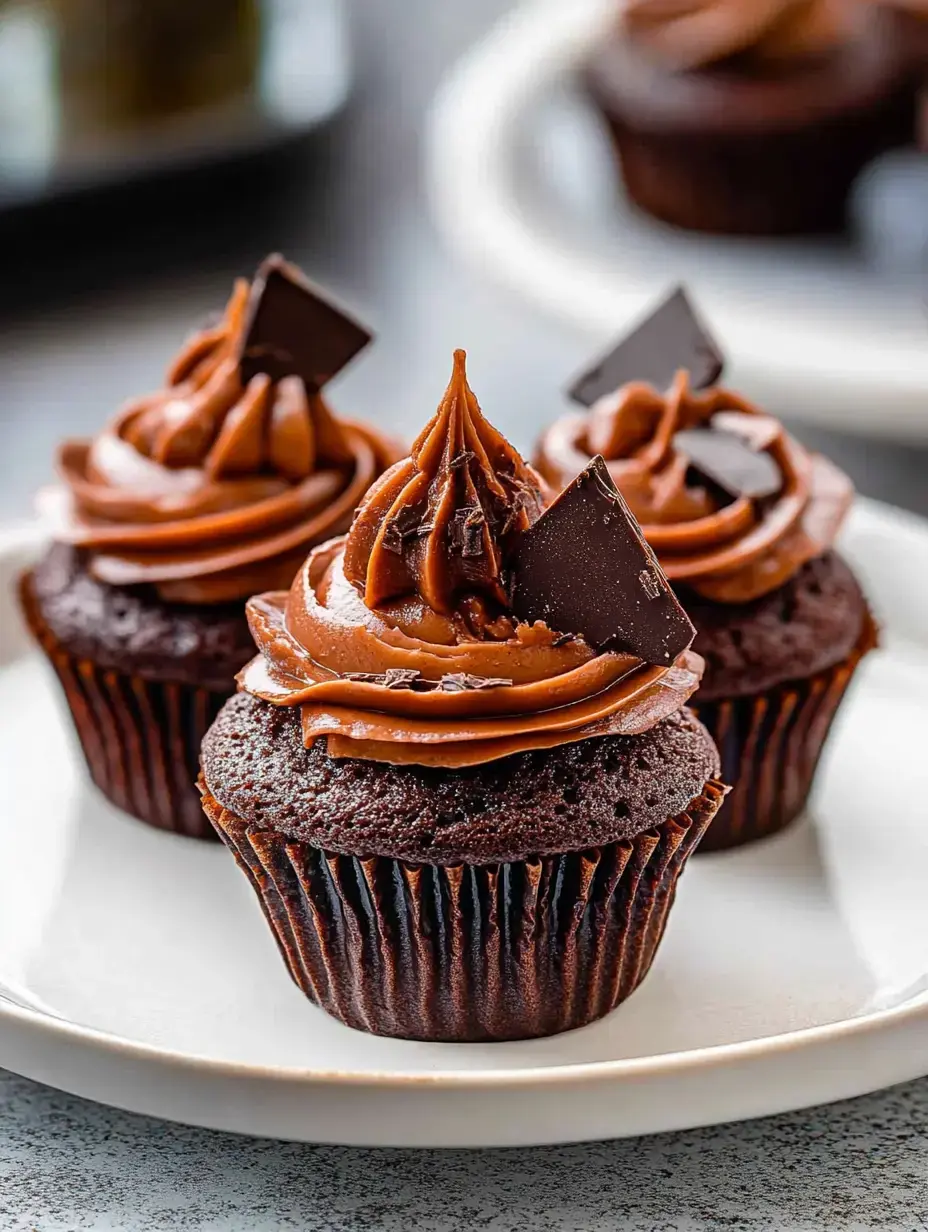
Irresistible Chocolate Cupcakes
I've gotta tell you about my top pick for chocolate cupcakes! After tweaking this for ages, I can honestly say these treats are amazing. They're super moist with deep chocolate flavor and topped with the smoothest chocolate buttercream you'll ever try. These aren't regular cupcakes – they're the ones my kids constantly ask for, the first to vanish at gatherings, and what everyone wants the recipe for!
What Makes These Cupcakes So Special
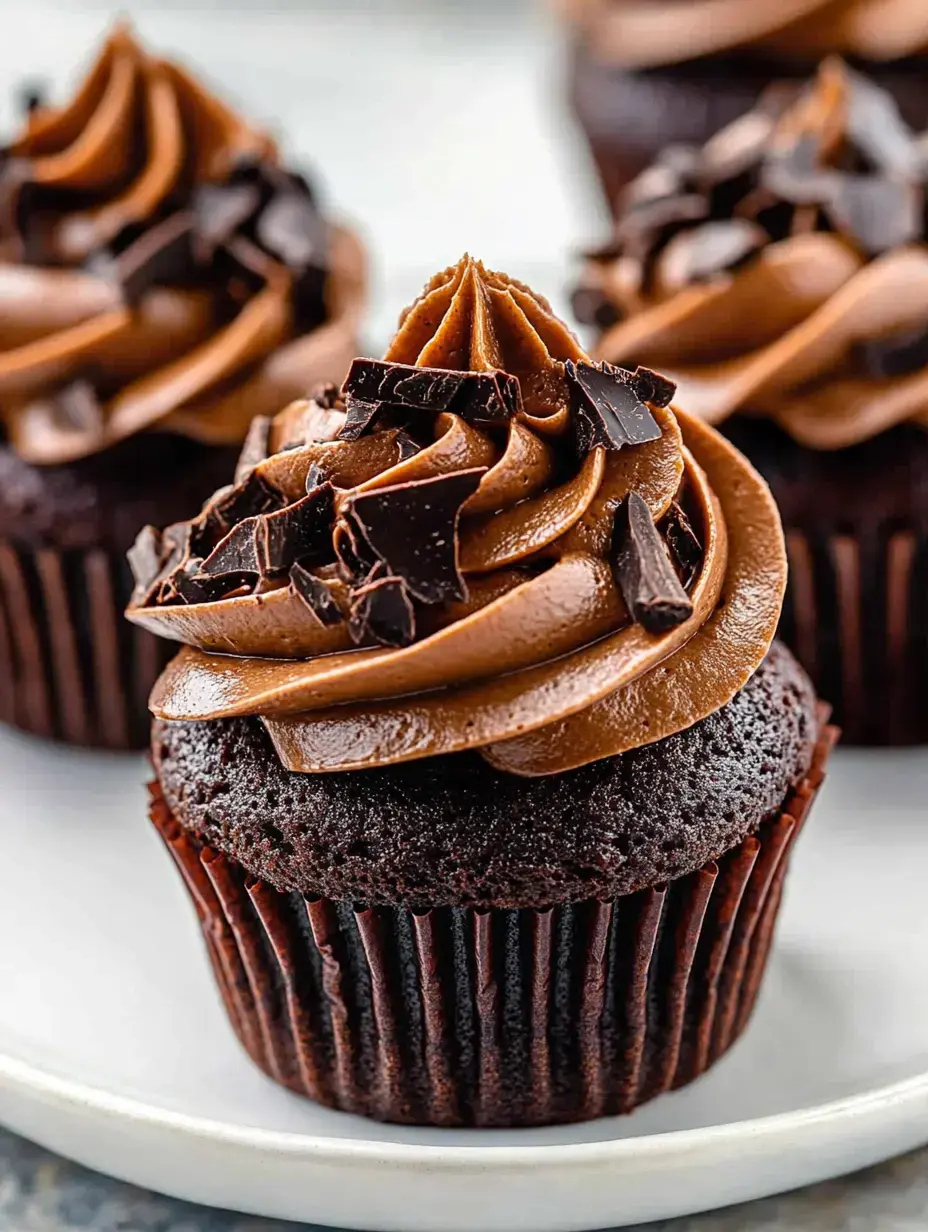
You know those fancy shop cupcakes you love? These are actually tastier! Made totally from scratch, these have an amazing feel – rich and fudgy, yet somehow still light. The trick lies in using good cocoa powder mixed with just enough oil. Whenever I bake these, my house fills with this wonderful chocolate smell that gets everyone coming to the kitchen!
What You'll Need
Here's everything for these chocolate delights:
The Key Players:
- Standard unsweetened cocoa powder (leave the Dutch processed kind for another time!)
- A tiny bit of white vinegar (sounds weird but works wonders!)
- Vegetable oil to keep everything super moist
- Hot water to boost that chocolate taste!
These ingredients work together perfectly: the standard cocoa gives just the right flavor, while the vinegar teams up with baking soda to make them incredibly fluffy. And don't worry – you won't taste the vinegar at all once they're baked!
Getting Started
Let's make some yummy treats! First, mix all your dry stuff. I always whisk everything thoroughly – this gets rid of any cocoa lumps! Toss in your flour, sugar (be generous!), cocoa powder, baking soda, and a tiny bit of salt.
Next, grab another bowl for wet ingredients. These cupcakes don't need eggs, which shocks people since they turn out so moist! Combine your vinegar, oil, and hot water. When you mix everything together, the batter will look pretty runny – that's exactly what you want!
Here's a great trick: use an ice cream scoop for the batter. You'll get the same amount in each cup and won't make a mess. Fill each liner about 2/3 full – they'll puff up nicely!
Baking Time
Put your tray in your 350°F oven and wait for the magic! I start checking around 18 minutes – stick a toothpick in the middle and it should come out clean. Your house will smell absolutely wonderful!
The toughest part? Waiting for them to cool completely before adding frosting. I know you'll want to rush, but it really matters here. We need the frosting to sit perfectly on top, not slide off!
Whipping Up That Amazing Frosting
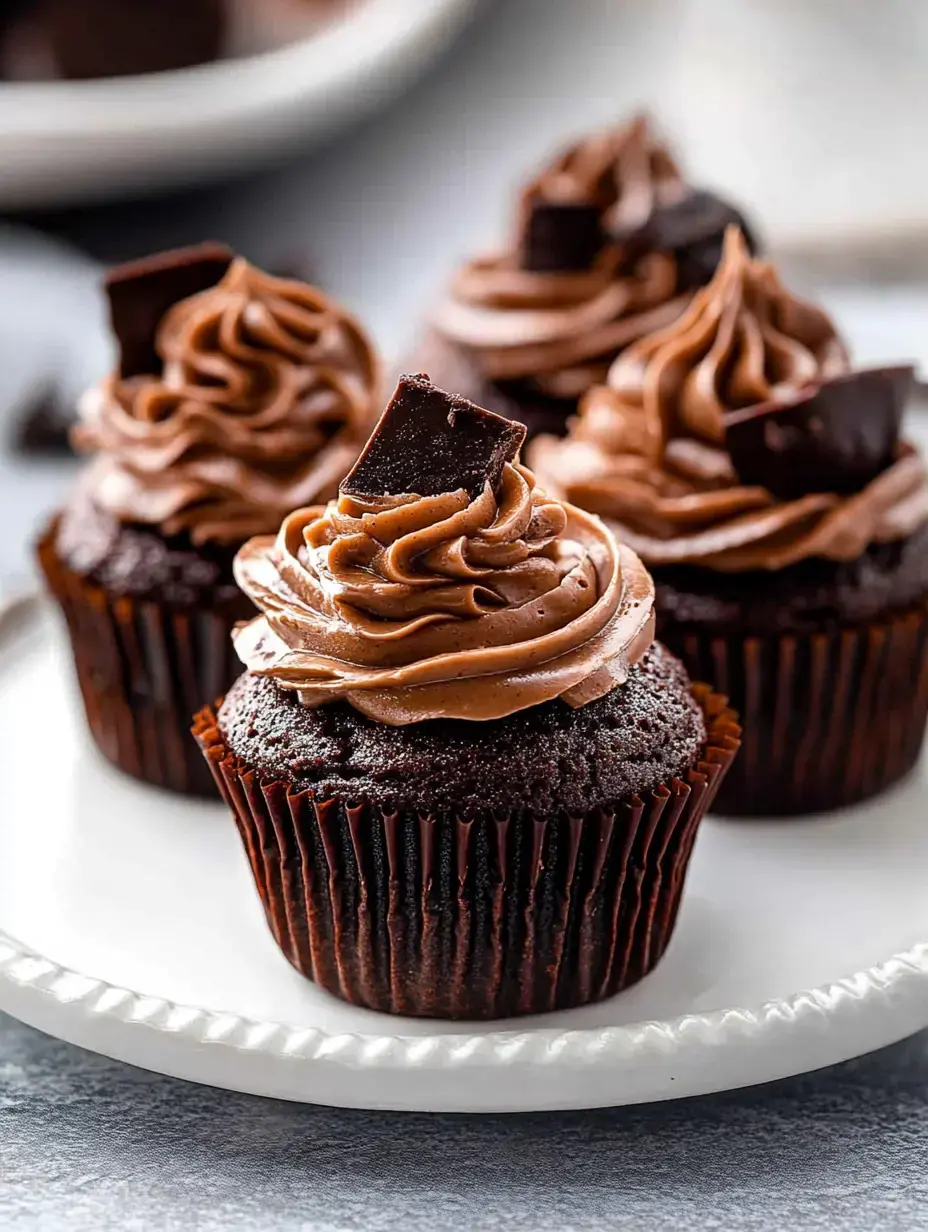
While they cool, let's make that smooth chocolate buttercream! This comes from my grandma, and it's just perfect. Beat your butter until it's really light and fluffy, then slowly add powdered sugar and cocoa powder. A little milk helps get the right texture for piping. I always take a little taste – you know, just to check it's good!
Playing With Toppings
Though I really love the classic chocolate buttercream, sometimes I switch things up! Wanna know what my family likes best? My children go nuts for vanilla buttercream (those black and white ones look so cool!). When I'm feeling fancy, I'll use chocolate ganache – just hot cream poured over chocolate chips and stirred till smooth. And during Christmas? A bit of peppermint buttercream makes them extra festive!
Storage Tips
If you somehow have extras (which hardly ever happens at my place!), these cupcakes stay moist for several days. I keep them in an airtight container right on my counter. Need them to last longer? Stick them in the fridge, but let them warm up before eating – they taste way better at room temperature!
Thinking Ahead
Here's my busy parent trick: these freeze amazingly well! I often make twice as many and freeze half (without frosting) for later. Just wrap each one in plastic, then put them in a freezer bag. They'll stay good for up to three months! When you want one, just thaw it on the counter, then add frosting. It's like having chocolate treats ready whenever you need them!
Tricks I've Learned
After countless batches, I've picked up some handy tips! First, don't mix too much – stop as soon as everything's combined. And using that ice cream scoop? Total game changer! If you have a stand mixer, use the paddle and scrape the bowl sides often. These small things really make your cupcakes turn out better!
Make Them Your Way
Let's chat about fun ways to change these cupcakes! Sometimes I throw in mini chocolate chips – my kids absolutely love that! During holidays, I might add a bit of peppermint flavor. And for my friends who love coffee? A bit of espresso powder makes the chocolate taste even richer. Feel free to try new things – that's how you find your favorite version!
Great For Every Occasion
These cupcakes work for any get-together! They're fancy enough for birthdays (just add some sprinkles!), but simple enough for when you just want something sweet on a random day. I've taken them to countless school events, family dinners, and neighborhood parties, and they always disappear fast. There's something about homemade chocolate cupcakes that just makes everyone happy!
Do-Ahead Party Treats
Want to know my party secret? You can make these a day or two early! I often bake them the night before and store them without frosting in a sealed container. Then I make fresh frosting and decorate them just before guests arrive. It makes hosting way easier, and they taste just as yummy!
The Real Magic Ingredients
The true secret in these cupcakes? It's all about using oil! While butter works great in most baking, oil gives these cupcakes their super moist texture. And that vinegar? Don't skip it! It works with the baking soda to create the softest, fluffiest texture ever. Baking is just tasty science!
Your Go-To Treat
I bet once you try these cupcakes, they'll become your favorite chocolate cupcake recipe! They're the kind of dessert people remember and ask you to make again. I can't count how many times I've written this recipe down for friends after parties. It's become my trademark dessert, and I'm so happy to share it!
Chocolate Heaven In Every Bite
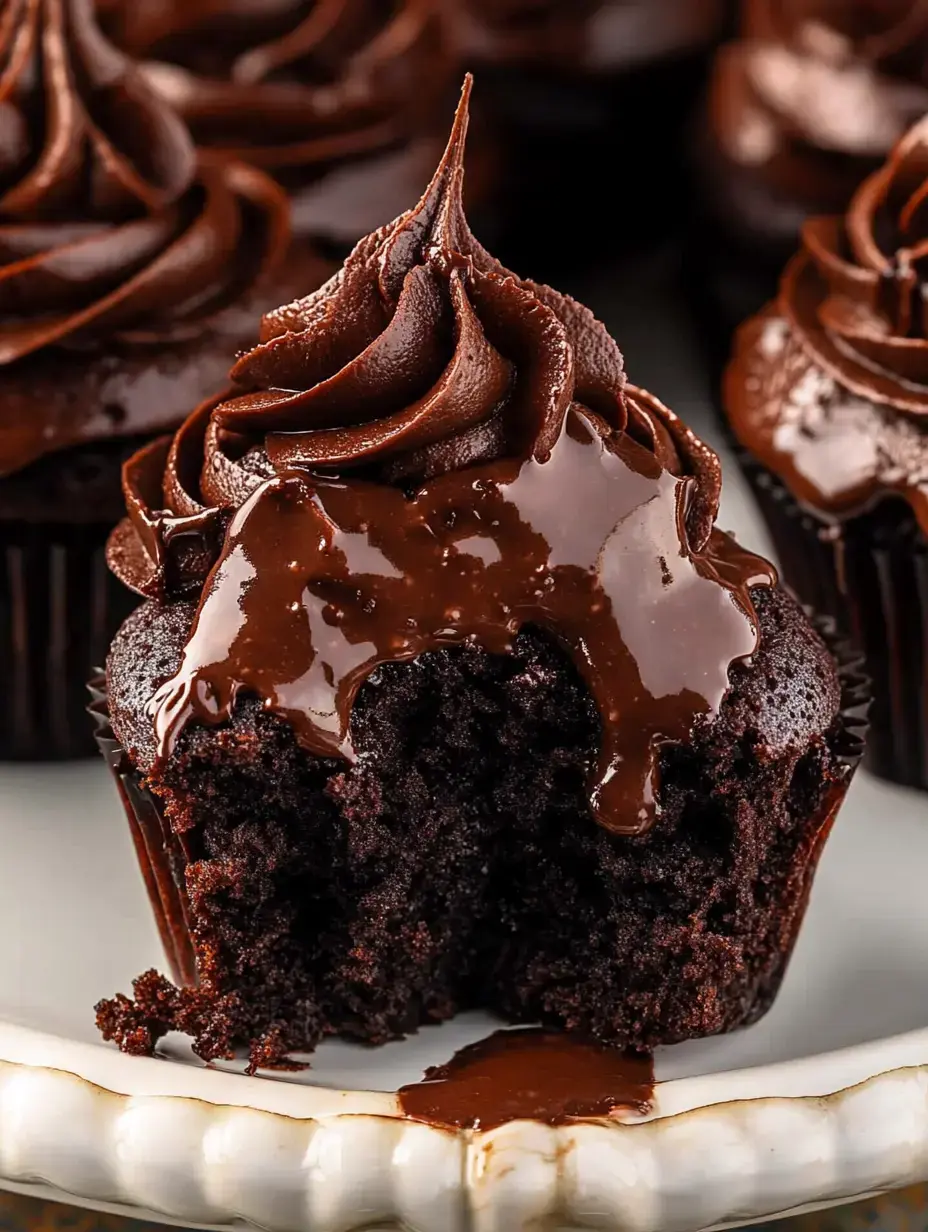
If you're crazy about chocolate like me, these cupcakes will become your new favorite! That rich chocolate flavor comes through in every bite, from the soft cake to the smooth frosting. I sometimes enjoy them with cold milk, or for extra special times, next to a scoop of vanilla ice cream. It's total chocolate paradise!
Always Moist And Tasty
Wonder why these cupcakes stay so fresh? It's thanks to that awesome mix of oil and vinegar! They stay perfectly moist for days (though they rarely last that long at my house!). Just keep them in a sealed container, and they'll taste just as good as when you first made them. You'll never get dry, crumbly cupcakes with this recipe!
Easy Yet Impressive
You know what I love most about these cupcakes? How something so basic can feel so fancy! With just a few everyday ingredients and some mixing bowls, you can make treats that look and taste like they came from an expensive bakery. It's the perfect recipe to keep handy when you want to show someone you care.
Bringing Smiles With Sweets
There's something really special about giving homemade cupcakes to people you love. I've baked these for so many celebrations big and small, and they always bring happiness! Whether it's for a birthday, a new job, or just because someone needs cheering up, these cupcakes never fail to make people smile.
Baking Happiness
These chocolate cupcakes have brought tons of joy to my kitchen, and I know they will to yours too! They're more than just dessert – they're a way to make sweet memories with your favorite people. Whether you bake all the time or you're just starting out, I hope these become a staple in your kitchen. Happy baking, everyone!
Common Questions About This Recipe
- → What makes hot water important?
Hot water boosts the cocoa flavor by blooming it, resulting in a stronger chocolatey taste.
- → Why would I use coffee in this?
Coffee makes the chocolate flavor pop without tasting like coffee. It’s a great addition, but optional.
- → Can these cupcakes go in the freezer?
Sure, whether frosted or plain. Wrap them tightly and freeze for up to three months.
- → Why avoid Dutch cocoa here?
Baking soda needs regular cocoa for rising. Dutch-process won’t work the same in this recipe.
- → How should I store them?
Refrigerate unfrosted cupcakes for two days, or keep frosted ones at room temp under a loose cover.