
 Save
Save
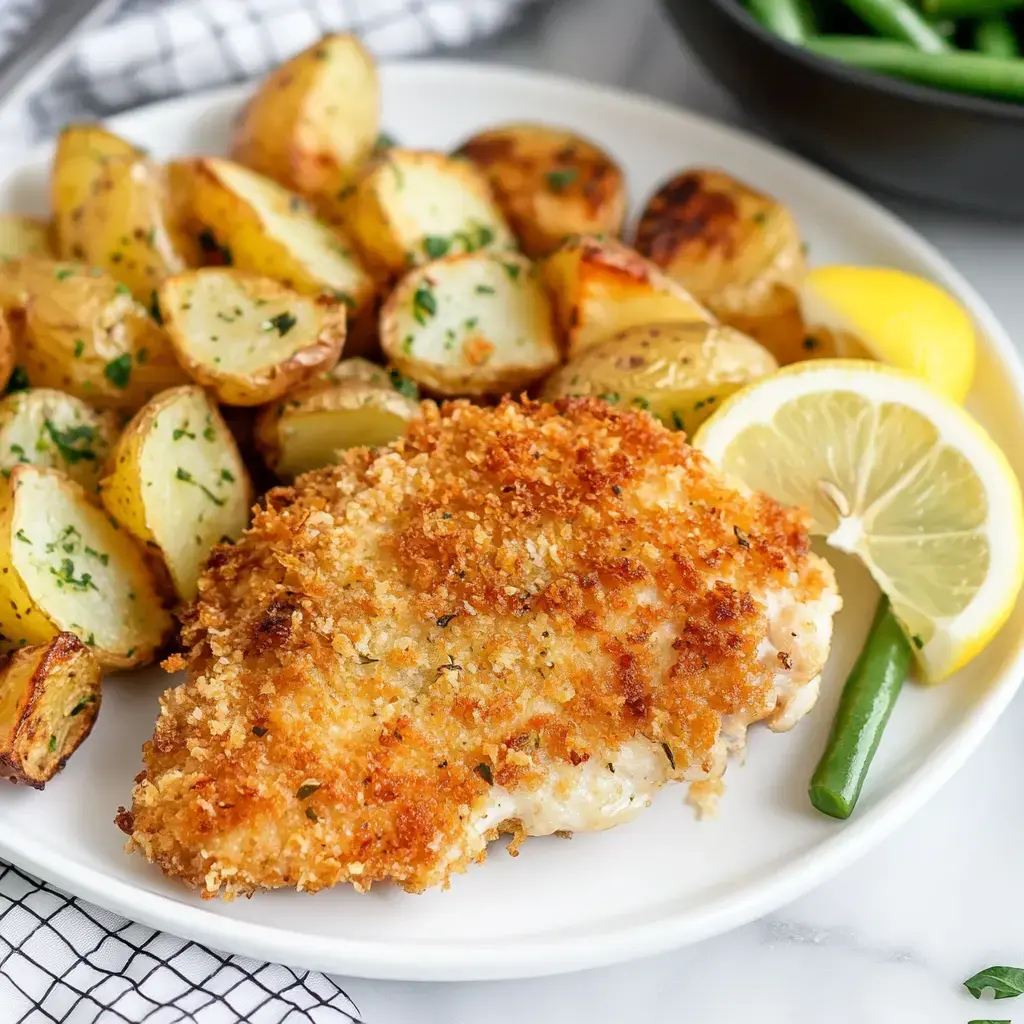
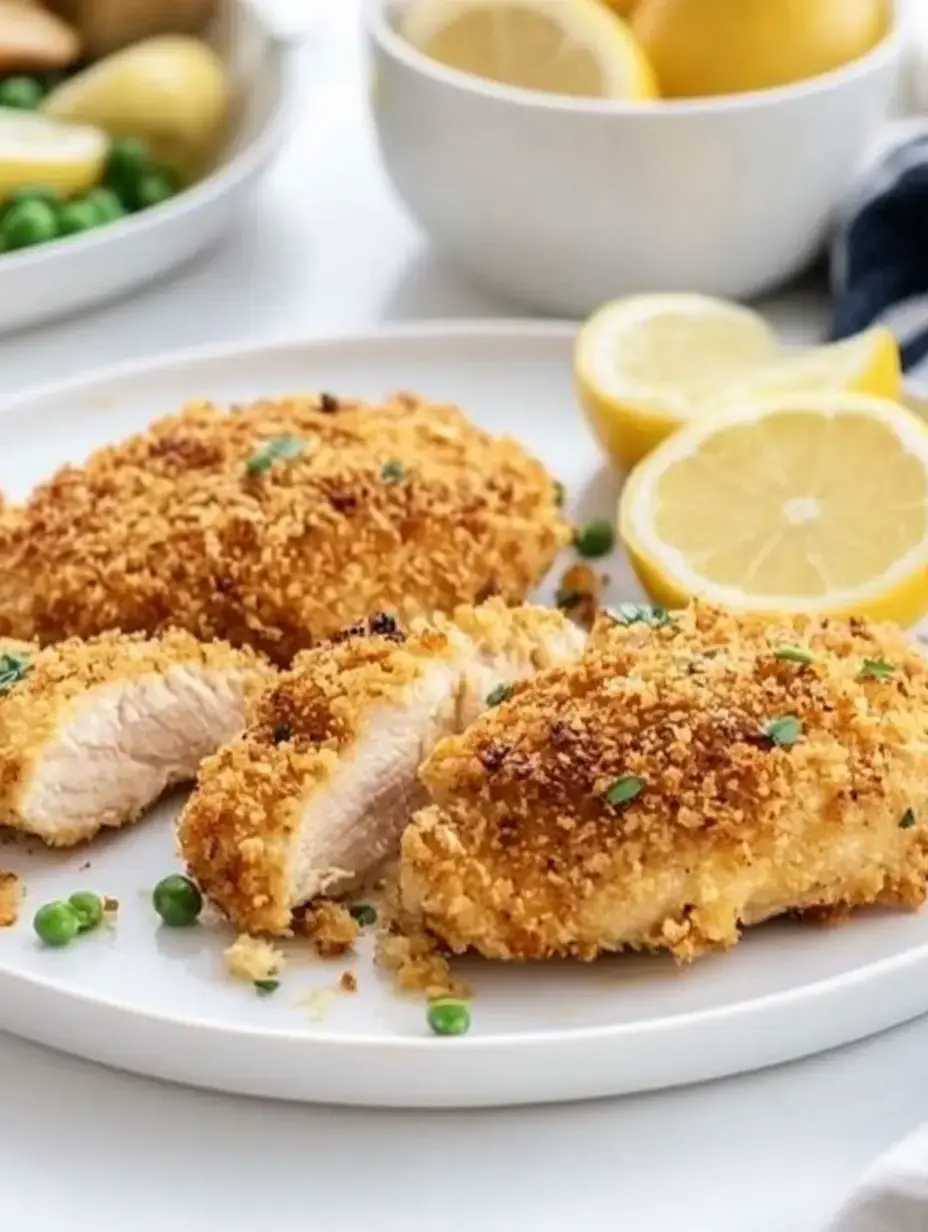
I've gotta share my number one dinner trick - super crunchy Panko chicken! I spent tons of time playing with different coatings until I nailed this version that gives you an amazingly golden outside while keeping everything inside super tender. It's become what I reach for whenever I need something tasty ready in half an hour (which honestly happens most evenings!). I'll walk you through each step with all my personal tricks so you can make knockout crunchy chicken right at home!
Basic Ingredients You'll Need
Grab these simple items for this crowd-pleaser (they're always in my kitchen!):
- ½ cup regular flour
- My go-to spice mix: 1 teaspoon salt, 1 teaspoon onion powder, and 1 teaspoon garlic powder
- ½ teaspoon pepper
- 2 big eggs (they work better not cold from the fridge!)
- 1¼ cups Panko crumbs (this is what makes everything so amazingly crispy!)
- ½ cup grated Parmesan, fresh works best
- 3 tablespoons oil from olives
The main player: 4 thin chicken breasts (roughly 1¼-1½ pounds, about ¾-inch thickness)
For that nice finishing touch:
- Fresh parsley (adds such nice color!)
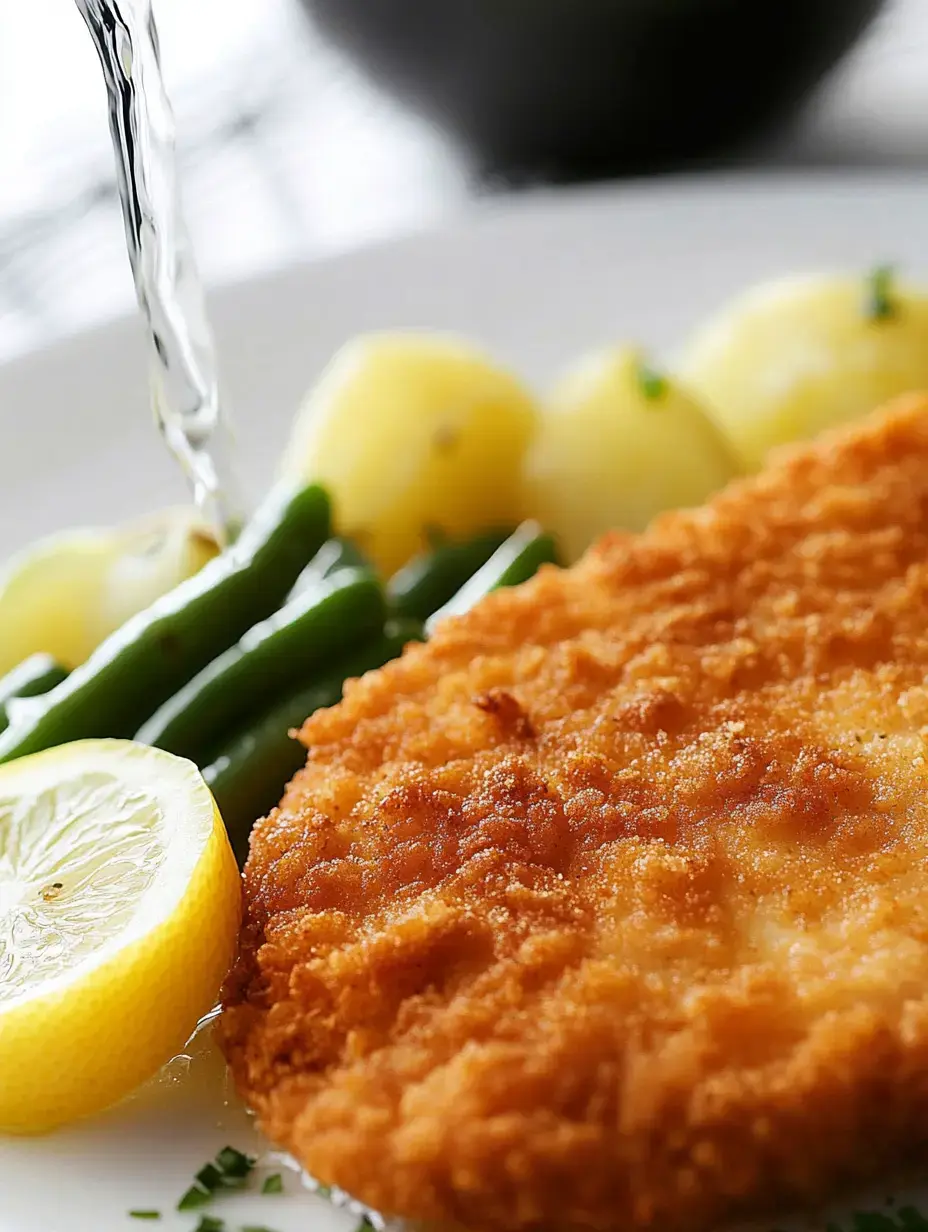
- Lemon cut into wedges (a little squeeze really wakes up all the flavors!)
Customize Your Creation
Through lots of cooking, I've found so many tasty ways to change this dish up! My family loves these versions:
- Need juicier meat? Switch to chicken thighs instead of breasts - my guy actually likes them better!
- Want stronger taste? I sometimes mix extra cheese directly into the breadcrumbs - it gets so nice and brown!
- Like it spicy? Just add a bit of cayenne or smoked paprika to your coating for amazing warm heat.
- In summer, I throw fresh basil into the crumb mixture - it's absolutely wonderful!
These small changes let you create exactly what you want while keeping that irresistible crunch everyone goes crazy for!
Cooking Instructions
Let's start cooking! First, turn your oven up to 425°F - I've learned this high temperature gets you that perfect golden coating. Cover a baking tray with foil (you'll thank yourself later when cleaning up!).
Next, we'll set up our coating station - this is the fun part! Arrange three shallow containers in a row. Mix your flour with all the spices in the first one. Put your beaten eggs in the second. For the third, combine your Panko with Parmesan and olive oil till all crumbs get coated. This oil trick is how we get that beautiful color without actually frying!
Coating Technique That Works
Now comes the part where taking your time pays off! Take each chicken piece and roll it completely in the flour mixture first, then dunk it in egg (let extra egg drip off), and finally press firmly into the crumb mix. Make sure you cover every spot - that's what gives you that amazing crunch!
I use one hand for dry stuff and keep one hand for the egg - keeps things from getting too sticky. Put each coated piece on your foil-lined tray with space between them so they get crispy all around.
Baking For Crispiness
Now for the easy part! Put your tray in the hot oven and let it cook for 18-22 minutes. You want to see a nice golden color, and you need the inside temperature to reach 165°F - I always check with a meat thermometer.
Here's something super important: after taking the chicken out, wait 3-5 minutes before cutting in. I know it's hard when you smell that amazing crispy coating, but this rest time keeps all the juices inside where you want them. While waiting, sprinkle some parsley on top and get your lemon wedges ready!
Ways To Enjoy
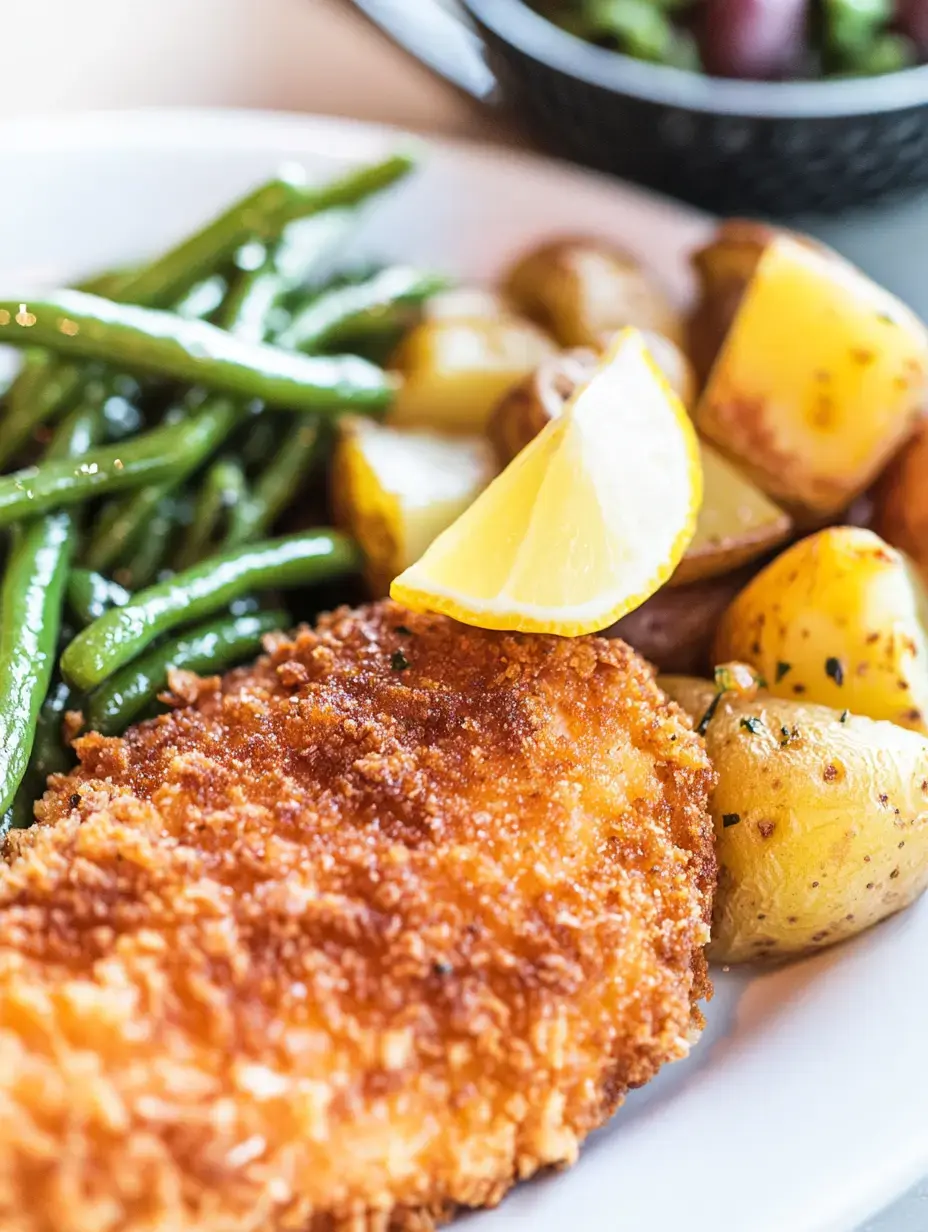
We eat this chicken so many different ways at my house! For regular family dinners, I love pairing it with smooth mashed potatoes and some bright green beans - it's total comfort food!
When friends come over to watch sports, I cut the cooked chicken into strips and put out different dips. My homemade honey mustard always gets finished first!
For potlucks? This chicken is my secret weapon! It travels really well and still tastes great even not hot. I pack it with my tangy slaw and a pasta salad - everyone wants to know how I made it!
Why This Will Be Your Favorite
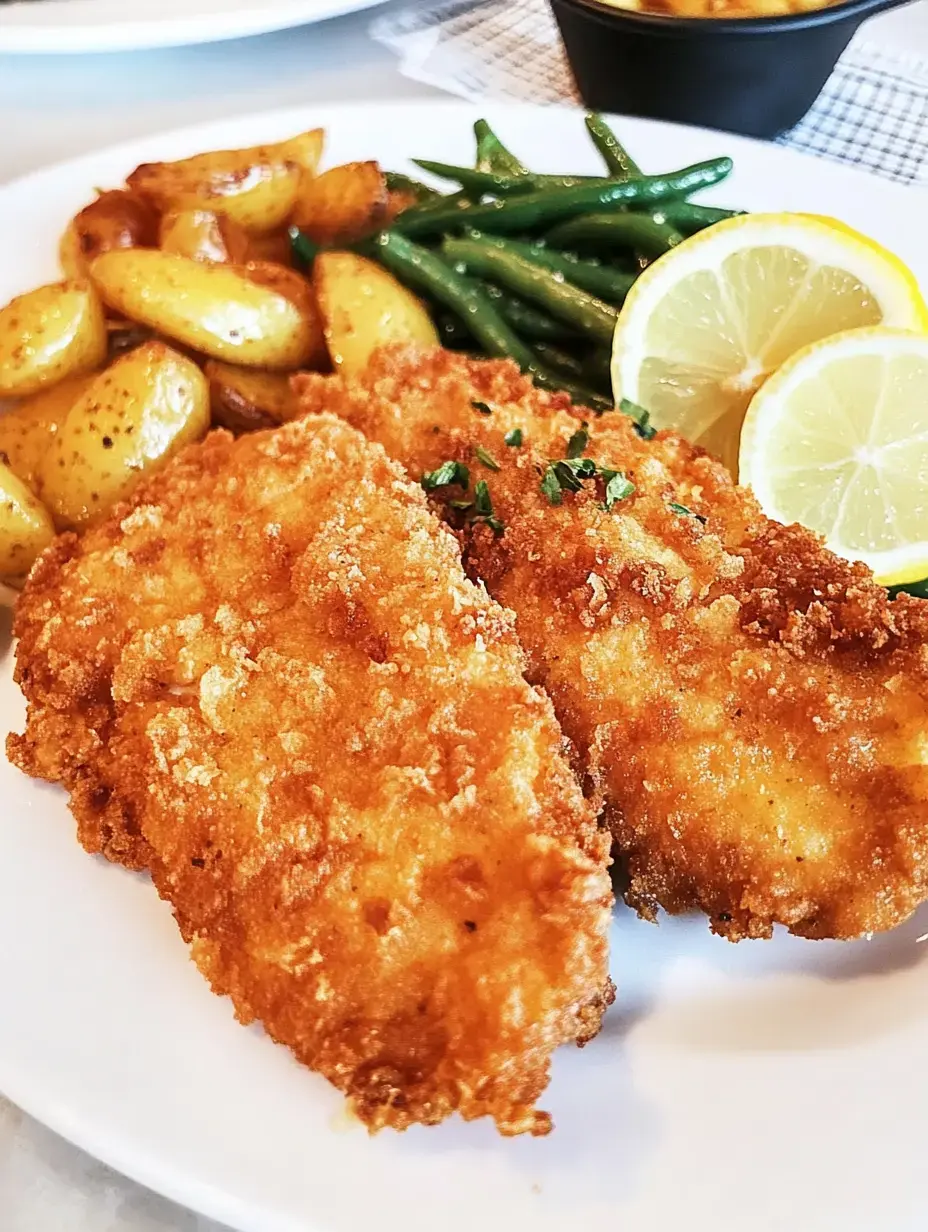
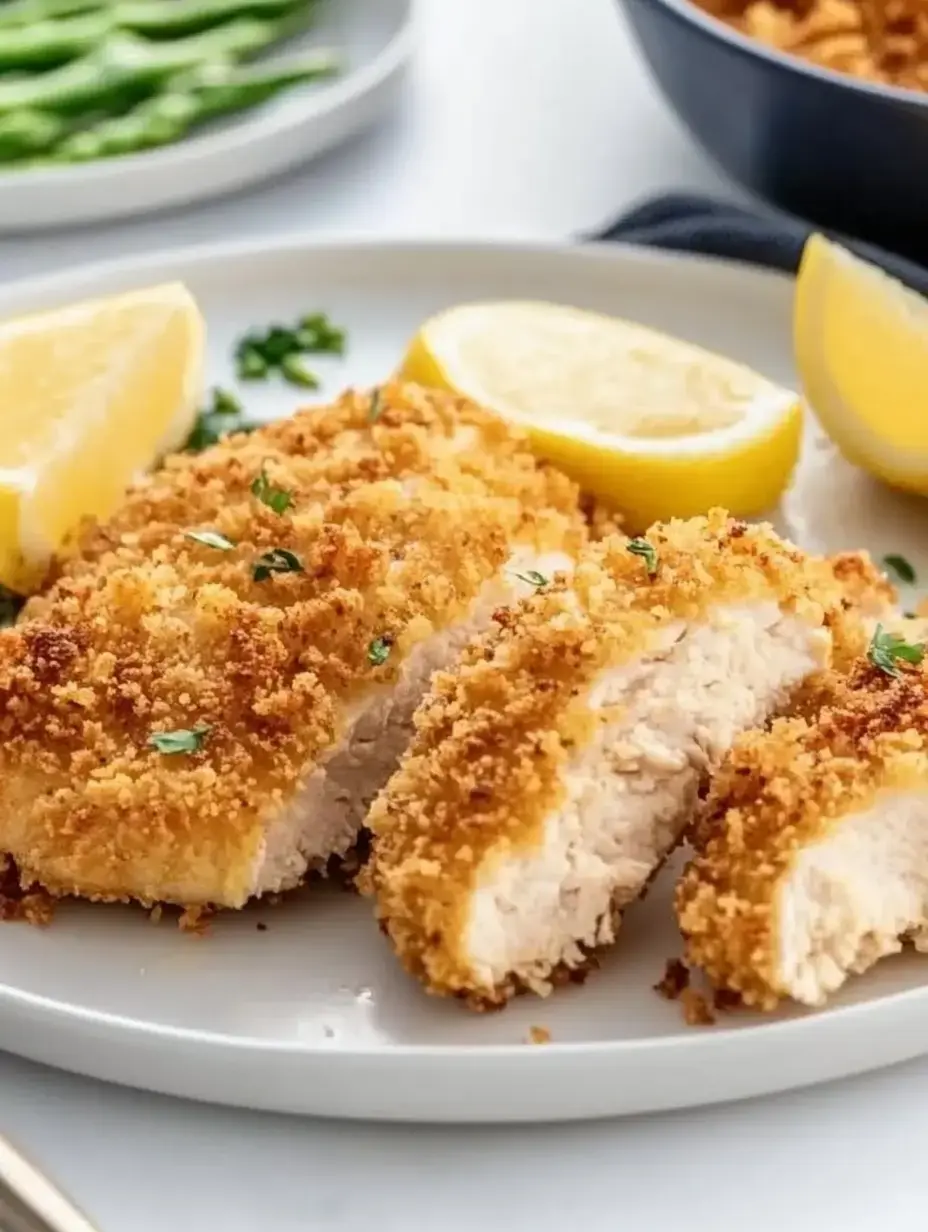
After making this chicken more times than I can count, I know exactly why it's always on my menu. That Panko coating gets so perfectly crispy you can actually hear it when you take a bite! But inside? Man, the chicken stays so juicy and soft.
What makes me happiest is how easy it is. On those crazy nights when I'm checking homework and running kids around, I can still get this ready in about half an hour. That's real cooking for real life!
Quick Solutions
Since putting this recipe online, here are the top things people ask me:
- "My coating falls off!" Remember to go in order: flour, then egg, then really push those Panko crumbs onto the chicken. It makes all the difference!
- "How can I tell when it's done?" Your thermometer is your best buddy here - it should show 165°F and you're all set!
- "We ate half - how do I keep the rest crispy?" Put the chicken on a cooling rack for a few minutes after cooking so air gets underneath!
Serving Ideas
People often ask how to serve this chicken! Here's what we do at my house:
- For maximum crunch, eat it right after cooking - that's when the coating is absolutely perfect! My kids think it's more fun when I cut it into strips.
- Having friends over? This recipe saves the day! I can easily make twice as much, and it stays crispy for quite a while on a buffet table. I usually count on one big piece per grown-up, or two smaller pieces if we have lots of sides.
Keeping It Fresh
Need to plan ahead? Here are my real-life storage tricks:
- Get Ahead: You can coat the chicken up to 24 hours early - just wrap it well in the fridge. This is how I keep party prep stress-free!
- Extra Chicken: Keep any uneaten pieces in a sealed container in your fridge - they'll stay good for three days.
- Freeze It: Yes, you can freeze these babies! Wrap them up tight and they'll keep for a month. When you want to eat them, just move to the fridge overnight to thaw.
- Warming Up: Heat them in a 350°F oven for 10-15 minutes. Don't use your microwave - I'm serious about this one!
Tricks For Success
After cooking this chicken hundreds of times, here are my must-follow tips:
- Use room temperature stuff - it just works so much better!
- Want even more crunch? Try double-dipping in egg and Panko. It's totally worth it!
- Don't crowd your chicken pieces - they need room to get golden all over.
- Always check how hot the meat is inside - better safe than sorry!
- Like things spicy? Throw some cayenne in your crumb mix. My husband can't get enough of this version!
Personal Touches
Let me share how my family puts their own spin on this recipe:
- Like it hot? My oldest boy loves when I add cayenne to the flour - gives just the right amount of kick!
- Crazy for cheese? Try mixing up your cheeses in the Panko. My daughter always wants mozzarella mixed with the Parmesan.
- Need a fresh twist? I love adding lemon zest right into the crumb mixture - instantly brightens everything up!
Side Dish Partners
Now about what goes with this chicken! Here's what my family loves best:
- On busy nights, I throw some Brussels sprouts or carrots in the oven alongside the chicken - same temperature, super simple!
- My kids go wild for these with homemade oven fries - I make both regular potato and sweet potato kinds.
- Want something lighter? I throw together a quick green salad with my lemon-honey dressing.
- When company's coming? My herby rice dish is the perfect match - really simple but looks fancy!
Creative Variations
After years making this chicken, I've come up with some tasty twists:
- Try going Italian by adding tomato sauce and extra cheese on top for the last few minutes - turns into chicken parm just like that!
- My kids always want honey mustard sauce for dipping with theirs.
- For something different, add sesame seeds to your crumb mix and serve with some soy sauce - it's surprisingly good!
Weekly Prep Tips
This recipe works great for busy weeks! Here's my approach:
- I make a big batch on Sunday, let everything cool totally (super important!), then pack in containers that have dividers.
- Stays good in the fridge for 3 days - just warm in the oven to keep it crunchy.
- I switch up the sides throughout the week - keeps meals interesting!
Company-Ready Presentation
Need to make it look fancy? Here's how I dress it up for guests:
- I place the chicken on my best platter, tucked in among fresh herbs - looks so pretty!
- A little scattered fresh Parmesan and chopped parsley adds that restaurant touch.
- I put out different sauces - ranch for kids, garlic butter for grown-ups!
Nutritional Notes
While this isn't exactly diet food, it's way better than fried chicken! Each piece has about 350-400 calories, lots of protein from the chicken, and some good fats from the olive oil. Yes, the Panko adds carbs, but I'm all about balance in my cooking!
Mistakes To Skip
Let me save you from the goofs I've made along the way:
- Don't pack your baking sheet! Each piece needs room to get crispy all around.
- Always check that inside temperature - no guessing with chicken!
- Don't go crazy with oil in your breadcrumbs - just a bit does the trick for that golden look.
Wrapping Up
This Panko chicken has totally changed my dinner game. It hits that sweet spot between easy and impressive, quick but still special. Whether you're feeding your family on a crazy Tuesday or having friends over, this recipe won't let you down. The crunchy outside and juicy inside makes everyone at the table happy, and isn't that what cooking's all about? Enjoy!
Final Thoughts
Coat chicken in panko with parmesan for tons of crunch. Bake until golden and juicy—dinner's ready in 30 minutes!
Common Questions About This Recipe
- → Can I cook this in the air fryer?
Absolutely! Set it to 400°F, cook for 10-14 minutes, turning halfway. This method keeps it extra crunchy.
- → How can I tell when the chicken's done?
Pop in a thermometer—the inside needs to be 165°F at the thickest point, and the crust should look golden.
- → Why rest chicken after cooking?
Letting it sit for a few minutes makes the meat evenly juicy since the liquids don’t run out when sliced.
- → Can I fry this instead of baking?
You can! Heat oil in a pan, then fry each side over medium-high heat for 5-7 minutes. Avoid adding oil to the breaded chicken—it goes straight into the skillet.
- → How thick should the chicken be cut?
Stick to about 3/4 inch for even cooking. You can slice thick breasts in half if needed to make thinner cuts.