
 Save
Save
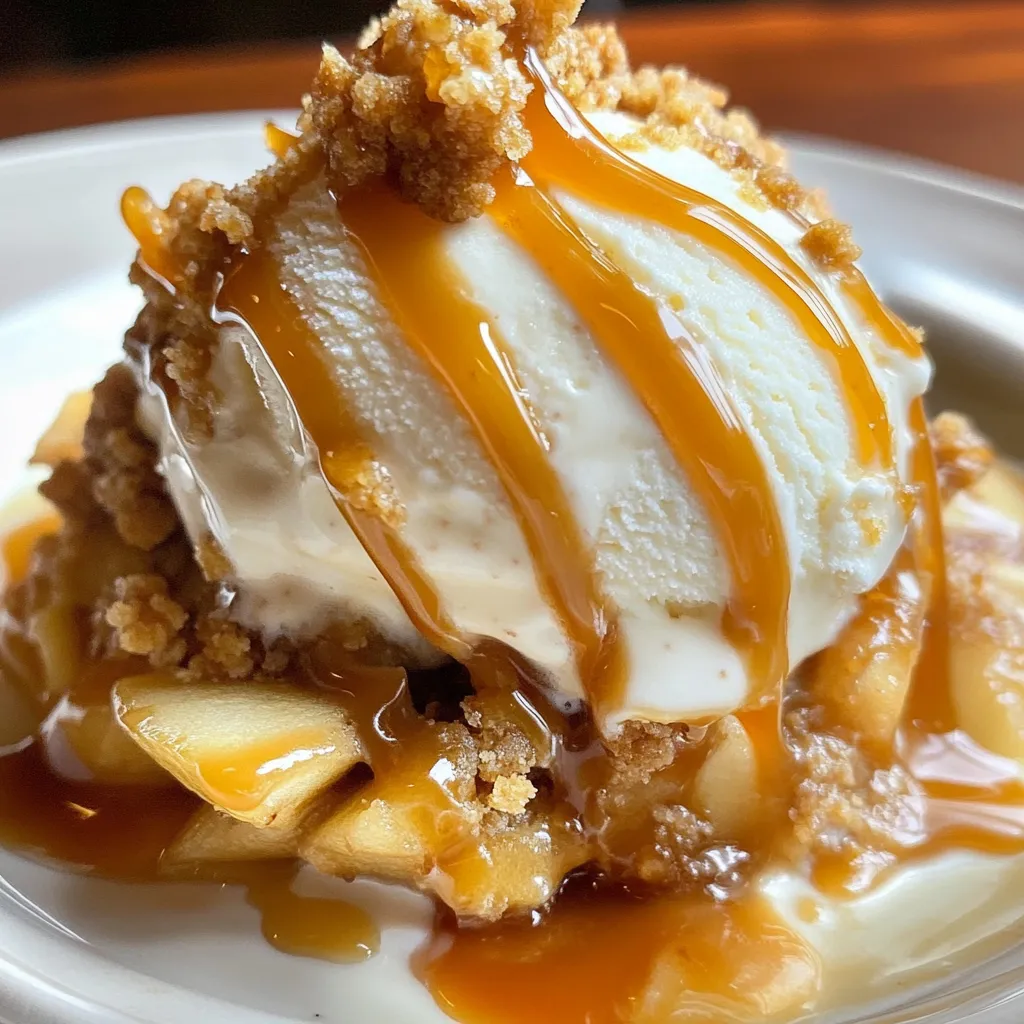
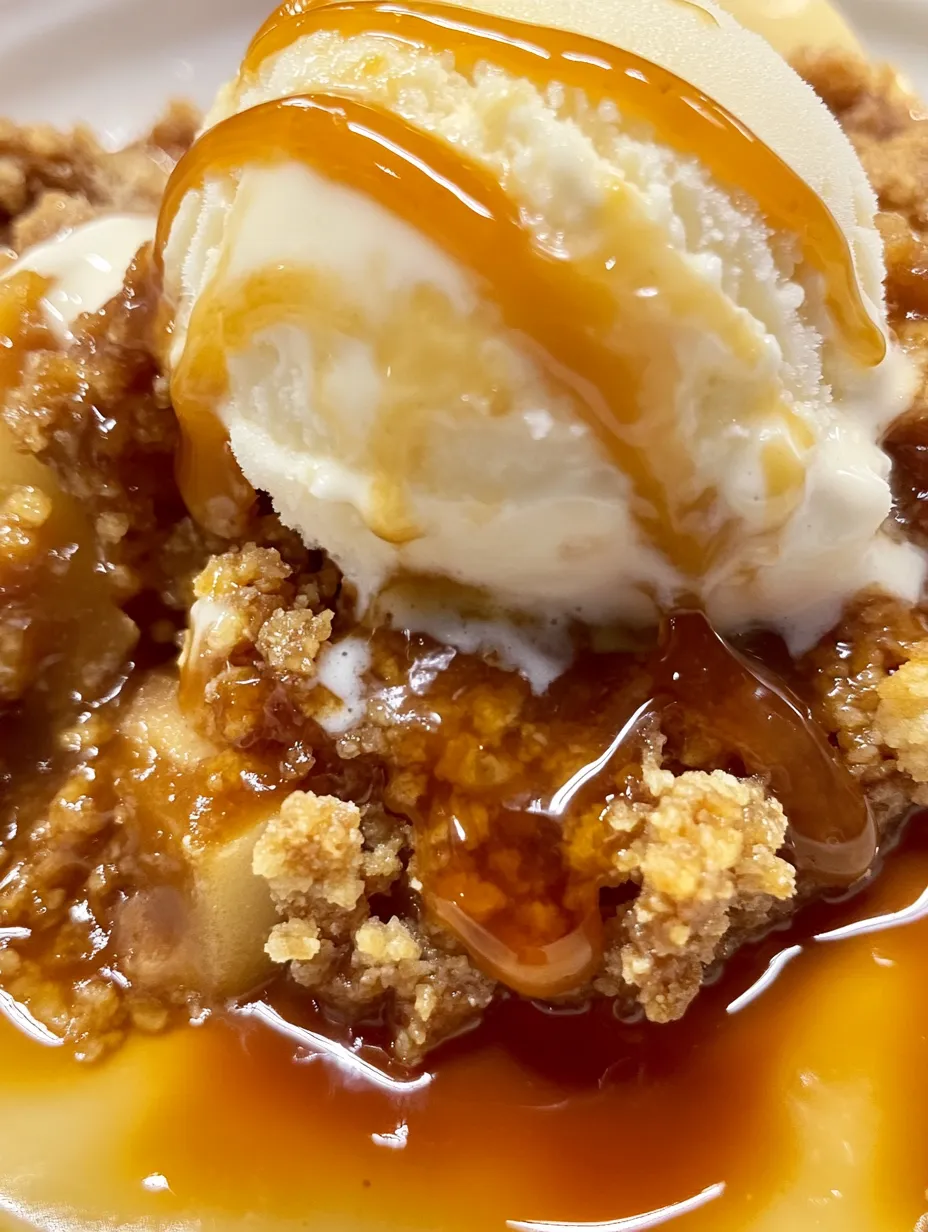
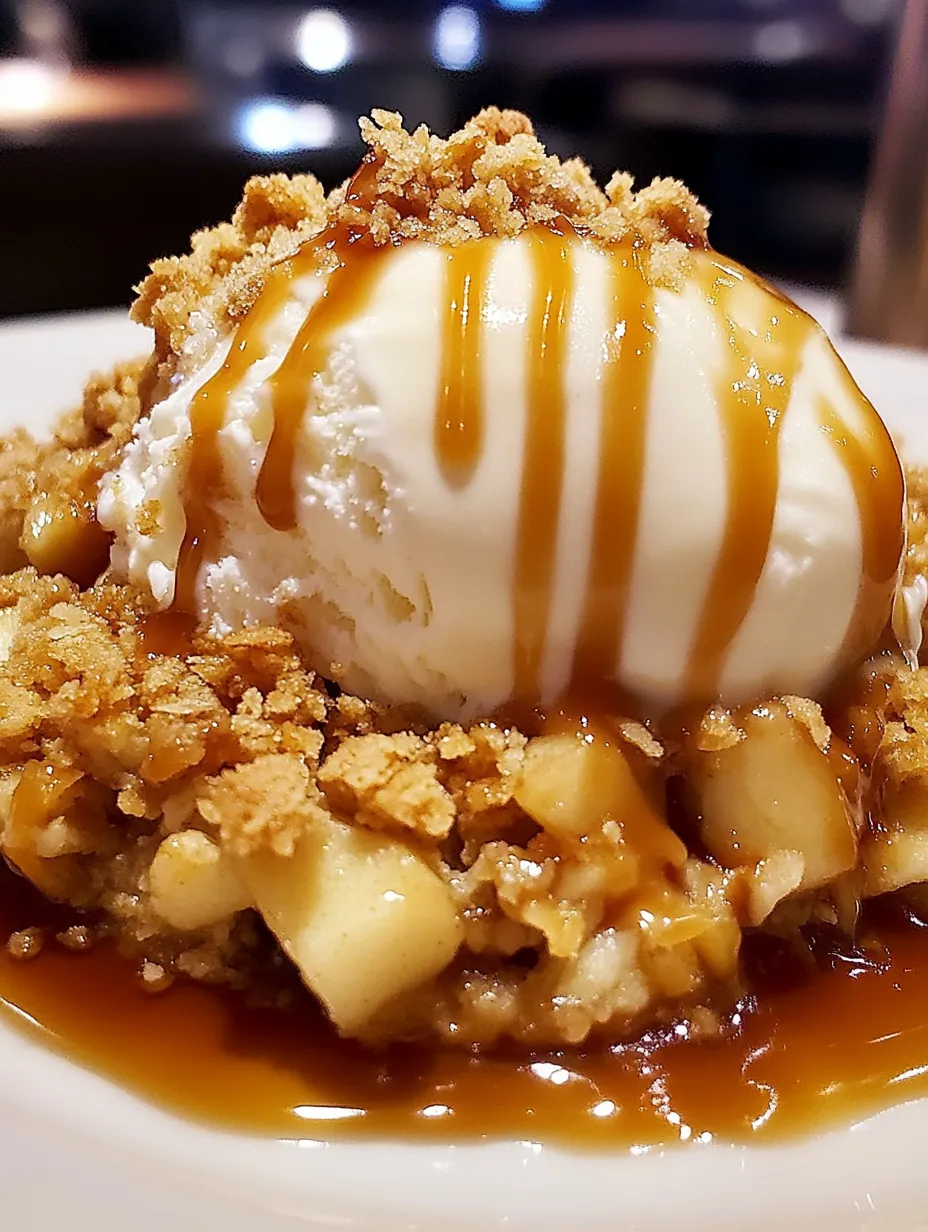
A bubbly, caramel-colored apple crisp with soft spiced fruit underneath a crunchy oat crust brings total comfort to any dinner table. This beloved dessert turns basic pantry items into an amazing treat that makes your home smell like sweet cinnamon and baked fruit. The mix of soft, warmly flavored apples against that crispy, buttery topping creates something truly special.
I took this apple crisp to our family get-together last fall and my grandma, who hardly ever praises recipes, wanted to know how I made it. My trick was using different kinds of apples – mostly Granny Smith for structure, plus some Honeycrisp for extra sweetness.
Key Components
- Granny Smith apples: They stay firm when baked and their sourness works well with the sweet topping. Pick ones that feel solid and don't have bruises
- Quick-cooking oats: They make that perfect crunchy layer; regular oats will work too but won't be as crispy
- Light brown sugar: Adds those yummy caramel flavors and helps those edges get nice and crispy. Check that it's soft and not dried out
- Ground cinnamon: The cozy spice that makes this dessert so special. Get fresh, fragrant cinnamon for the best taste
- Unsalted butter: The secret to that amazing topping. Use good butter at room temp for best results
Step-by-Step Process
- Start with the apples:
- Peel, remove cores, and cut 10 cups of apples into even ⅛-inch slices. Taking your time here means they'll cook perfectly
- Mix the filling:
- Softly combine apple slices with brown sugar, flour, white sugar, cinnamon, nutmeg, and vanilla until they're all coated. Set aside for 10 minutes so the juices come out
- Build the topping:
- Combine oats, flour, brown sugar, cinnamon, salt, and baking powder in a big bowl. Use your fingers to work in the soft butter until it looks crumbly
- Arrange your dish:
- Put the apple mix into a greased baking dish, making sure it's level. Cover the entire surface with the oat mixture, pressing down slightly
- Cook it:
- Bake at 375°F for 40-45 minutes until it's golden on top and bubbling at the edges. You'll smell when it's almost ready
When I was little, my mom always used different kinds of apples in her crisps. She loved the mix of Granny Smith with Honeycrisp, which I now do in my kitchen too. The blend of tart and sweet creates such a rich flavor that you just can't get when using just one type.
Wonderful Fall Treats
When autumn comes around, nearby orchards offer the freshest apples for this dessert. The cool mountain weather helps develop their sweetness, making fall-picked apples perfect for baking. Each type brings something special – Granny Smiths keep their shape, while sweeter ones like Honeycrisp break down a bit to create that perfect saucy base.
Keeping It Fresh
Your apple crisp will stay good in the fridge for about five days, though the top might get a little soft. To get back that crunch, just warm up single servings in a 350°F oven for 10-15 minutes. Reheating actually brings out more of those caramel flavors in the filling, making it taste even better.
Prep It Early
This treat works great for making ahead of time. You can put the whole thing together up to 24 hours before you plan to bake it – just wrap it well and keep it in the fridge. Don't forget to add about 5-10 extra minutes to your baking time if you're starting with a cold dish.
Perfect Pairings
While traditional vanilla ice cream goes great with this, try your warm crisp with some salted caramel sauce, freshly whipped cream, or even a small scoop of crème fraîche for a fancy touch. For breakfast, have it with Greek yogurt and a little honey drizzled on top.
After baking this apple crisp for years, I've realized it's more than just dessert – it brings folks together. The simple combo of apples, butter, and warm spices makes something truly special that always gets smiles. Whether it's at a holiday party or just a quiet family meal, this recipe has become a true comfort food favorite in our home.
Common Questions About This Recipe
- → Which apples hold up the best?
- Granny Smith apples work great since they stay firm while cooking and have a nice tang to balance the sweetness.
- → Can I prep this dish ahead of time?
- You can! Assemble it up to a day early, store it in the fridge, and bake it fresh when you're ready to serve.
- → What's the best way to keep leftovers?
- Store it covered in the fridge for up to 4 days. To reheat, pop portions in the microwave or warm them in the oven.
- → Why didn't my topping turn out crunchy?
- Spread the topping evenly and don't press down on it. Using cold butter instead of melted also helps make it crispy.
- → Can I freeze this dessert for later?
- Yep, wrap it tightly and freeze for up to three months. Defrost overnight in the fridge and warm it in the oven for serving.