
 Save
Save
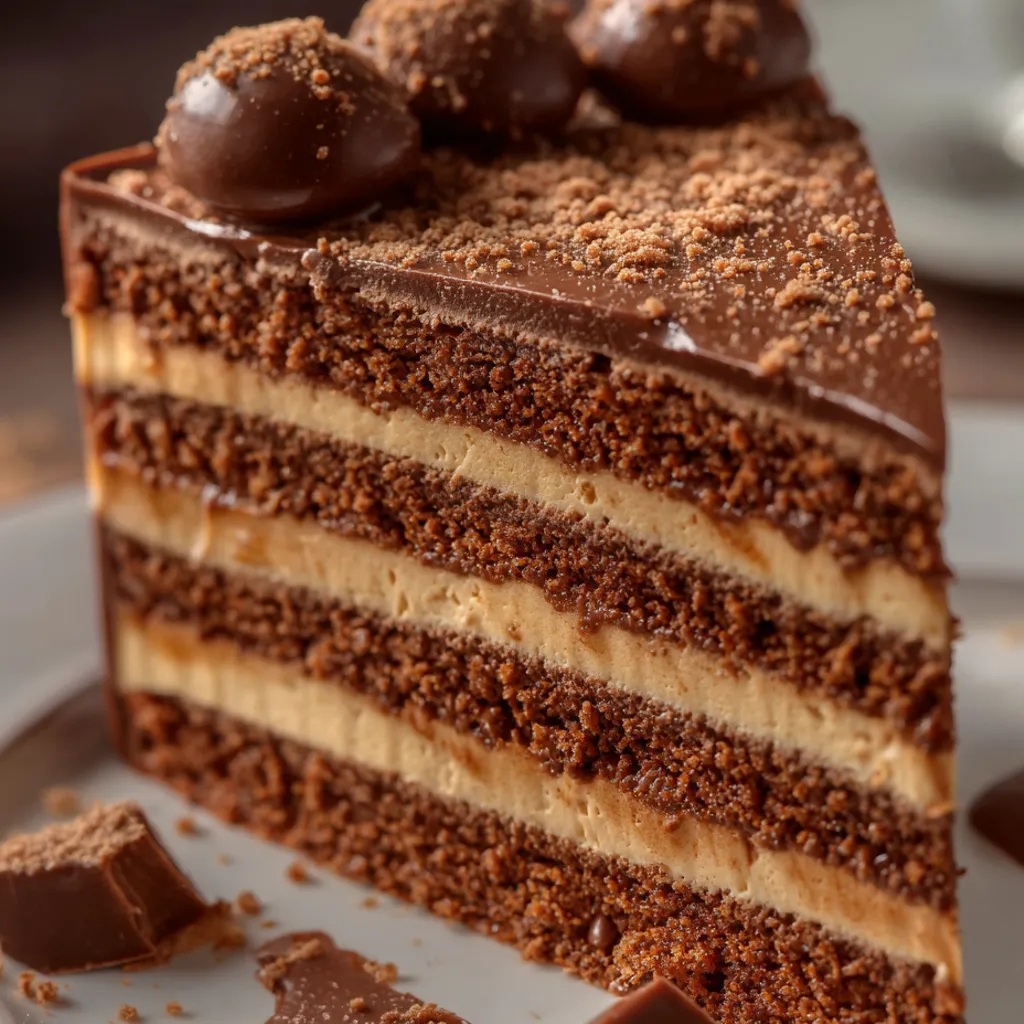
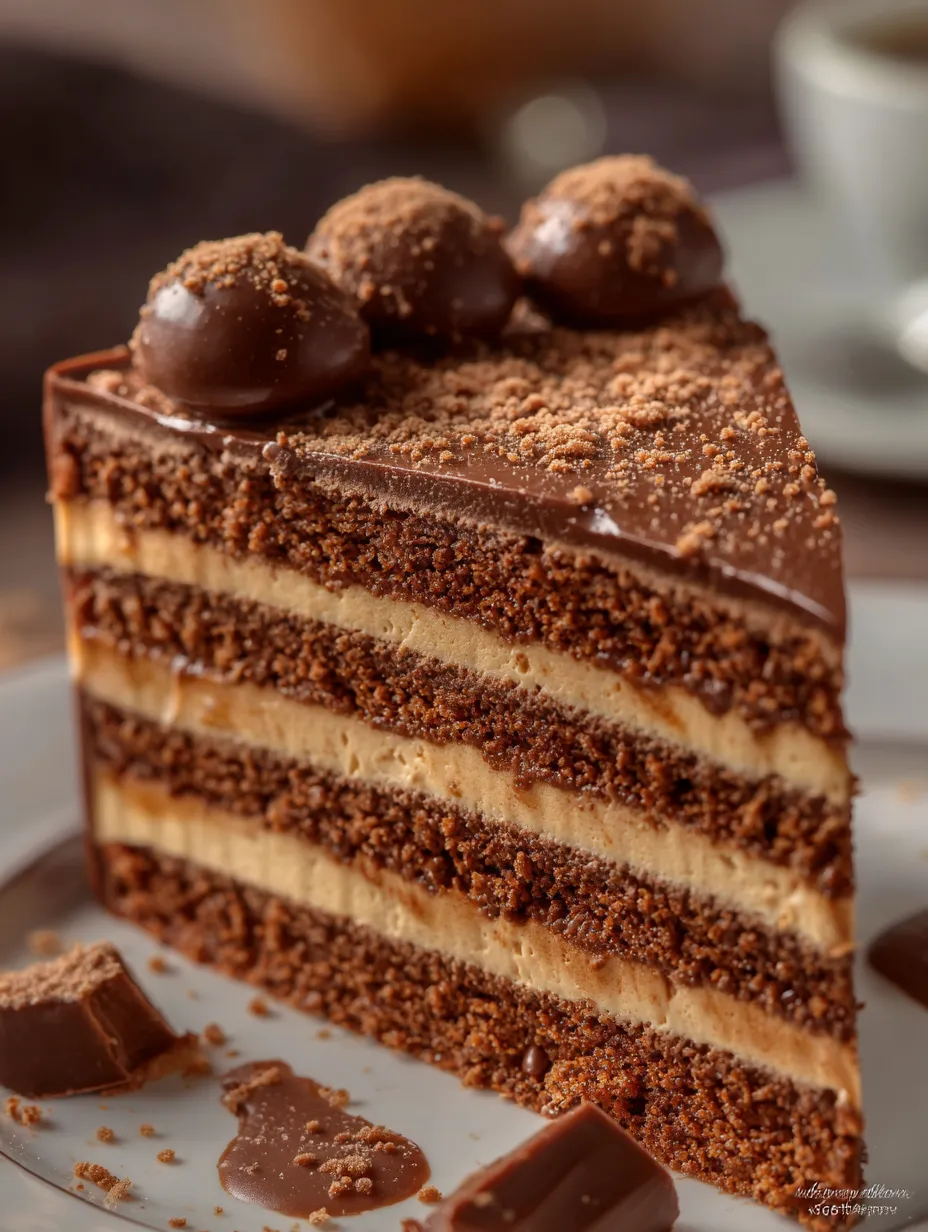
Korowka Honigtorte is a dreamy Russian dessert for folks who crave caramel and chocolate It's made up of soft chocolate honey cake layers stacked up with a tangy caramel sour cream mashup Every slice looks awesome with its spotted top and rich taste I make this for special days and people always end up asking how to make it
I first tasted Korowka Honigtorte at a buddy’s family bash After that I had to figure it out at home Now it’s a family habit and we all look forward to slicing into those tasty layers
Luscious Ingredients
- Honey: Gives moisture and that one-of-a-kind taste Go for a gentle floral honey for best results
- Butter: Adds flavor and keeps layers tender Genuine unsalted butter is best
- Eggs: Hold everything together and add shape Bigger and fresher eggs work great
- Sugar: Brings the sweet to balance out cocoa and honey Granulated works perfectly since it melts fast
- Cocoa Powder: Levels up the chocolate flavor Choose an unsweetened cocoa that’s good quality
- All Purpose Flour: Holds it all up Use a standard soft flour just not the super-fine kind
- Baking Soda: Makes it puff up a little while staying tender Use it fresh for best results
- Sour Cream: Fills it with tangy creamy goodness Use full fat Schmand or swap with crème fraîche
- Caramelized Sweetened Condensed Milk: Adds flavor and glues the filling together Find it canned where they sell international foods or slowly cook regular sweetened condensed milk
- Some extra flour for working: Helps keep the dough from sticking so your layers stay neat
Simple How-To Steps
- Chill the Butter:
- Warm your butter gently on the stove or zap it in the microwave Let it cool back to room temp for that soft bite in the cake
- Blend Eggs and Sugar:
- Whisk together sugar and eggs until it’s fully mixed This sets you up for a soft cake
- Bubble the Honey:
- Heat the honey just until it’s steamy but stop before it boils Sprinkle in baking soda and let it foam up—this’ll give your cake a lift and great flavor
- Bring Wet Stuff Together:
- Pour the melted butter into your egg mix and blend until smooth Dump in the honey foam and mix again so things are nice and even
- Whip Up the Chocolate Dough:
- Stir together your cocoa powder and flour in a bowl Slowly add it to the wet mix a bit at a time until you’ve got a soft sticky dough Pop it in the fridge for about 30 minutes so it’s easy to roll
- Make and Bake Layers:
- Split dough up and roll into thin circles about 24 centimeters wide Put them on parchment Dust with flour if things get sticky Prick with a fork and bake at 180°C for about five minutes a layer Let them fully cool since they’re fragile at first
- Bake Extra for Topping:
- Shape leftover dough into another round Bake it then break it up into bigger and smaller chunks so you can use them for the classic spotted top and sides
- Mix Caramel Cream:
- Whip sour cream with caramelized condensed milk until it’s light and thick Taste as you go and chill for easy spreading
- Stack Everything Up:
- Spoon filling between all your cake layers, stacking ‘em high Save some cream for the outer edge Spread the rest around and press crumbs onto the sides and spots on top for a cow pattern
- Set and Chill:
- Let your assembled cake hang out at room temperature half an hour, then put it in the fridge three hours or more until you’re ready to slice in
I’m all about the caramel cream filling Just smelling it draws my crew into the kitchen We always take a cheeky taste before putting it all together
Keeping It Fresh
Seal leftover cake up tight and keep it cold for up to five days Freezing individual slices works too—just wrap them well for up to two months Bring slices to room temp before eating for the best texture
Easy Swaps
No Schmand or want a change Use full fat sour cream or thick Greek yogurt instead You can swap the honey for mild maple syrup if you feel like mixing it up If you can’t get caramel condensed milk just simmer regular condensed milk until it turns caramel colored
Serving Up Ideas
This dessert really shines next to strong black tea or fresh coffee If you’re feeling fancy, drizzle caramel on the plate or throw some berries on the side
Story Behind The Cake
Korowka means little cow in Russian and the fun spotted top looks like cowhide It’s a go-to cake for Russian parties and stands for sharing good times and family traditions All those layers make it great for passing around at celebrations
Common Questions About This Recipe
- → What makes Korowka taste special?
It’s the mix of rich honey, sweet caramelized condensed milk, and a splash of cocoa that builds that awesome flavor.
- → How many cake layers am I shooting for?
Usually you’ll do around ten crazy-thin layers for a true Korowka, but feel free to change it up based on your pan size.
- → Is it possible to make this cake in advance?
Absolutely. Letting it hang out overnight actually makes the flavors and texture even better.
- → Why does it have 'cow spots' on top?
Those random bits of dough on top are meant to look like cow spots—it's playful and what sets this cake apart.
- → How do I keep leftover Korowka fresh?
Pop it in the fridge, cover it well, and you’re good for a few days of moist, tasty cake.
- → Any fun ways to serve it?
Slice it up cold and pour yourself some coffee or tea. Makes any get-together feel more special!