
 Save
Save
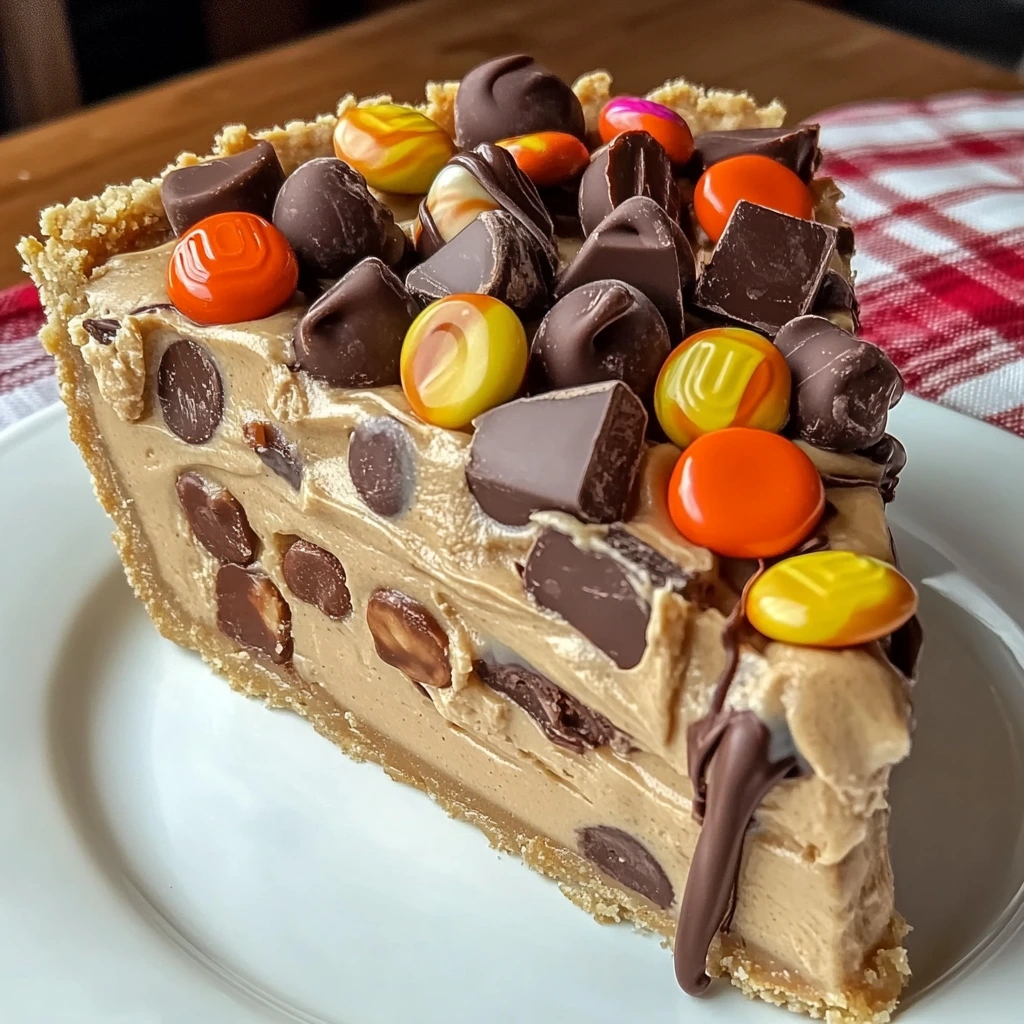
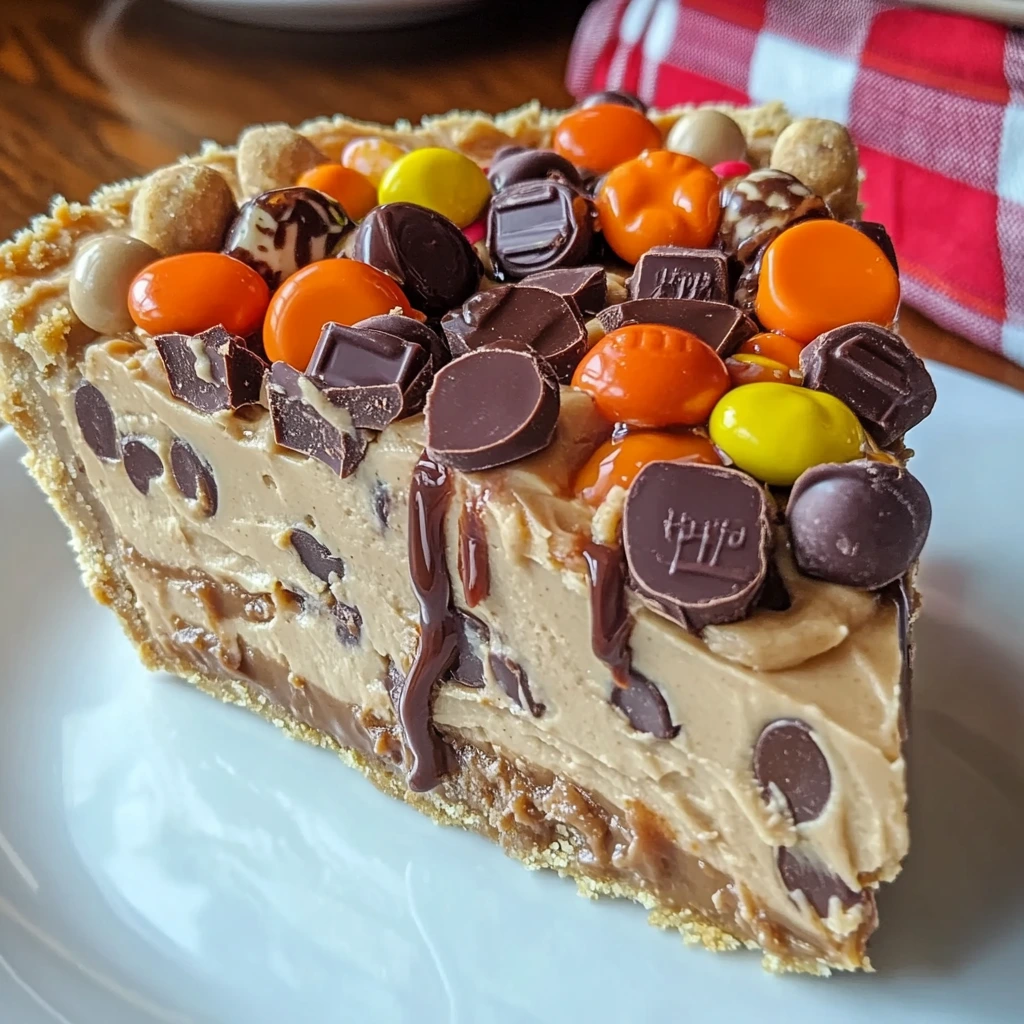
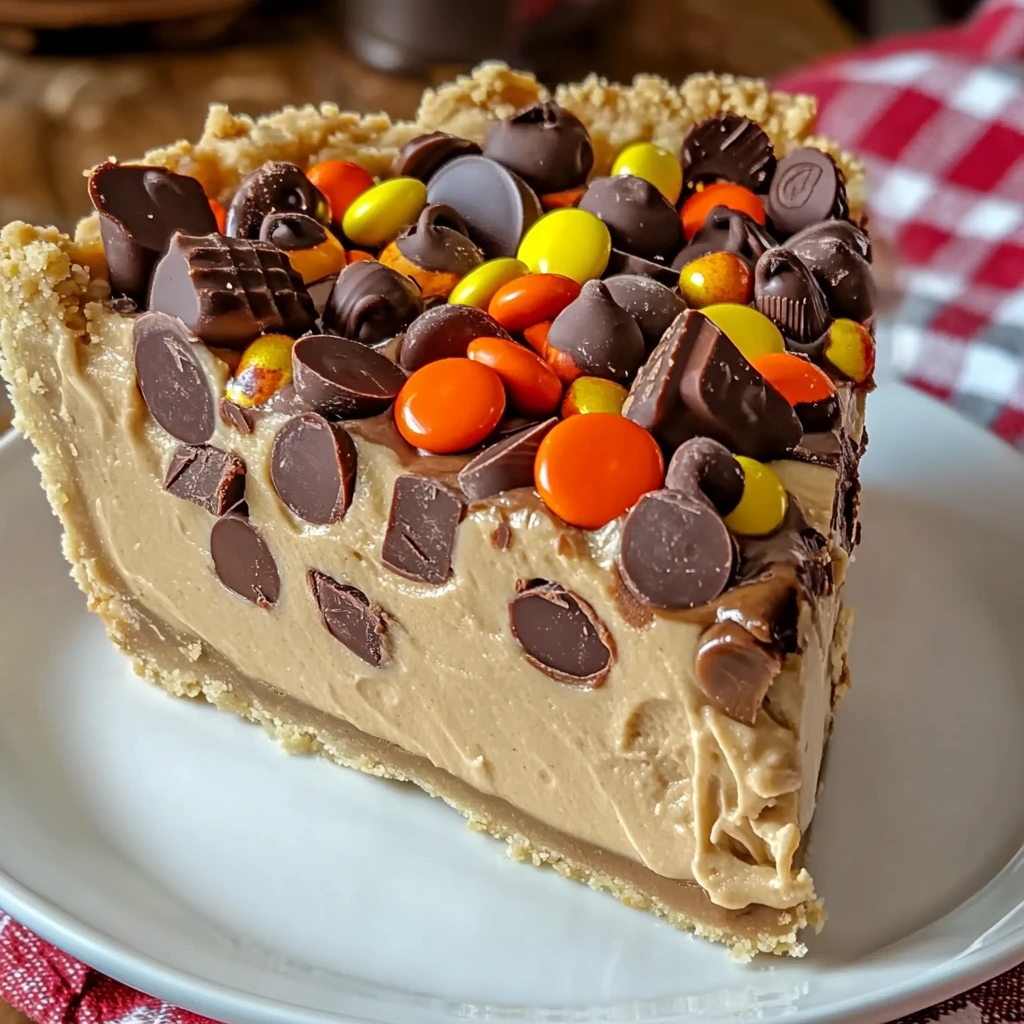
Up your dessert game with this knockout Giant Reese's Peanut Butter Cup Pie that brings those classic Reese's flavors to life in an amazing pie form. This no-cook wonder mixes creamy peanut butter filling, decadent chocolate ganache, and loads of Reese's candies to make something that looks as good as it tastes. Great for birthdays or just when you want something extra special, this pie gives you fancy restaurant vibes without all the work.
Must-Have Ingredient Breakdown
- Smooth peanut butter: gives the silkiest results
- Good chocolate: makes the ganache shine
- Heavy cream: needs to be very cold
- Room temp cream cheese: mixes in without lumps
- Various Reese's treats: for topping and extra flavor
Step-By-Step Making Guide
- Step 1: Mix Your Filling
- Mix everything till it's super smooth
- Beat cream until it stands tall
- Combine them with light touches
- Step 2: Make Your Ganache
- Warm up the cream just right
- Mix in chocolate bit by bit
- Keep going till it's velvety
- Step 3: Put It Together
- Stack everything with care
- Arrange the top beautifully
- Let it get nice and cold
Getting That Dreamy Consistency
Making this pie turn out just right means watching temps and understanding how stuff works together. Your peanut butter mix should be totally lump-free before you add the whipped cream. And your ganache needs to be just the right warmth to look shiny and set properly.
Nailing The Temperature Game
Chocolate can be fussy. Your ganache should be warm enough to spread easy but not so hot it turns your filling into soup. Also, you'll want to chill each layer long enough so they stay separate and you can cut clean slices later.
Keeping It Fresh
Keep your pie in the fridge for up to 5 days with plastic wrap snugly over it. Want to save it longer? Pop single slices in the freezer for up to 3 months. Just let them thaw in your fridge overnight for the best taste.
Food Friends That Work
- Ice cold milk
- Steaming coffee
- Plain vanilla ice cream
- Fresh whipped cream
- Drizzled chocolate sauce
Ways To Show It Off
Use this pie in different settings:
- The star of a birthday party
- A standout at holiday gatherings
- The grand finale at dinner parties
- A Sunday treat for the family
- The talk of any potluck
Conclusion
This Giant Reese's Peanut Butter Cup Pie hits that sweet spot between fancy and easy. Whether it's for a party or just because you want something amazing, this no-bake treat delivers big time without making you sweat. Just remember to be patient with the chilling steps and buy good ingredients. Get those two things right, and you'll make something that puts bakery desserts to shame.
Common Questions About This Recipe
- → Is crunchy peanut butter okay to use?
- Absolutely! It adds a nice crunch to the filling if that’s your preference.
- → Can I prepare this pie in advance?
- Definitely! Making it the day before and chilling overnight enhances the flavor.
- → What kind of crust is best?
- You can pick a chocolate crust, a graham cracker base, or a pre-baked one—they all taste great.
- → Can I store this pie in the freezer?
- Yes, keep it well-wrapped and freeze it. Let it thaw in the fridge before eating.
- → How long will it last in the fridge?
- Covered well, it stays fresh for up to 5 days in the refrigerator.