
 Save
Save
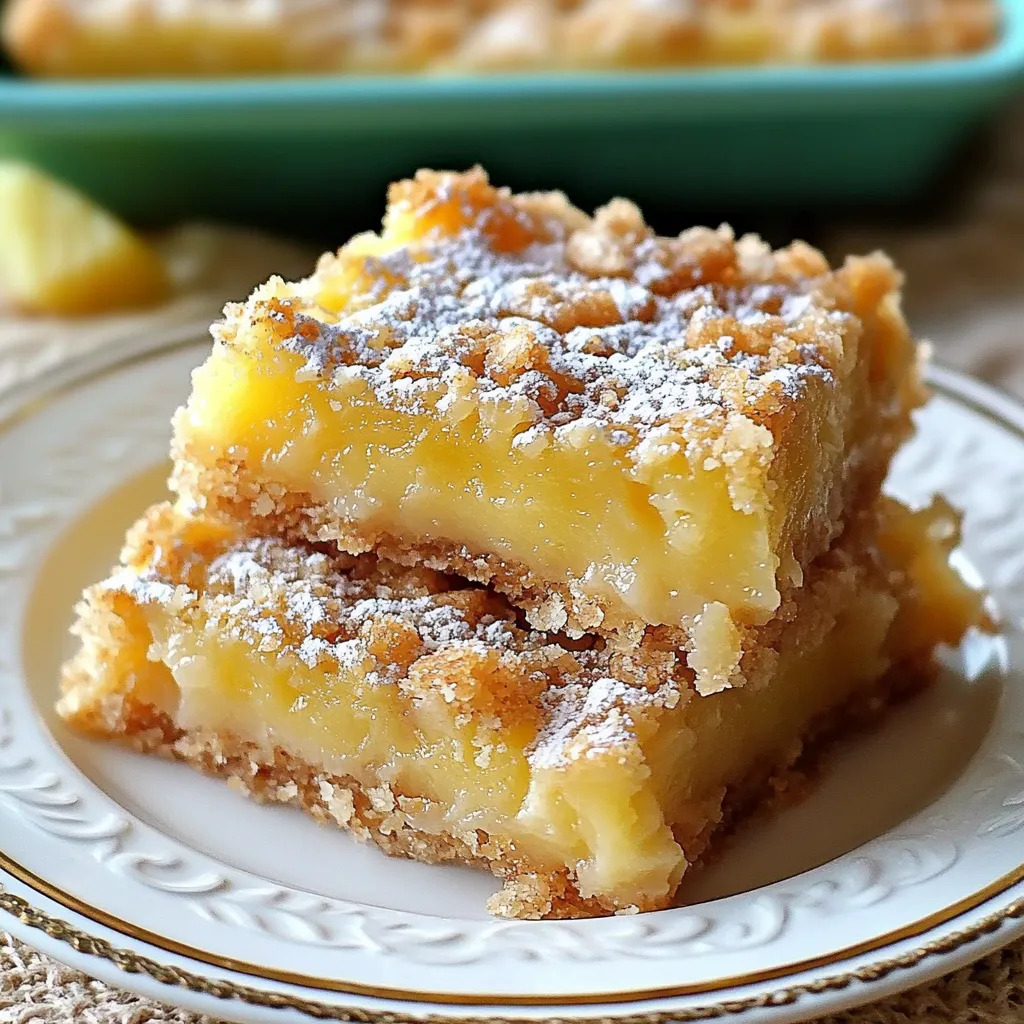
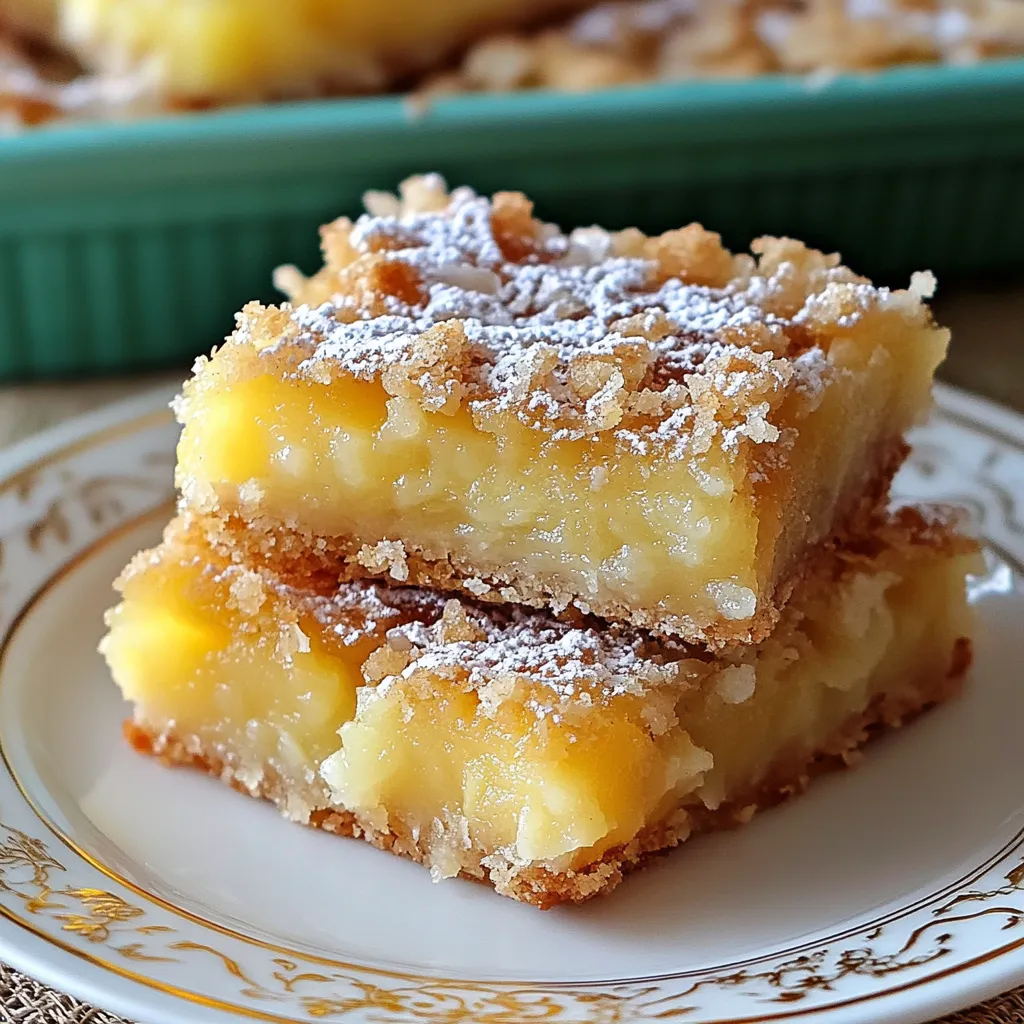
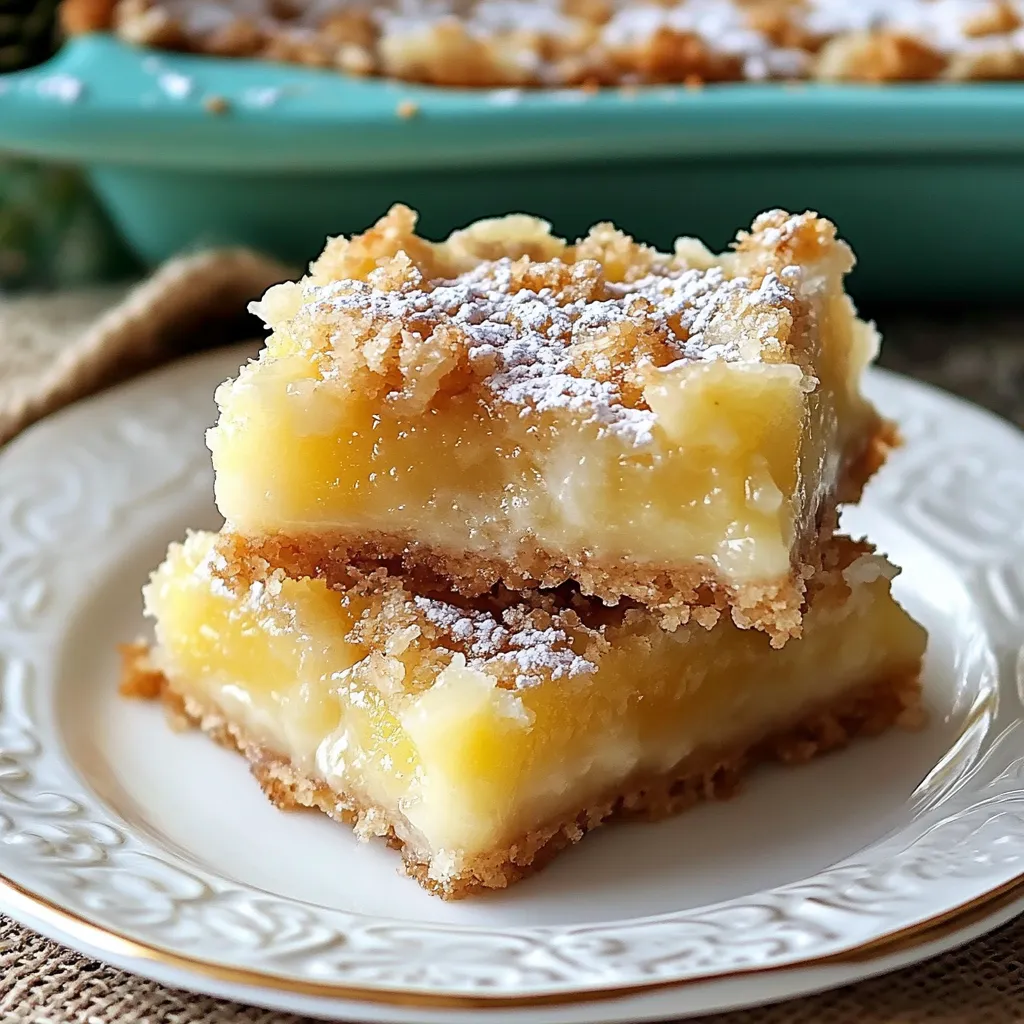
Island-sweet pineapple topping sits on a crumbly butter crust in these mouthwatering sunny treats. Every mouthful delivers just the right mix of tangy fruit flavor with a rich, soft base that dissolves instantly. These squares bring tropical vibes to your table with surprisingly little work—the quick press-down crust and easy stir-together topping need just minutes to make, creating something way better than their simple parts would suggest. The difference between the soft shortbread bottom and the sticky, fruit-filled topping makes a texture heaven that'll have you coming back for more.
I whipped these bars up for my kid's Hawaii-themed party last year. I thought they'd be nice, but wasn't ready for the crowd that swarmed the dessert table or all the people asking how to make them. Even my father-in-law, who always says he 'doesn't go for fruit desserts,' was caught grabbing extra pieces throughout the night.
Sunny Essential Ingredients
- All-purpose flour (1¾ cups total): Makes up the base for both the cookie crust and helps the filling stay together; spoon into cups and level off for the right amount
- Granulated sugar (1½ cups total): Adds sweetness and builds structure in both parts; finer sugar mixes in better if you've got it
- Salt (¼ teaspoon): Kicks up the butter flavor in the crust while cutting the sweetness; sea salt spreads more evenly than regular table salt
- Unsalted butter (¾ cup, cold and diced): Gives that rich, melt-in-mouth feel that makes shortbread so good; fancy European butter works even better
- Crushed pineapple (1 cup, drained well): Brings that sunny tropical taste and juiciness; freshly crushed tastes best, but canned works too
- Large eggs (2): Hold the filling together; eggs at room temp mix in smoother
- Baking powder (½ teaspoon): Adds a hint of lift to the filling without making it too cakey; aluminum-free kinds don't leave that funny metal taste
- Vanilla extract (1 teaspoon): Boosts the pineapple flavor with warm background notes; real extract beats the fake stuff by miles
- Powdered sugar (for sprinkling): Makes the bars look pretty and adds a touch of sweetness; shake it through a strainer for the best look
Making Your Bars
- Getting Ready:
- Heat your oven to 350°F (175°C) with the rack in the middle for even cooking. Line a 9×13-inch pan with parchment paper, leaving extra paper hanging over the sides to help lift the bars out later. This step really helps when you want clean slices.
- Making the Base:
- Mix 1½ cups flour, ½ cup sugar, and salt in a bowl, stirring well. Drop in the cold butter chunks and cut them in with a pastry tool, two knives, or just your fingers until you get crumbs with some pea-sized butter bits still visible. This is what makes shortbread so flaky.
- Forming the Bottom:
- Dump the crumbs into your lined pan, spread them out and press down firmly using a measuring cup bottom or glass to make a solid, flat layer. Poke the surface several times with a fork so steam can escape while baking.
- First Bake:
- Bake the crust for 15 minutes just until the edges start to turn golden but the middle stays pale. This half-baking makes sure the crust can hold the wet filling without getting soggy while still cooking fully in the final bake.
- Fixing the Pineapple:
- Drain your crushed pineapple really well, gently pressing in a strainer to get rid of extra juice without smashing the fruit. Too much liquid will make your filling runny, but you want to keep some moisture for a juicy texture.
- Making the Filling:
- In another bowl, beat eggs and the remaining 1 cup sugar until smooth and a bit thicker, about 2 minutes. This creates a custard-like base. Stir in ¼ cup flour and baking powder until no dry spots remain. Add vanilla and fold in your drained pineapple until evenly mixed.
- Putting It Together:
- Pour the pineapple mixture evenly over your partly baked crust, using a spatula to spread it into the corners and level it out. The filling will look pretty wet now but will set up during baking.
- Final Baking:
- Put the pan back in the oven and bake for 25-30 minutes until the edges are set and golden while the center still jiggles slightly. The filling will keep setting as it cools. Don't overbake or the filling gets rubbery instead of gooey.
- Cooling Down:
- Let the bars cool completely in the pan on a wire rack, which might take 2-3 hours. This waiting pays off with perfectly set bars that cut cleanly. For even neater cuts, chill for 1 hour after they reach room temperature.
My grandma always said fruit desserts need a tiny bit of salt to really pop. 'It wakes everything up,' she'd tell me while adding that important pinch to her famous pineapple upside-down cake. She taught me you can't rush the cooling time with fruit bars—a lesson I found out the hard way after once cutting into a batch too early and ending up with a tasty but sloppy pineapple puddle. These bars follow her wisdom with their spot-on balance of tastes and textures.
Ways to Serve
These adaptable bars work for all kinds of settings and serving ideas. For casual get-togethers, just place them on a simple plate with some fresh mint for color. Dress them up for dinner parties by serving individual squares with coconut whipped cream and a light sprinkle of toasted coconut. In summer, try them with vanilla ice cream and a drizzle of warm caramel for a fancy treat. Make a tropical dessert platter by setting out bars alongside fresh pineapple pieces, coconut cookies, and chocolate-covered dried mango slices.
Fun Twists
Change up this flexible recipe to create exciting flavor combos that keep the tropical theme going. Coconut fans can mix in ½ cup toasted coconut flakes to the filling and swap vanilla for coconut extract. Make a piña colada version by adding 2 tablespoons of rum extract to your filling. For a bit of warmth, sprinkle in ¼ teaspoon of ground cardamom or ginger to the filling mix. Citrus lovers can throw in 1 tablespoon of lime zest for a pineapple-lime combo. Chocolate fans might want to scatter ½ cup mini chocolate chips over the crust before pouring on the pineapple filling.
Keeping Them Fresh
Keep your bars tasting great with the right storage tricks. Store at room temp in an airtight container for up to 2 days, putting parchment paper between layers so they don't stick together. For longer freshness, keep in the fridge for up to 5 days, but let them sit out before eating for the best taste and texture. These bars freeze really well—wrap single pieces in plastic wrap, then foil, and freeze for up to 3 months. Thaw in the fridge overnight before letting them warm up for about an hour, or warm slightly in a 300°F oven for 5-10 minutes to get that just-baked flavor back.
These pineapple treats have become my go-to dish for summer parties, but their bright tropical flavor fits any season. What I really love about this recipe is how something so basic can instantly take you to a sunnier mood. The mix of buttery crust with sweet-tangy pineapple creates something that's way more special than its simple ingredients would suggest.
Common Questions About This Recipe
- → Can fresh pineapple be swapped for canned?
- Sure thing! Chop it finely and get rid of as much juice as you can. Too much liquid can make the bars soggy. A quick pulse in the food processor works too for a similar texture.
- → How do I know when they're done baking?
- You'll see set edges turning golden while the center may wobble a bit—kinda like lemon bars. They'll firm up as they cool. Use foil to cover if edges brown too fast.
- → Can these bars hold up in the freezer?
- Totally! Slice them first, layer parchment paper between pieces in a tight container, and freeze. They stay good for 3 months. Let them thaw in the fridge, then sprinkle with sugar before eating.
- → Why's my pineapple filling too runny?
- It’s likely the pineapple wasn’t drained enough. Squeeze out the liquid really well. For extra dryness, pat it gently with paper towels first.
- → Can I add other fruity flavors?
- Definitely! Go for crushed mango or papaya for extra tropical vibes. Just stick to about 1 cup total fruit so the texture of the bars stays spot-on.
- → How do I slice these bars perfectly?
- Pop them in the fridge for an hour after they’ve cooled down. Then use a hot, sharp knife and wipe it clean after each cut. Add the powdered sugar once everything’s sliced.