
 Save
Save
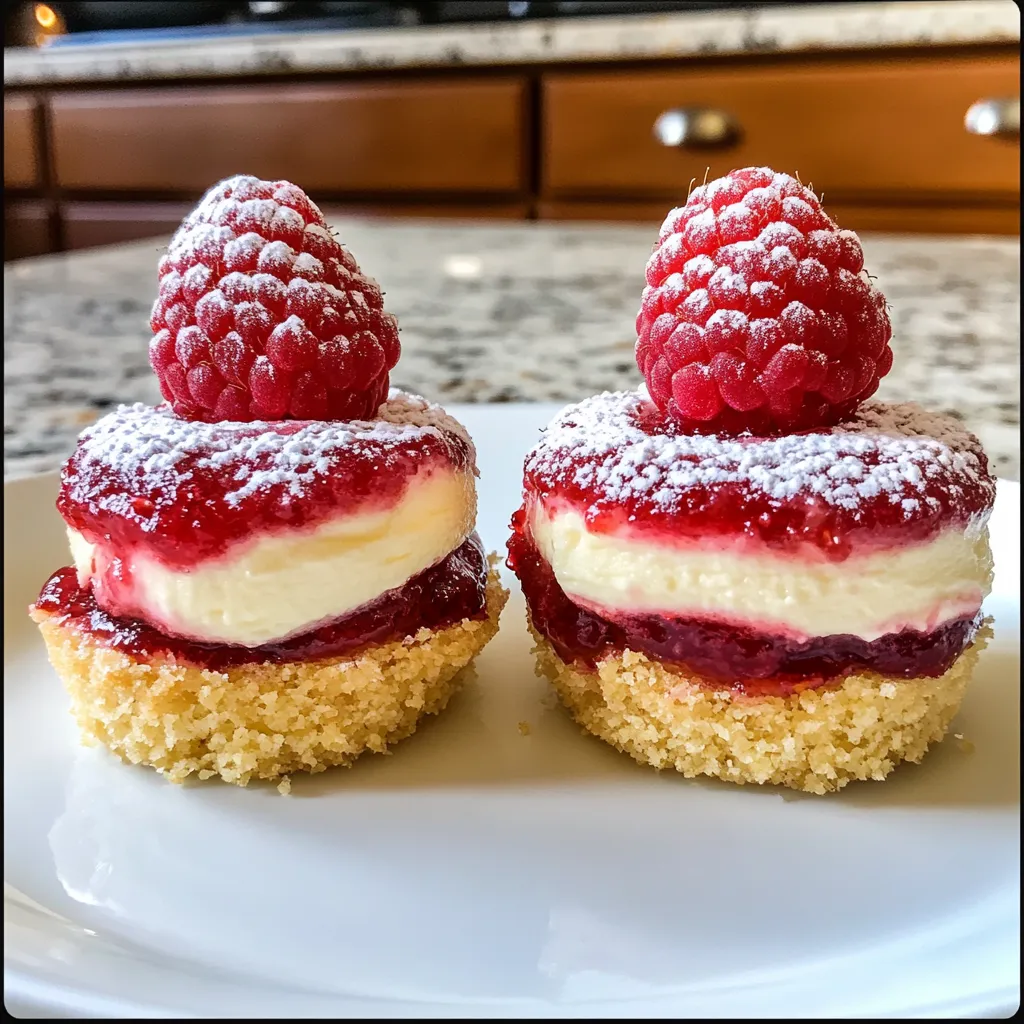
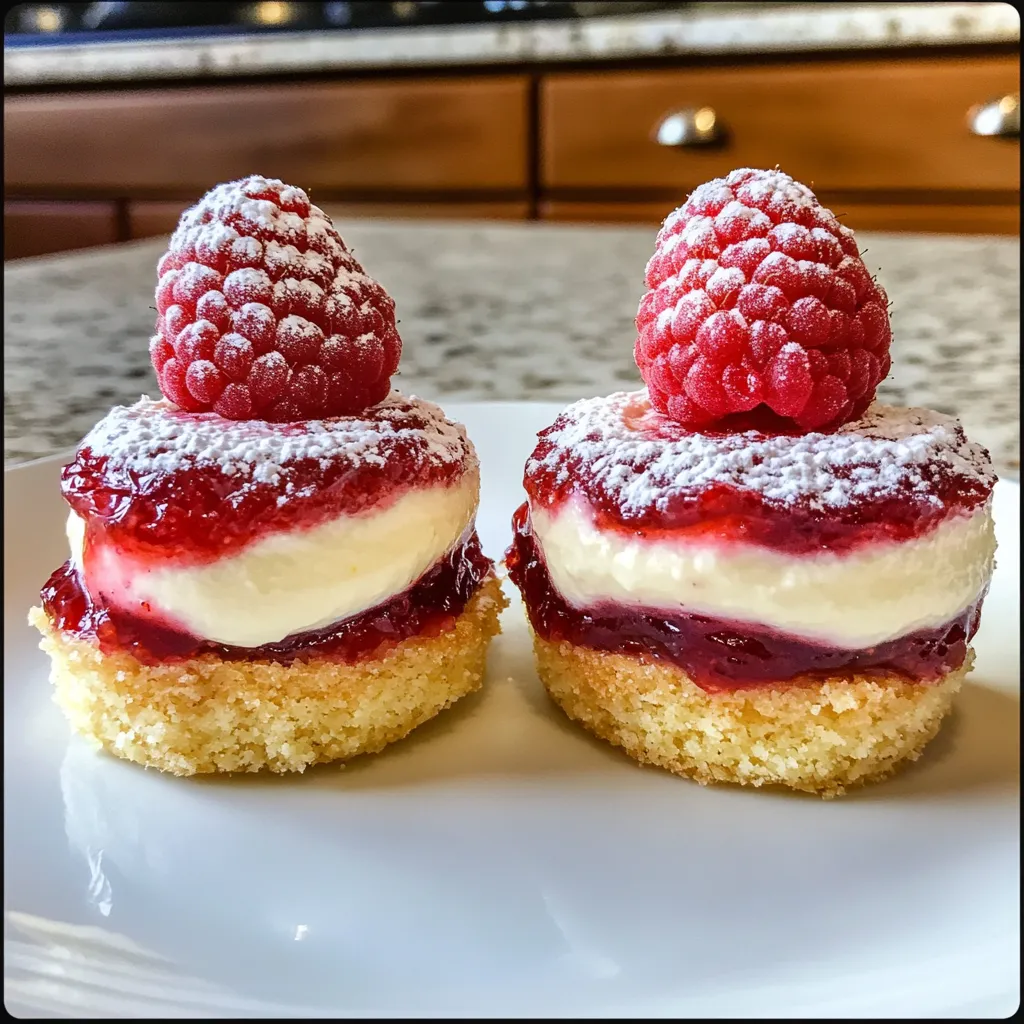
These mini lemon raspberry cheesecake cups blend tangy citrus and sweet berries in a handy grab-and-go dessert. Each cup features a crumbly graham base topped with smooth, lemony cream cheese and finished with juicy raspberry sauce. The mix of zesty lemon with slightly tart raspberries makes for a light, refreshing treat that hits all the right notes without going overboard.
I whipped up these cheesecake cups for the first time during a backyard get-together when I thought regular cake would be too filling. As soon as I brought out the tray of colorful treats, folks couldn't take their eyes off them. The real shock came when people who usually turn down sweets went back for seconds. Their light, fresh taste won everyone over. My next-door neighbor, who always says she 'can't stand cheesecake,' asked me how to make them before she left that night.
Smart Ingredient Choices
- Graham Cracker Crumbs: They're the backbone of your crust, bringing that sweet honey flavor and distinctive crunch. Making your own by crushing whole crackers tastes way better than buying pre-made crumbs. Just toss some graham crackers in your food processor and pulse until they turn into fine sand.
- Unsalted Butter: This holds your crust together and adds a rich taste that plays off the smooth filling. Always grab unsalted so you can control how much salt goes into your dessert.
- Cream Cheese: The main player that creates that dreamy, smooth texture. Don't skimp with low-fat versions—full-fat makes for the tastiest results. Let it sit out until it's room temperature to avoid lumps and get the smoothest mix.
- Sour Cream: This hidden hero adds a nice tang and makes everything extra creamy. Its slight sharpness works perfectly with the lemon while making the filling extra smooth.
- Fresh Lemons: You'll need both the juice and the zest for real flavor. The zest has oils that pack way more punch than any bottle of juice could. Always scrape the zest off first, then squeeze the juice—it's much easier that way.
- Fresh Raspberries: These bright little gems bring color and juicy flavor. Look for plump, firm ones with deep red color and no mushiness or fuzzy spots. Their tartness balances out the sugar nicely.
- Raspberry Preserves: Good-quality preserves boost the raspberry flavor and give you that perfect jammy texture. Pick jars with visible fruit chunks and not too many added ingredients for the most authentic taste.
- Eggs: They help your filling set up right while keeping that famous creamy texture. Warm them to room temperature for the smoothest blending into your batter.
Winning Preparation Steps
- Building The Base:
- Start by heating your oven to 350°F and putting paper liners in a standard muffin pan so your treats come out easily. Mix one cup of graham cracker crumbs with a quarter cup of sugar in a bowl, making sure the sweetness spreads throughout. Pour in half a cup of melted unsalted butter and stir until every bit is damp and looks like wet beach sand. If you squeeze some, it should hold together without feeling too greasy. Put about two tablespoons of this mix into each liner and press down firmly using the back of a spoon, making a slight cup shape that goes up the sides a bit. This forms a solid base that won't fall apart under your filling. Bake them for 8 minutes until they smell good and the edges start turning golden.
- Creating The Filling:
- While your crusts cool down, get started on the creamy filling. Beat eight ounces of softened cream cheese in a big bowl until it's completely smooth with no lumps at all. This first step matters a lot—any lumps now will still be there when you eat them. Slowly add half a cup of sugar while beating, and don't forget to scrape the bowl sides often. Once it's light and fluffy, mix in half a cup of sour cream for that silky smooth feel. Add two large eggs one at a time, mixing just enough to blend each one in. Don't overmix here—too much beating adds air that can make cracks later. Finally, stir in a quarter cup of fresh lemon juice and all the zest from one lemon, which gives that bright, fresh flavor that makes these cheesecakes so special.
- Baking Them Right:
- Spoon your creamy mix over the crusts, filling each cup about three-quarters full so they have room to rise. Gently tap the pan on your counter a few times to pop any air bubbles hiding inside, which might cause cracks while baking. Bake in your heated oven for 15-20 minutes, watching for just the right doneness. The edges should look set but the middles should still have a slight wobble—kind of like firm jello. Don't overbake or they'll end up dry and cracked. After baking, turn off the oven, crack the door open a bit, and leave the cheesecakes in there for about 10 minutes. This slow cooling keeps them from sinking in the middle. Then move them to a wire rack to cool completely before putting them in the fridge for at least four hours, but overnight works even better.
- Making The Topping:
- While your cheesecakes chill, make the bright raspberry topping. Put one cup of fresh raspberries and a quarter cup of raspberry preserves in a pot. Warm them gently over medium-low heat, stirring now and then as the berries start to break down and release juice. Cook for about 3-4 minutes until the mix thickens slightly but some berries still keep their shape for texture. Take it off the heat and let it cool completely before spooning it over your chilled cheesecake cups. The mix of cool, creamy cheesecake with slightly warm, jammy berries makes each bite amazing.
My top twist on this recipe is adding a thin white chocolate layer between the crust and filling. As it chills, the chocolate hardens slightly, giving you a fun surprise when you take a bite. My grandma came up with this idea after chatting with her friend who's a baker. While these little treats taste great any time of year, they've become our family's unofficial first-day-of-summer dessert, showing up at our earliest outdoor gathering when the weather gets nice.
Ways To Serve
You can show off these cheesecake cups in so many ways depending on the occasion. At fancy dinner parties, put them on small dessert plates with a light sprinkle of powdered sugar and a fresh raspberry on top. This simple look lets their pretty colors shine. For brunch get-togethers, try a more relaxed approach—set them out on a tiered stand next to fresh fruit and coffee so guests can help themselves. If you're heading to a summer picnic, keep the cups in their paper liners and carry them in a container with a tight-fitting lid, packed with ice packs to keep them cool. For kids' parties, go playful—try adding colorful sprinkles or tiny cookie decorations on top of the raspberry layer to make little eyes light up.
Try These Flavor Twists
The basic lemon-raspberry combo opens the door to tons of creative changes. For a taste of the tropics, swap out lemon for lime and top with mango-passion fruit sauce instead of raspberries. The bright citrus works wonderfully with those exotic fruits. During the holidays, warm things up by adding half a teaspoon of cinnamon to the crust and replacing the raspberry topping with spiced apple or pear. Chocolate fans might enjoy mixing tiny chocolate chips into the filling before baking and drizzling the finished cups with melted dark chocolate that sets into a thin shell. If you want something lighter, try using Greek yogurt for half the cream cheese—you'll keep the creaminess while cutting some fat and adding protein.
Keeping Them Fresh
These cheesecake cups keep remarkably well, making them perfect for planning ahead. For eating within a few days, store them in an airtight container in the fridge for up to four days. They actually taste better after the first day as the flavors mix together more. Wait to add the raspberry topping until a day before serving to keep the cheesecake from getting soggy. If you need longer storage, freeze them without the topping for up to two months. Wrap each cup in plastic wrap then foil to protect them, and put them in a sturdy container. Let them thaw in the fridge overnight before adding fresh topping. Don't use the microwave to thaw—it heats unevenly and can ruin your cheesecake's texture.
I started making these cheesecake cups just playing around in the kitchen, and now they've become the dessert my friends and family always ask for. What I love most about this recipe is how forgiving it is—even if the tops crack a little or the crust isn't perfectly shaped, the raspberry topping hides any flaws. The zingy lemon paired with sweet-tart raspberries creates a flavor combo that feels fancy yet totally approachable. Unlike many desserts that leave you feeling stuffed and sugar-crashed, these balanced little cups hit the spot without weighing you down, making them perfect after dinner or as an afternoon snack with a cup of tea.
Common Questions About This Recipe
- → Can I make these ahead of time?
- Sure can! Prep them the day before, keep them chilled, and sprinkle powdered sugar right before serving so it doesn’t dissolve.
- → What works instead of serving cups?
- Muffin tins are a great alternative. Use liners for easy removal, or grease them well so everything pops out smoothly.
- → Can I pick other berries instead?
- Of course! Try blueberries, blackberries, or strawberries. You can switch out the fresh berries and preserves equally.
- → How do I know they’re baked enough?
- Check when the edges look done but the center still has a slight wobble. They’ll finish setting as they cool in the fridge.
- → Why did my filling crack?
- Overmixing (too much air) or baking too long can cause cracks. Just mix until combined. And minor cracks? No worries! The raspberry topping will hide them nicely.