
 Save
Save
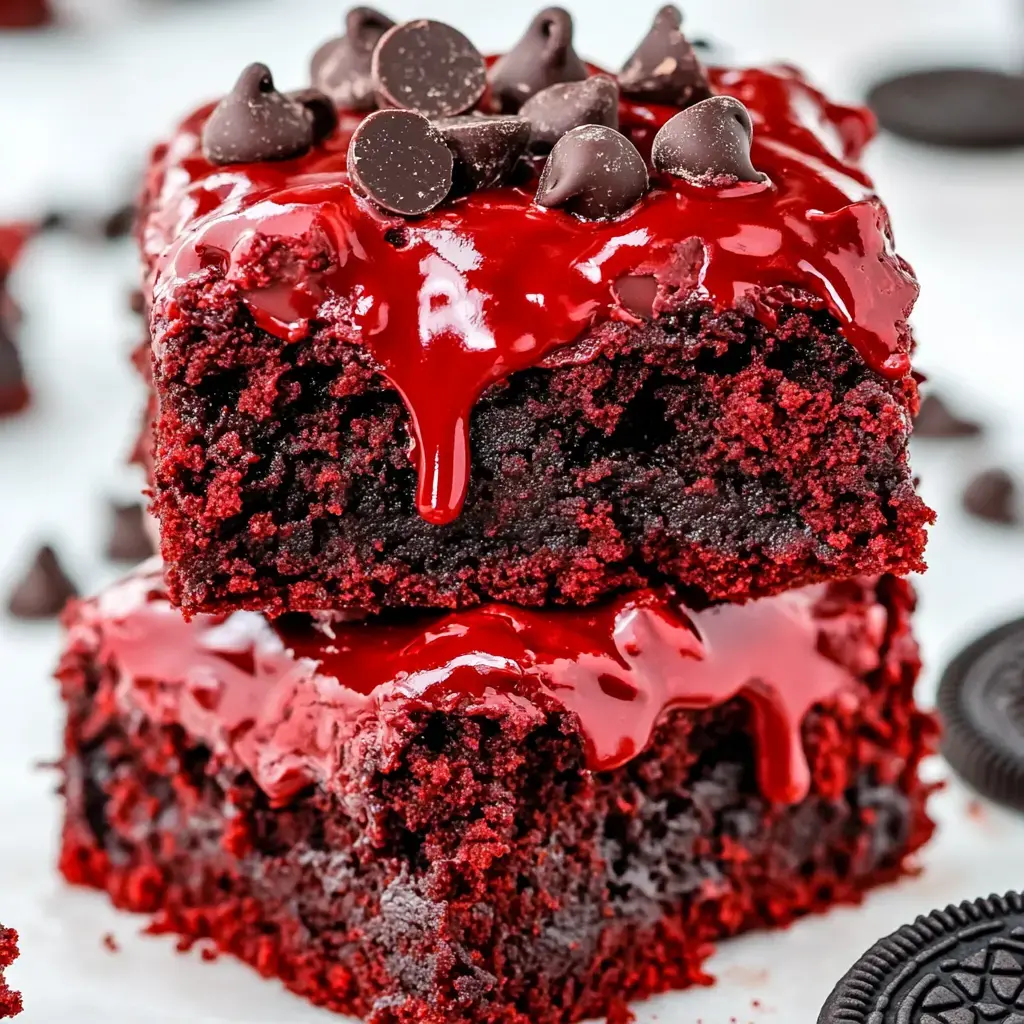
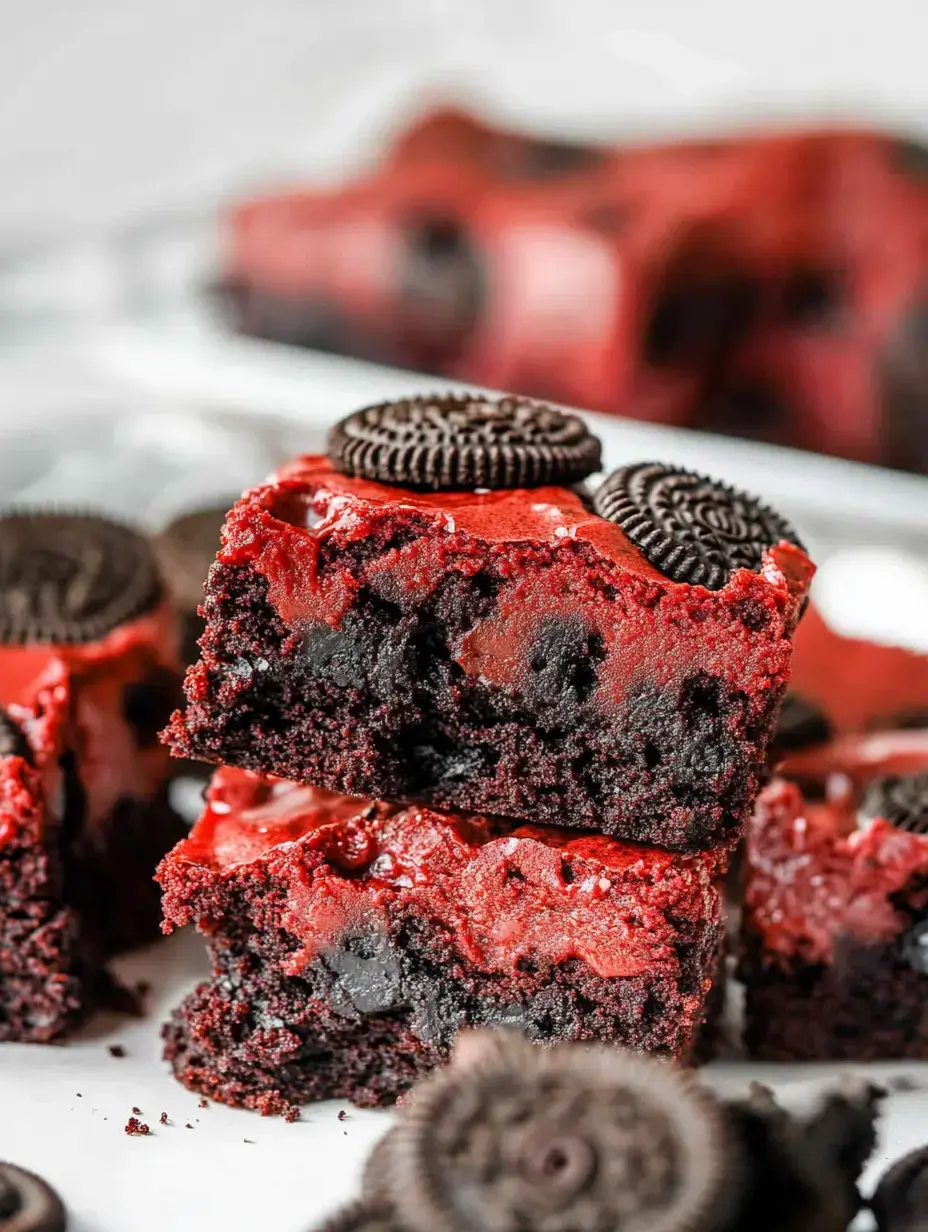
An Indulgent Spin on Classic Brownies
I've gotta share one of the treats everyone always begs me for - these amazing Red Velvet Oreo Brownies! I whipped these up when I couldn't pick between red velvet, brownies, or plain Oreos (we've all been there!). The combo turned out incredible! Picture fudgy brownies with that signature red velvet taste, packed with Oreo chunks throughout. Whenever I bake these, the smell fills my house and my family mysteriously appears, wondering what's cooking!
What Makes These Brownies So Special
You know those treats that make everyone go wide-eyed? This is definitely that kind! I love watching people try to work out the secret behind these brownies. Is it the red velvet richness? The bits of Oreos? The perfect brownie consistency? It's actually all of these things! And they're way simpler to make than they look. Believe me, once you try them, plain brownies just won't cut it anymore!
What You'll Need to Make These
Here's everything to grab for these treats:
- The Must-Haves:
- - Brown sugar (press it down when measuring!)
- - Softened real butter
- - Eggs from the farm if you can find them
- - Good quality vanilla extract (worth spending extra on!)
- - Dark cocoa powder
- - A bit of baking powder for some rise
- - That special red food coloring
- - Regular flour
- - A bunch of Oreos (get extra because some will vanish!)
- - Chocolate chips you love
- - Just a tiny bit of salt to enhance flavors
Time to Get Baking!
Let's get that oven warming to 350°F! While that's happening, find your 9x9 baking dish. Here's a handy trick: put some foil in and give it a light coating of cooking spray. This makes taking out the brownies super easy later!
Now for the fun stuff! In your mixer (or just a large bowl if you're going traditional like my grandma showed me), blend the butter and brown sugar until it's fluffy and light. I usually time this for 3 minutes - it really does matter! Then drop in those eggs one by one, mixing each completely. Pour in your vanilla (I always add a bit extra because why not?).
Next goes the cocoa powder, baking powder, and salt. Mix until you've got this lovely chocolate mixture, then carefully add your flour. Don't mix too much here - we want them fudgy, not tough!
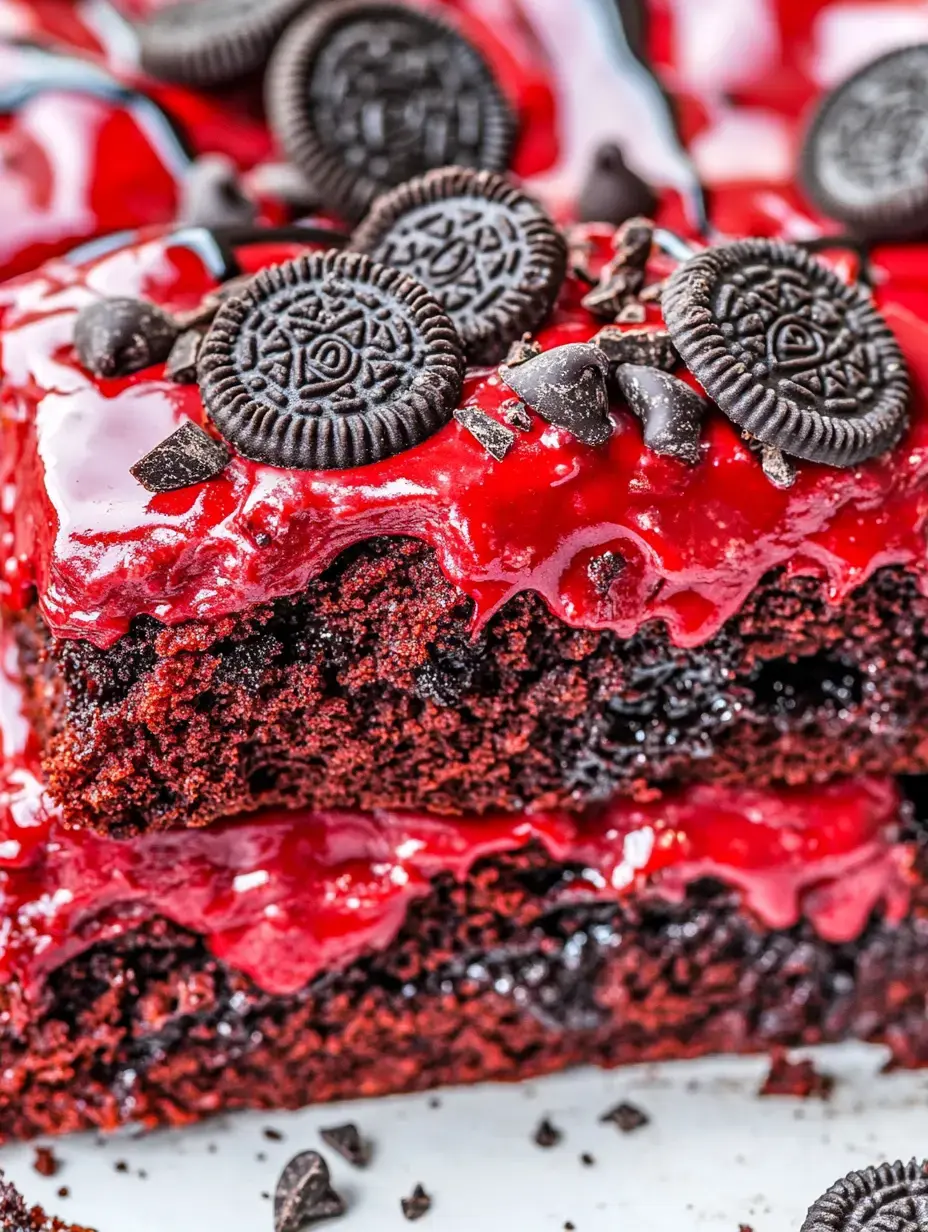
Making That Gorgeous Color and Crunch
Here comes the fun part - adding the red food coloring! Watch your chocolate mixture turn into this beautiful deep red. I love this transformation! Then mix in those broken Oreos. I like to keep some pieces bigger for extra texture. Pour everything into your pan, and don't forget to scatter those chocolate chips on top. They'll make amazing pockets of melty chocolate while baking!
Let the Oven Work Its Magic
Pop them in the oven for about 22-24 minutes! Your house will soon smell wonderful. Here's my trick for perfectly fudgy brownies: look for a slight wobble in the middle when you gently shake the pan. The sides should be firm, but the center still a bit soft. Remember, they'll keep cooking as they cool down. It's better to take them out a bit early than end up with dry brownies!
The Waiting Game
Now for the toughest part - waiting! I know you'll want to dive right in (I've been there many times!), but letting them cool completely matters so much. If you can hold off, stick them in the fridge for a couple hours. This helps them set just right and makes cutting so much cleaner. Plus, those Oreo bits get extra crunchy when they're chilled!
How to Store Your Treats
If you somehow have extras left (which hardly ever happens at my place!), keep them in a sealed container. They'll stay good for about 3-4 days at room temp. Want to save some for later? These freeze really well! I wrap single pieces in plastic, then foil - it's like having a little sweet stash for chocolate emergencies!
Insider Tricks for Amazing Results
After baking these tons of times, I've picked up some helpful hints! Don't leave them in too long - that slightly gooey middle is what we want. I like trying different Oreo flavors too. The mint ones taste awesome during Christmas! And feel free to get creative with extras. Sometimes I throw in white chocolate chips or even some chopped nuts for extra crunch.
Putting Your Own Twist On Them
The cool thing about these brownies? How easily you can switch things up! Sometimes I use peanut butter Oreos (my hubby's top pick), or during Christmas, I'll add some smashed candy canes on top. There are so many options! My daughter loves when I mix cream cheese into the batter - it creates this beautiful swirled look and tastes fantastic.
Ways to Enjoy These Treats
Want to make these brownies extra fancy? Serve them a bit warm with some vanilla ice cream on top. The way the ice cream melts into those fudgy brownies is just amazing! Sometimes I'll add a drizzle of chocolate or caramel sauce too. For coffee breaks in the afternoon, I think they're perfect just as they are - the ideal sweet treat to brighten my day!
Great for Any Get-Together
These brownies have come to my rescue at so many gatherings! They're my go-to for school fundraisers (always the first to sell out!), shared meals, and holiday parties. That stunning red color makes them perfect for Valentine's Day or Christmas, but really? They're awesome any time of year. Plus, they're so easy to take places - just keep them in the pan and go!
Smart Prep-Ahead Option
Here's a little tip: these brownies actually taste even better the day after you make them! All those flavors mix together overnight. I often bake them a day before I need them - it makes hosting so much easier, and they turn out perfect. Just make sure to hide them well, or they might vanish before your guests show up!
A Hit With Everyone
You know what I love most about these treats? How they bring folks together! There's something about mixing red velvet, chocolate, and Oreos that just makes people smile. I've given this recipe to so many friends, and it's become a favorite in countless families besides mine. That's what baking is really about - sharing good things with others!
Quick Cleanup Pointers
Let me share my favorite cleaning trick: that foil liner isn't just for taking them out easily - it makes cleanup super quick! I also keep a wet cloth nearby while mixing to wipe up any spills right away (red food coloring can be messy!). And here's a tip: spray your measuring cups with cooking spray before using sticky stuff like brown sugar - it'll slide right out!
Saving Some For Later
Like having sweets ready for surprise visitors? These brownies freeze amazingly well! I wrap single pieces in plastic, then foil (double wrapping works best!), and put them in a freezer bag. When someone drops by unexpectedly, I can grab a few pieces, let them sit out for about an hour, and there you go! Instant dessert that tastes freshly made. Sometimes I even warm them a bit in the microwave - so good!
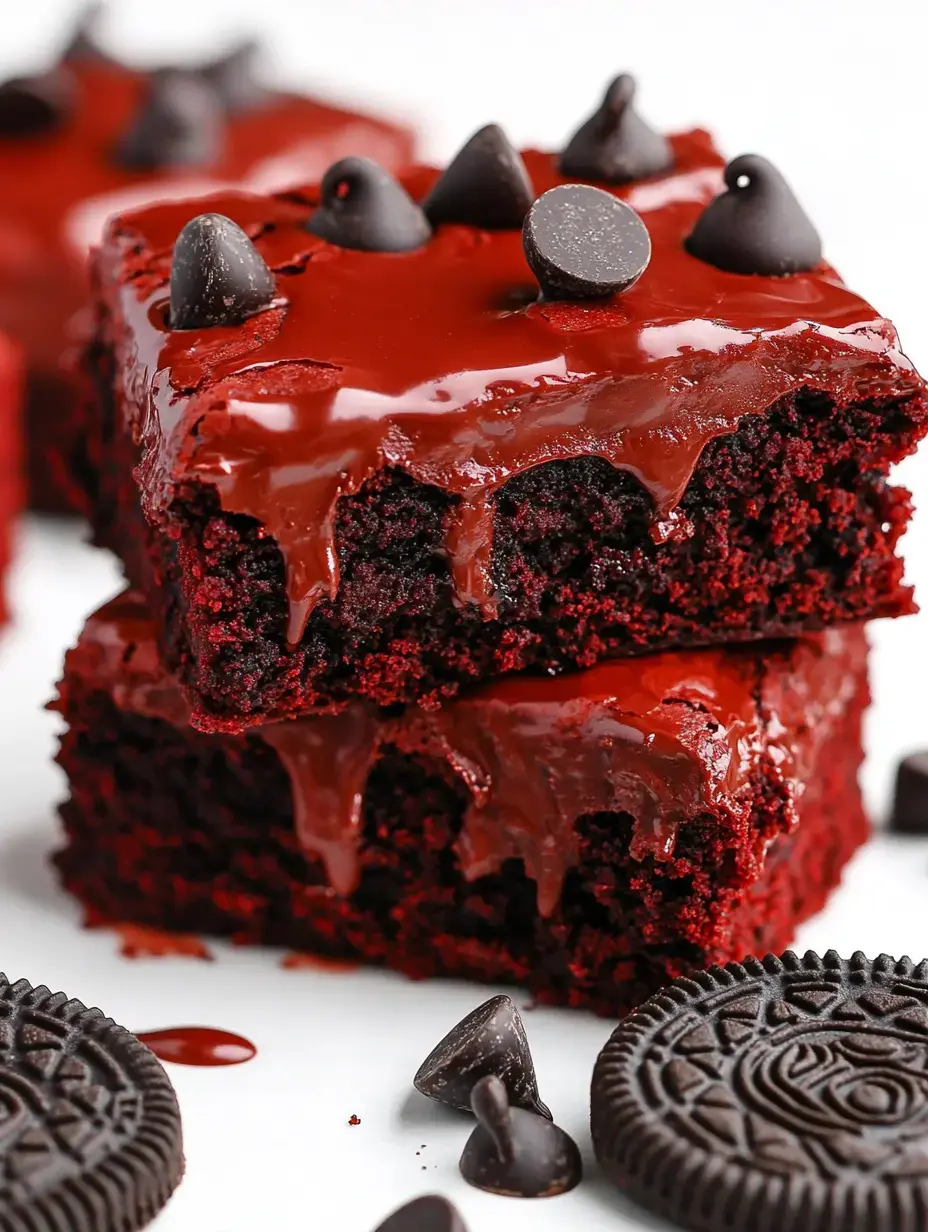
Crowd-Pleasing Party Favorite
These brownies have become my go-to dessert for big occasions. The red color makes them look so festive, and those Oreo pieces create such a pretty contrast! I've baked them for countless birthday parties, baby showers (perfect for chocolate cravings!), and even my niece's graduation. They always get tons of compliments, and I love seeing people's reactions when they take that first bite.
Easy Yet Impressive
You know what I love most about making these? How something so straightforward can seem so fancy! With just a few basic items and some Oreos, you can make something that looks and tastes like it came from an expensive bakery. It's the perfect recipe to know when you want to wow people without spending all day in the kitchen.
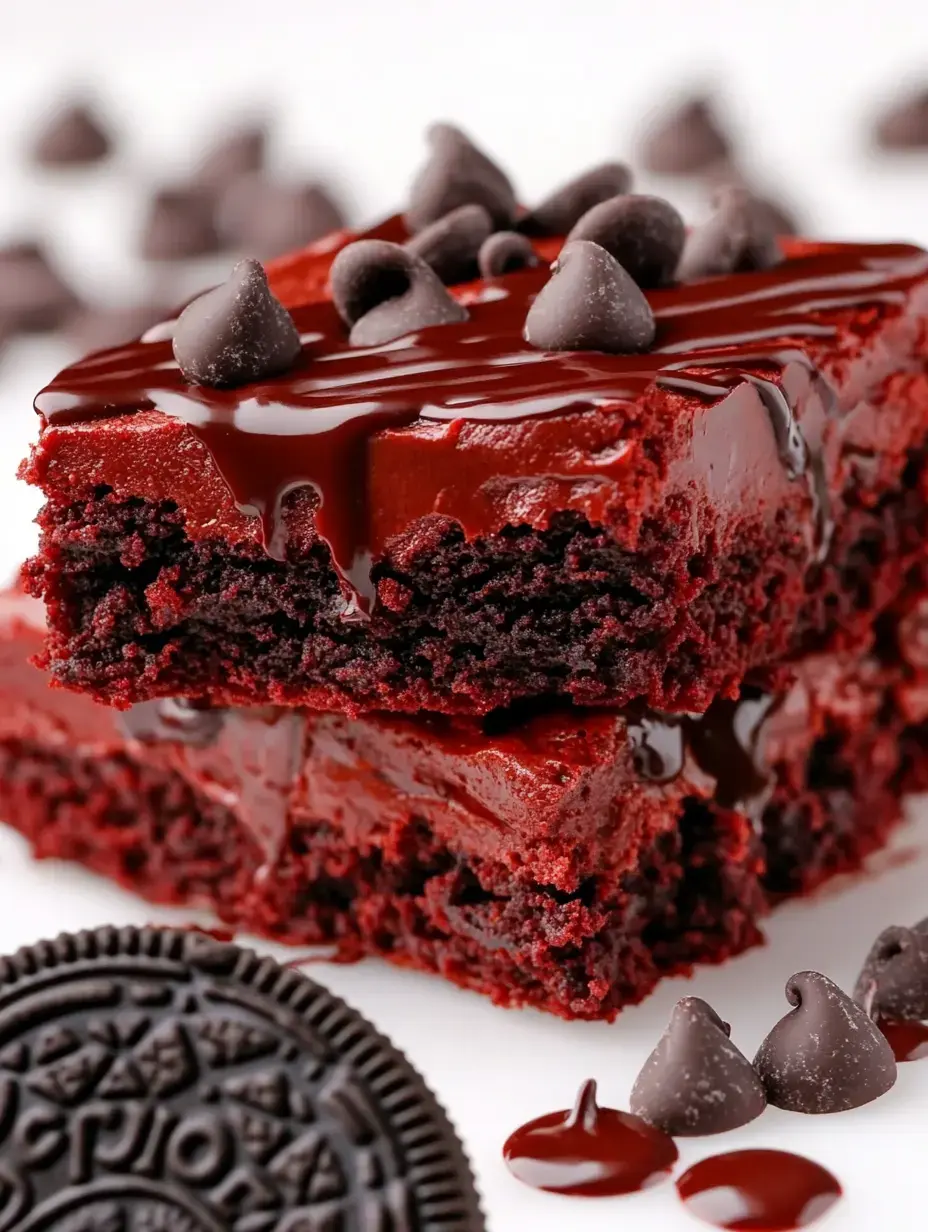
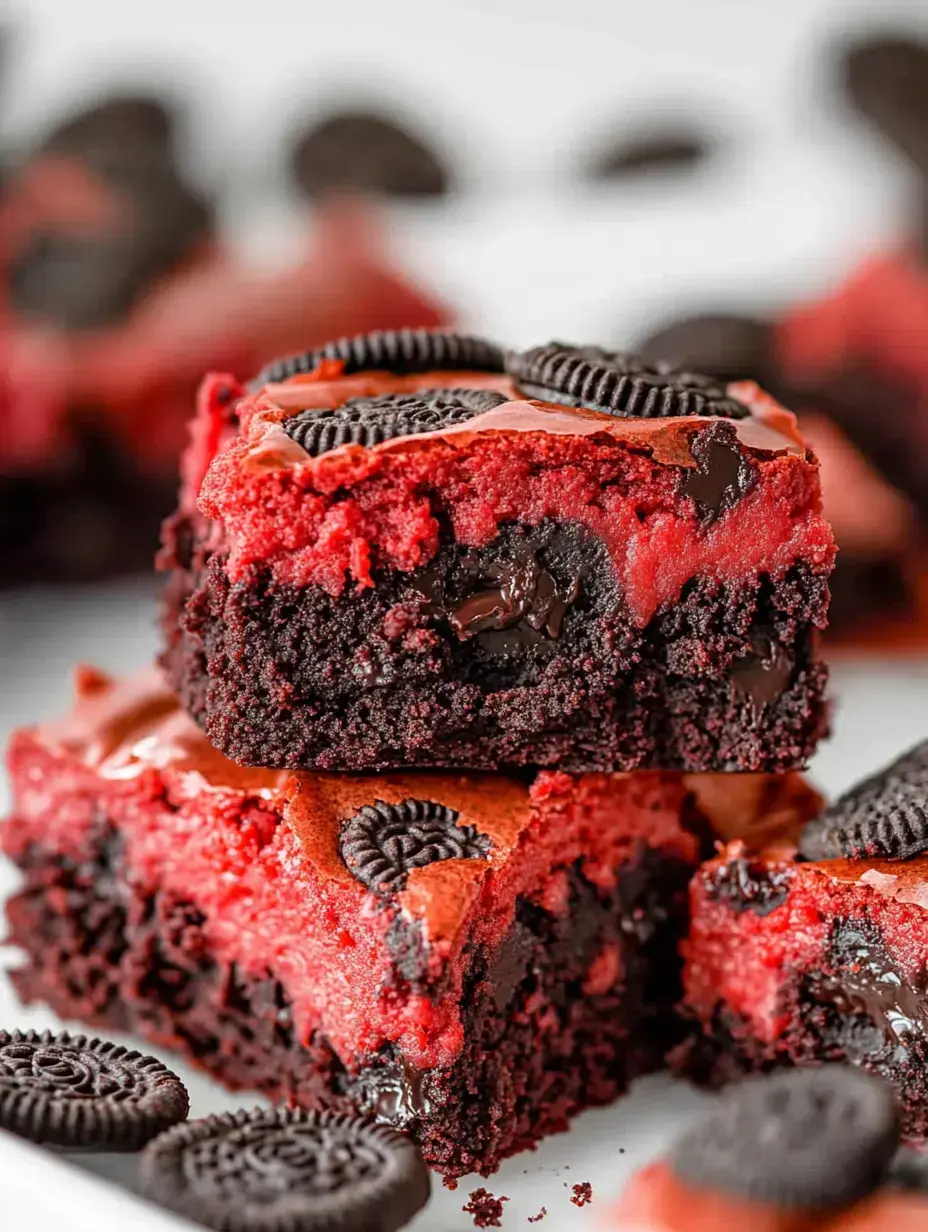
That Incredible Bite Experience
Let's talk about what really makes these brownies amazing - that texture! The brownie base is rich and fudgy, while the chunks of Oreos add wonderful crunch. Every bite gives you that perfect mix of chewy and crispy. And those melty chocolate chips on top? Just incredible! It's like enjoying three desserts in one magical bite.
A Treat Made With Love
These Red Velvet Oreo Brownies have brought so much happiness to my kitchen, and I know they will to yours too! They're more than just dessert - they're a way to share joy and make sweet memories with people you care about. Whether you're baking them for something special or just because it's an ordinary Tuesday, I hope they become a favorite in your home like they have in mine. Happy baking, friends!
Common Questions About This Recipe
- → Why choose a metal pan?
- Metal heats evenly, giving a better texture and golden edges than glass or ceramic pans.
- → When are they ready to take out?
- If the middle jiggles slightly, they're good to go! They'll firm up as they cool.
- → Can I skip the red dye?
- Sure, use less for a lighter shade or none at all for a classic blondie look with Oreo chunks.
- → What’s the benefit of foil in the pan?
- It makes lifting and cutting the entire batch super easy, and prevents any sticking.
- → How do I keep them fresh?
- Seal them in a container at room temp for up to 5 days, or freeze them to enjoy later.