
 Save
Save
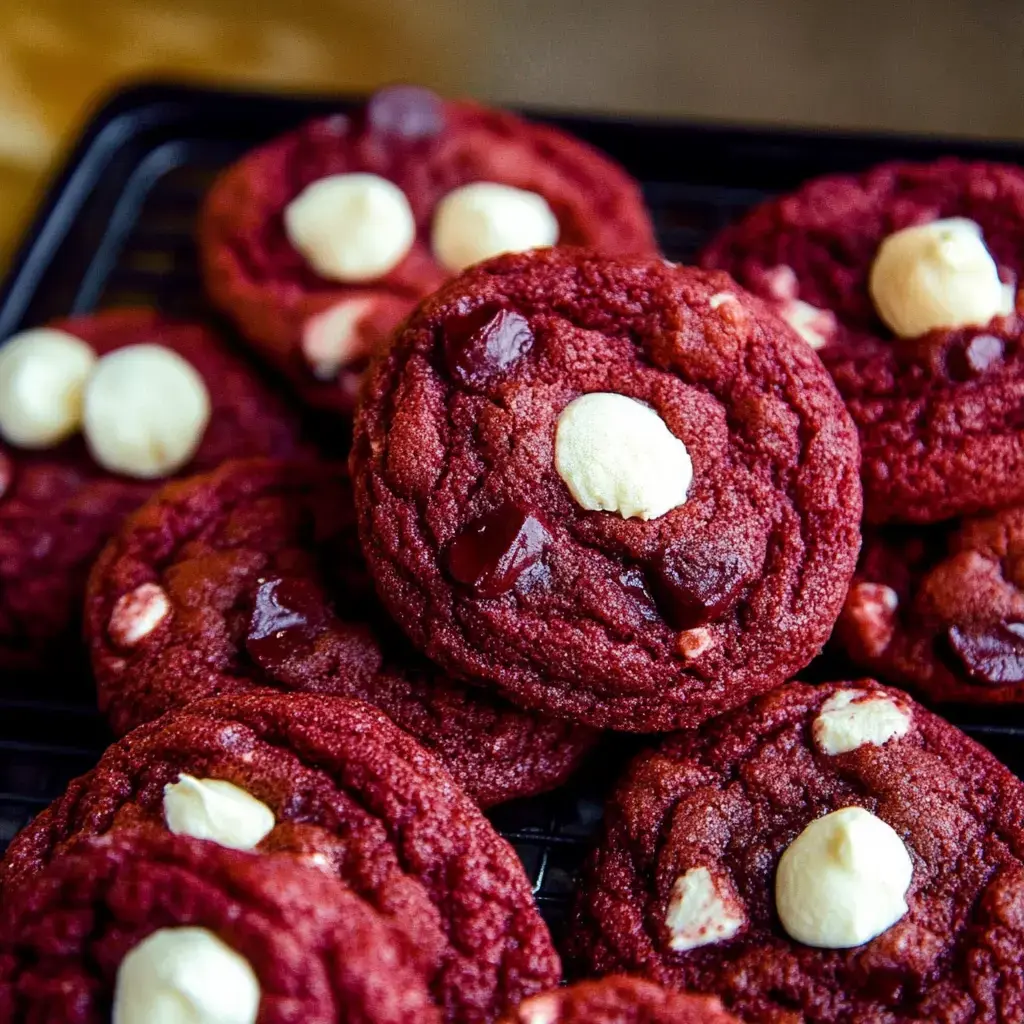
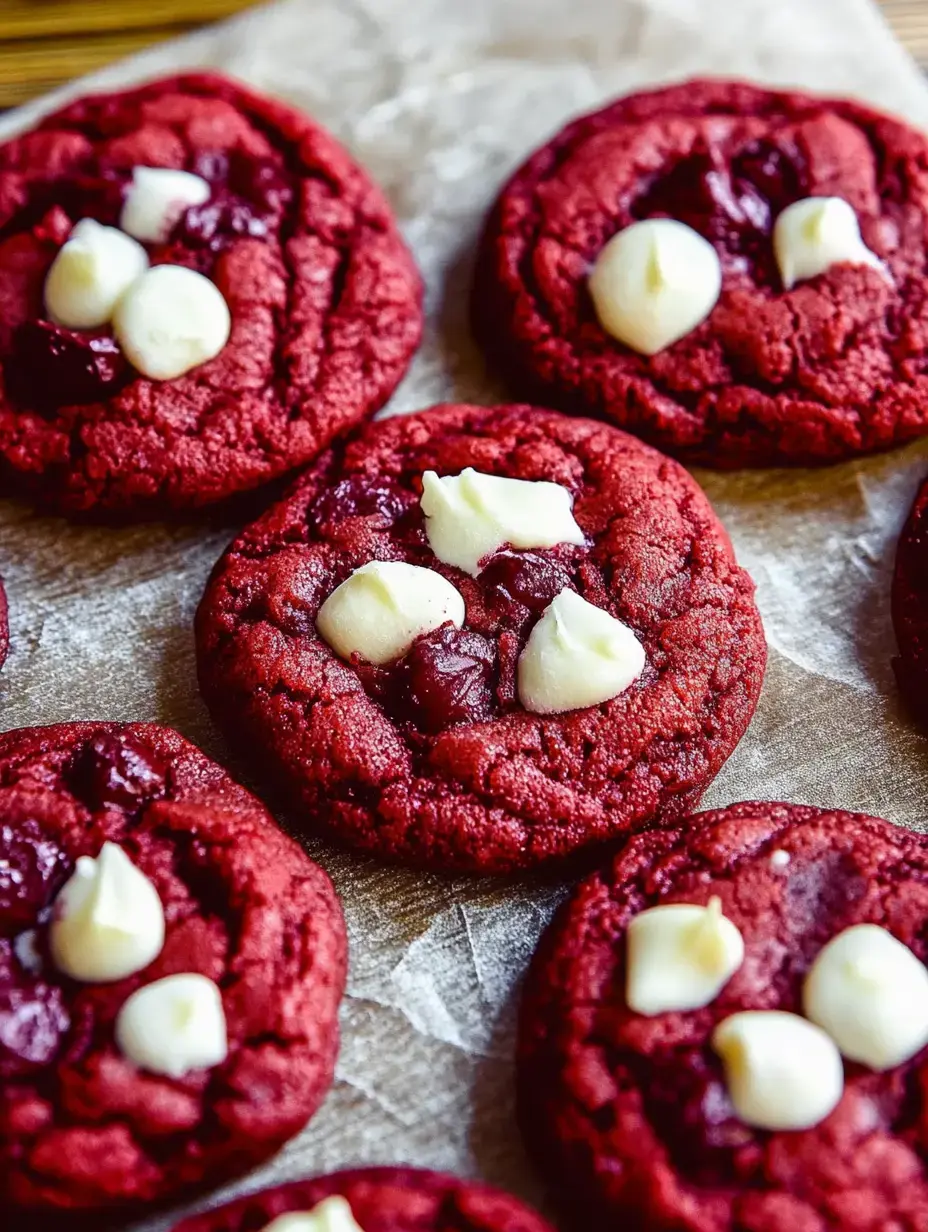
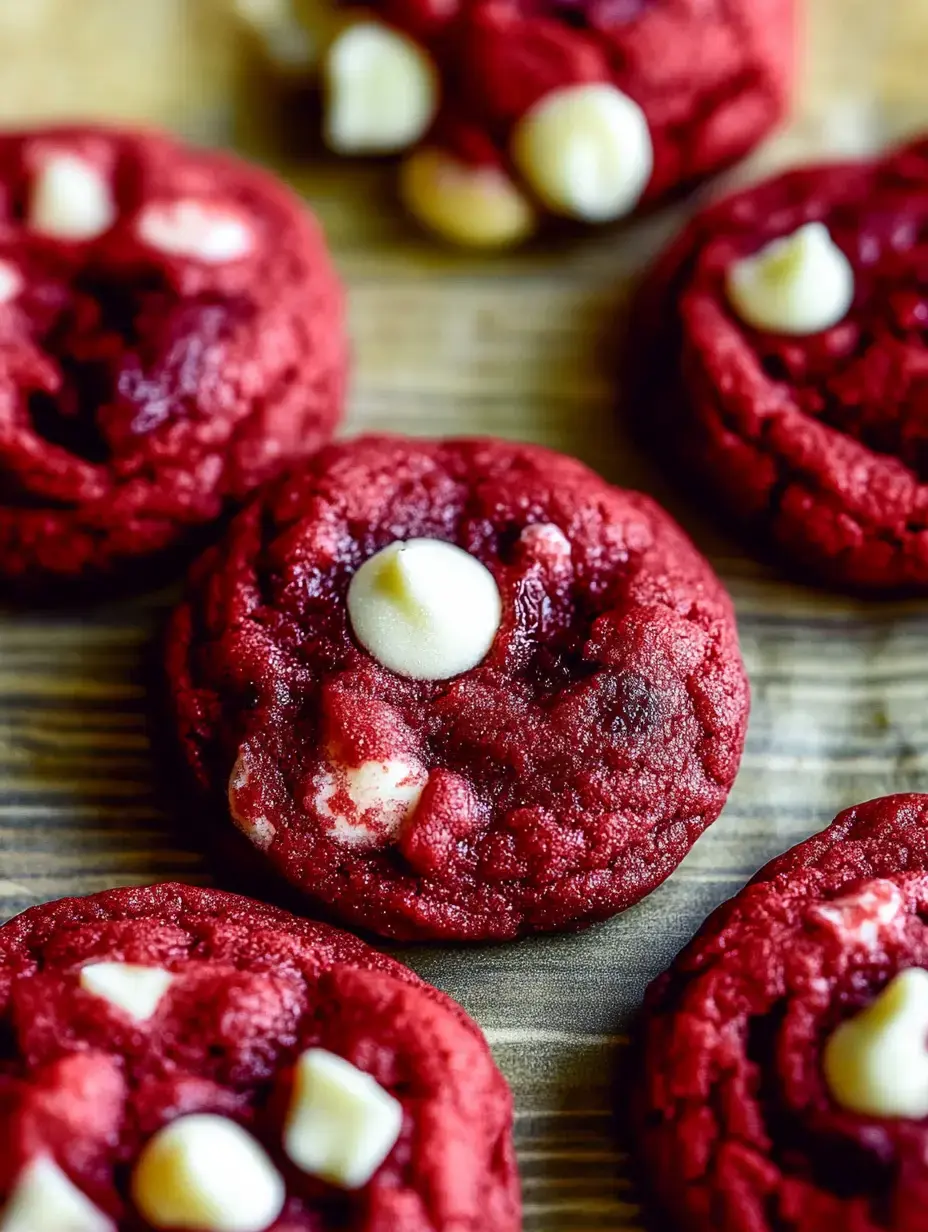
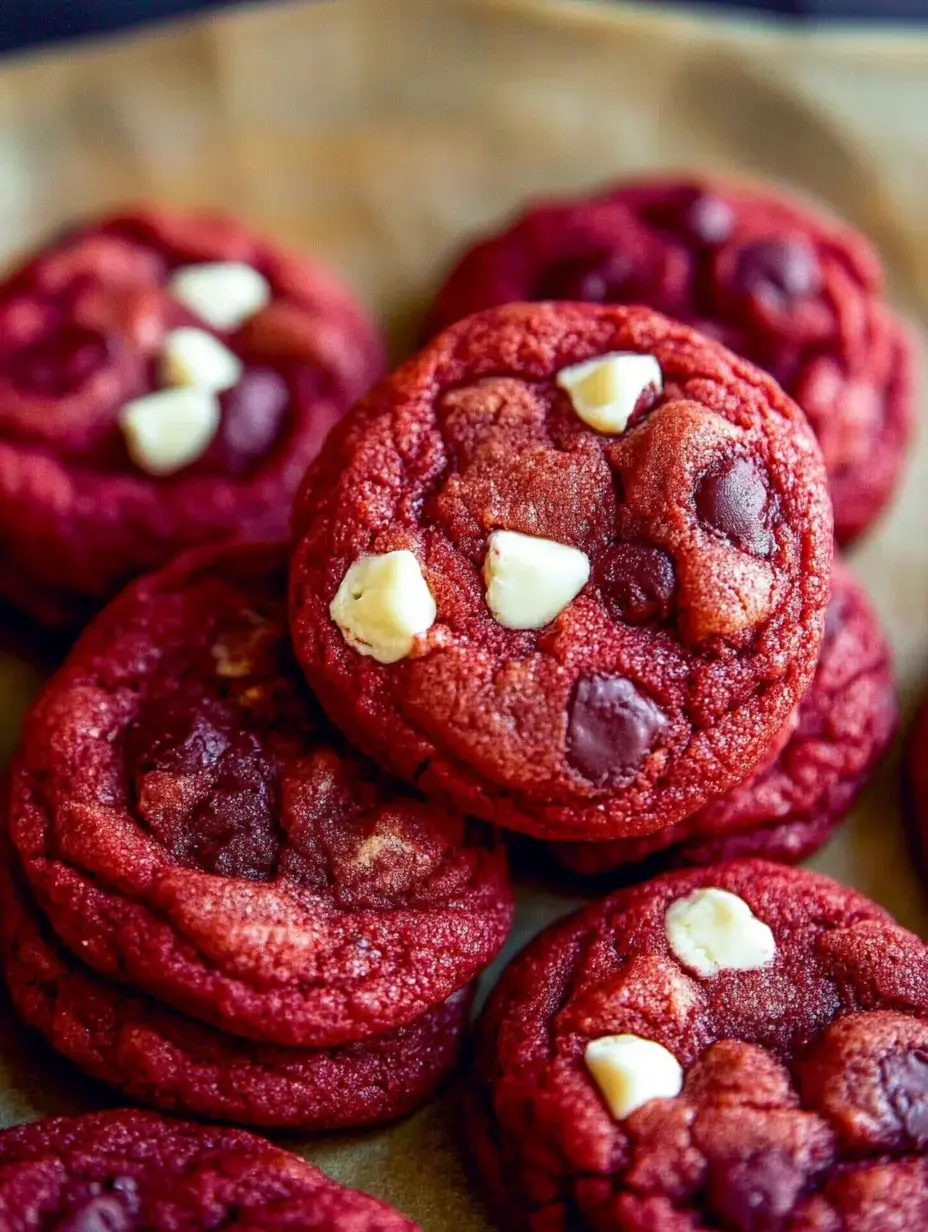
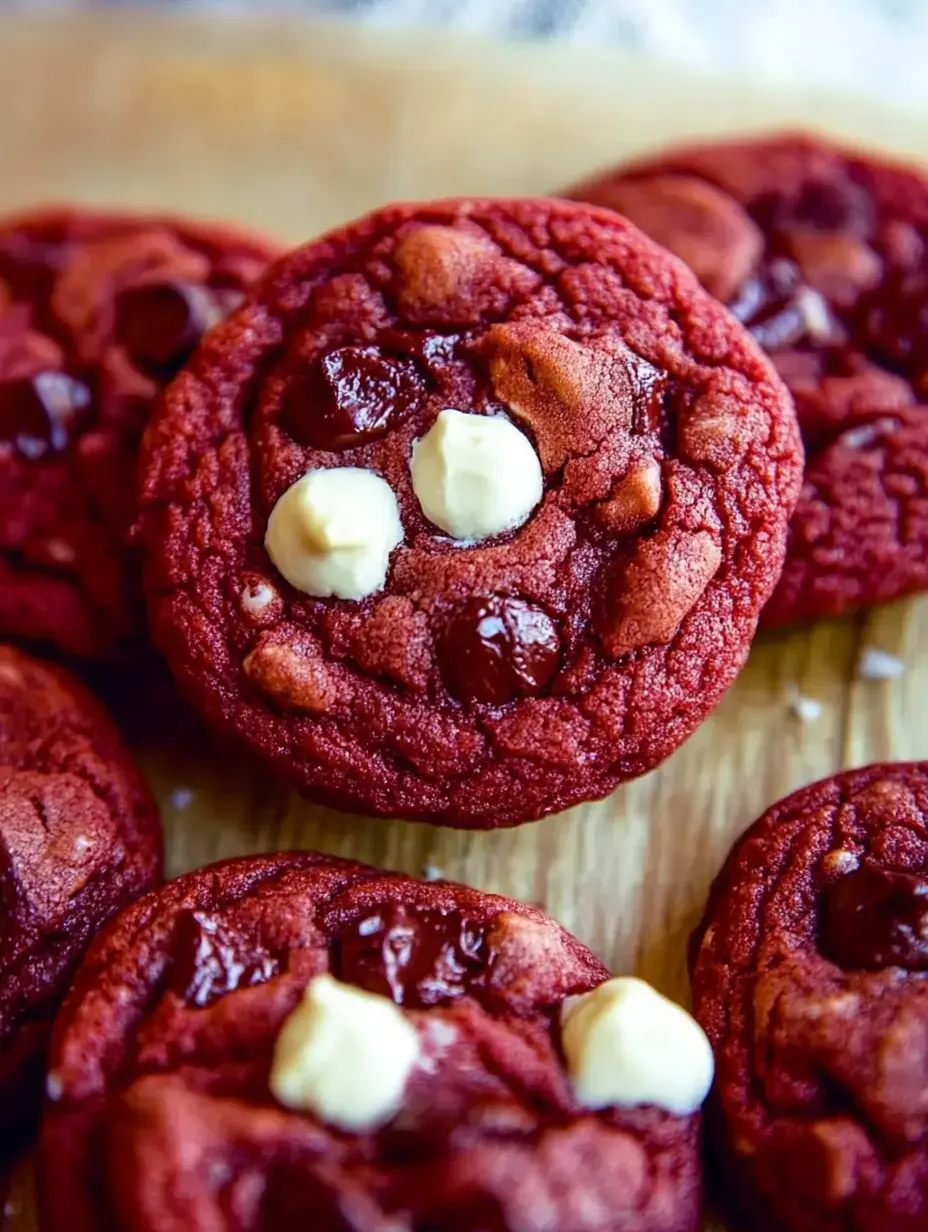
Heavenly Red Velvet Cookie Bites With Cake-Like Texture
I can't wait to tell you about these incredible red velvet cookies! They've got all the amazing flavor of traditional red velvet cake but wrapped up in a soft, chewy cookie. I spent months tweaking this formula until I nailed that signature mix of chocolatey goodness and subtle tanginess that makes red velvet so darn special.
The First Treats To Vanish From My Christmas Platter
These cookies never stick around long when I serve them. They grab attention with their stunning crimson color and keep it with their pillowy texture and amazing taste. They work perfectly for any celebration - from holiday gatherings to Valentine's parties or just because you want something sweet.
Your Kitchen Essentials Checklist
- Butter: Start with it melted for easier blending
- Sugar: You'll need both white and brown for ideal softness
- Cocoa: Grab the standard unsweetened type, not Dutch processed
- Egg: A single large one will do the job
- Vanilla: The real extract makes all the difference
- Baking Soda: This creates that wonderful soft bite
- Salt: Add a tiny bit if your butter isn't salted
- White Vinegar: This brings the classic zip
- Flour: Plain all-purpose works best
- Red Food Coloring: The basic supermarket version is fine
- Chocolate Chips: Try mixing dark and white varieties
Time To Begin Cooking
- Prep Your Space
- My first step is always setting up my baking sheets. I prefer my silicone liners but you can't go wrong with parchment.
- Create Your Foundation
- Find your largest mixing bowl and combine those sugars with your melted butter. Add cocoa, egg, vanilla and your dry stuff next.
- My Clever Twist
- Here's my top tip - save the vinegar and coloring for last. This avoids any messy overflow situations in your kitchen.
- Cool Things Down
- After scooping your dough, let it hang out in your fridge. Just half an hour makes them bake so much better.
Two Tasty Variations To Try
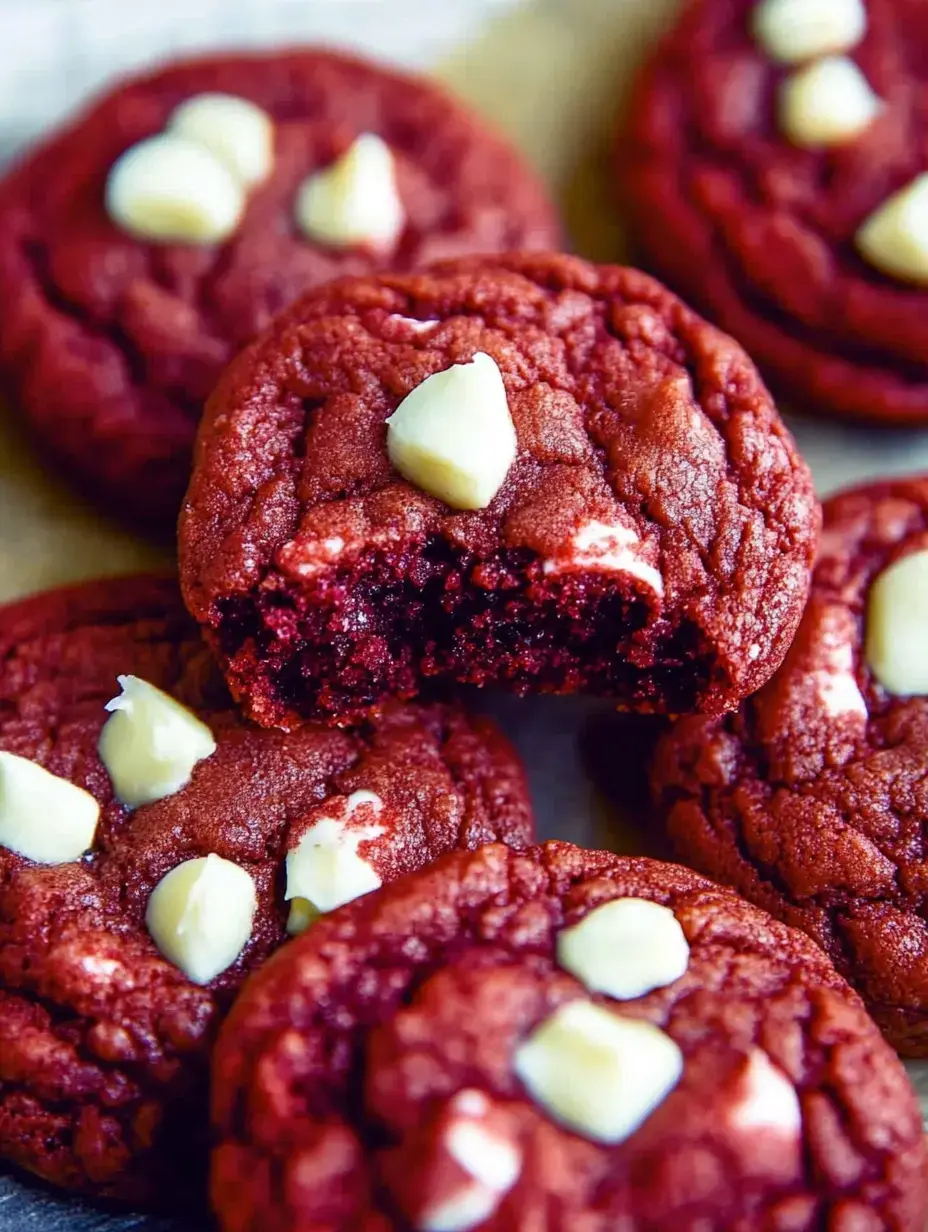
I switch between two awesome versions of these treats. Sometimes I toss in lots of chocolate chips for gooey melted bits throughout. Other times I keep them plain and add a dollop of cream cheese topping after baking. Both turn out amazing.
Insider Baking Secrets
After baking these dozens of times, I've picked up some handy tricks. Your choice of coloring matters - regular liquid needs around a teaspoon, but gel coloring only needs half that amount. And that vinegar I mentioned? Always mix it in at the end or you'll have a bubbly red mess everywhere!
Questions I'm Always Asked
The most common thing folks wonder is if red velvet is just chocolate with red dye. Nope! It's way more complex. The magic happens when cocoa, vinegar and buttermilk come together - that's what creates that unique taste that makes true red velvet stand out.
Storage Solutions
You can enjoy these cookies at their best for about three days when kept in a sealed container. I leave mine on the counter and they're usually gone before then anyway! If you need them to last longer, they freeze really well for up to three months.
Stunning Holiday Treats
These have become my trusty standby for cookie exchanges and gift packages. Their bold red color looks so festive, and they travel without crumbling. Everyone always begs me for the instructions after trying them, which makes me feel so accomplished!
Prep Now, Bake Later
These cookies are fantastic for busy schedules. I often mix up extra dough, form it into balls, and pop them in the freezer. Then I can grab just what I want whenever sweet cravings hit. There's nothing better than warm cookies in minutes without all the work!
Kitchen Chemistry At Work
There's actually neat food science happening in these cookies. The vinegar works with baking soda to create that amazing texture, plus it helps boost the vibrant color. You're basically running a tasty lab experiment in your kitchen!
Nailing The Right Shade
Don't worry too much about hitting an exact color tone. Each batch of mine looks a bit different, and they're all gorgeous. What matters most is adding your coloring at the right moment and mixing it thoroughly.
Custom Cookie Creations
I love playing with variations, like using only white chips or just dark ones. My children go crazy when I press extra chips on top right after baking. They get all soft and gooey, making the cookies look even more mouthwatering.
The Frosted Alternative
For something extra fancy, I'll skip the chips and spread cream cheese frosting on top. They taste just like mini red velvet cakes! Just wait until they're totally cool before adding frosting or you'll end up with a drippy disaster.
Tricks For Tender Cookies
The biggest tip for keeping these cookies soft is watching your baking time carefully. I take mine out when they've just lost their glossy look but still seem a little underbaked. They'll finish cooking as they cool and stay wonderfully tender.
Great For New Bakers
I love teaching first-time bakers with this recipe. Though they look impressive, they're actually pretty forgiving. As long as you measure carefully and chill the dough as directed, you'll get beautiful results every time.
Cookie Storage Tips
If you somehow have extras, keep them in sealed containers with parchment between each layer. For gifting, I put them in cute boxes lined with tissue. They stay fresh and look totally professional.
Why They Win Hearts
Something about red velvet just makes people smile. Maybe it's the beautiful color or that perfect flavor balance. Whatever the reason, these cookies always bring joy, which is why I keep making them.
Creating Family Traditions
Some of my sweetest cooking memories come from making these with my kids. They have so much fun measuring ingredients and watching the dough change color. It's become our little family ritual, especially around February 14th.
What Makes This Formula Special
After trying these cookies, I bet they'll become a staple in your baking lineup too. They hit that sweet spot of being simple to make but totally impressive to serve. And that classic red velvet taste is just unbeatable. Enjoy your baking!
Common Questions About This Recipe
- → What’s the vinegar’s purpose here?
- Adding vinegar with the color keeps it from reacting too early with the baking soda, which might mess up the texture.
- → How about gel food coloring?
- Sure! Use 1/2 teaspoon gel coloring instead of 1 teaspoon of the liquid kind for the same bold color.
- → Why is chilling the dough important?
- Chilling avoids cookies spreading too much while baking, plus it boosts the flavor and texture!
- → Can these be frozen?
- Yep! Stick baked cookies in a sealed container for three months or freeze raw dough balls to bake later.
- → Could I swap the chips for frosting?
- Totally. Skip the chips, then spread cream cheese frosting on the cooled cookies for that classic vibe.