 Save
Save
I've finally cracked the code for making Cheesecake Factory Brown Bread at home after so many attempts. The incredible smell fills my kitchen whenever I bake it, and my family always comes running. This soft, slightly sweet bread with its oat topping tastes identical to what you'd get at the restaurant and adds such comfort to our meals.
What Makes This So Good
Everything comes together beautifully when whole wheat flour meets molasses and that small amount of cocoa. I've discovered that adding a bit of espresso powder really does the trick, giving us that gorgeous rich color and subtle flavor depth. My guests always think I bought it when I serve this bread.
What Goes Into It
The character of this bread comes from the mixture of lukewarm milk, dark brown sugar and a touch of honey. I adore how cocoa and espresso work in harmony - not making it chocolatey but creating that distinctive dark shade. Some soft butter keeps it all moist, and those oats scattered on top aren't just for looks - they make each loaf feel extra special.
Waking Up The Yeast
My first step is always getting the yeast going in warm milk with a little brown sugar mixed in. It's basically waking up the stuff that helps our bread grow. When it doesn't foam up after waiting a bit, I know I need new yeast - this simple check really makes all the difference.

Putting It All Together
After my yeast is bubbly and active, I add the molasses, honey, butter and our mix of flours. The dough forms so nicely you won't need any fancy tools - just your hands and a bit of care. I can tell when it's just right because it feels soft without sticking to everything.
Waiting Game
Here's where you need to be patient. I put the dough in an oiled bowl, cover it with my trusty kitchen towel, and find a nice warm spot for it to sit. It takes about an hour to double in size and be ready for the next part. Sometimes I'll turn my oven light on and let it sit there - it works like a mini proving box.
Form With Care
Splitting the dough into three parts feels like sharing something special. I roll each one gently into a log shape and place them on my baking sheet. The oats I sprinkle on top aren't just for show - they add such nice texture and make it feel exactly like what you'd get at the restaurant.
Final Resting Time
These small loaves need one more brief rest for about 30-40 minutes. I use this time to tidy my kitchen or maybe make some coffee since the bread goes perfectly with a hot drink when finished. You'll notice them expand just a bit more as they get ready for baking.

Baking Time
With the oven heated to 375°F, in they go. The next 20-25 minutes are just waiting and watching as they turn beautifully golden and fill the house with the most amazing smell. My children always start asking when they'll be ready as soon as they catch that first scent.
When They're Done
You can tell they're ready when you tap the bottom and hear that hollow sound. I've learned to be patient here - we want them fully baked but still soft inside. When you take them out all golden and beautiful, it feels so rewarding.
Eating It Up
That first warm slice with a bit of melting butter can't be beat. I love seeing everyone's reaction when they try it - they can't believe we made it at home. It's become our favorite start to any dinner or even just a cozy snack on quiet afternoons.
Storage Tips
If we somehow have extras, they stay good for about three days when wrapped up well. A quick warm-up in the oven brings back that just-baked taste. Though truthfully, in my house they rarely make it past day one.
Freeze For Later
I often make extra loaves to freeze. Wrapped carefully in foil then placed in a freezer bag, they last wonderfully for up to three months. It's so convenient to grab a loaf on busy days, thaw it and warm it up - almost like having freshly baked bread whenever you want.
Mix In Some Joy
Whenever I bake this bread, I'm reminded why baking brings me so much happiness. It's not just about making something tasty but bringing that restaurant experience right into our kitchen. Whether you're having it with soup, sharing with company, or enjoying a quiet moment with a warm piece, you're in for a real treat.

Common Questions About This Recipe
- → Why heat the flour for cookie dough?
- Raw flour might carry harmful bacteria. Heating it up to 160°F makes it safe to eat in things like raw dough. It takes only about 5-7 minutes in the oven.
- → Can this dessert be frozen?
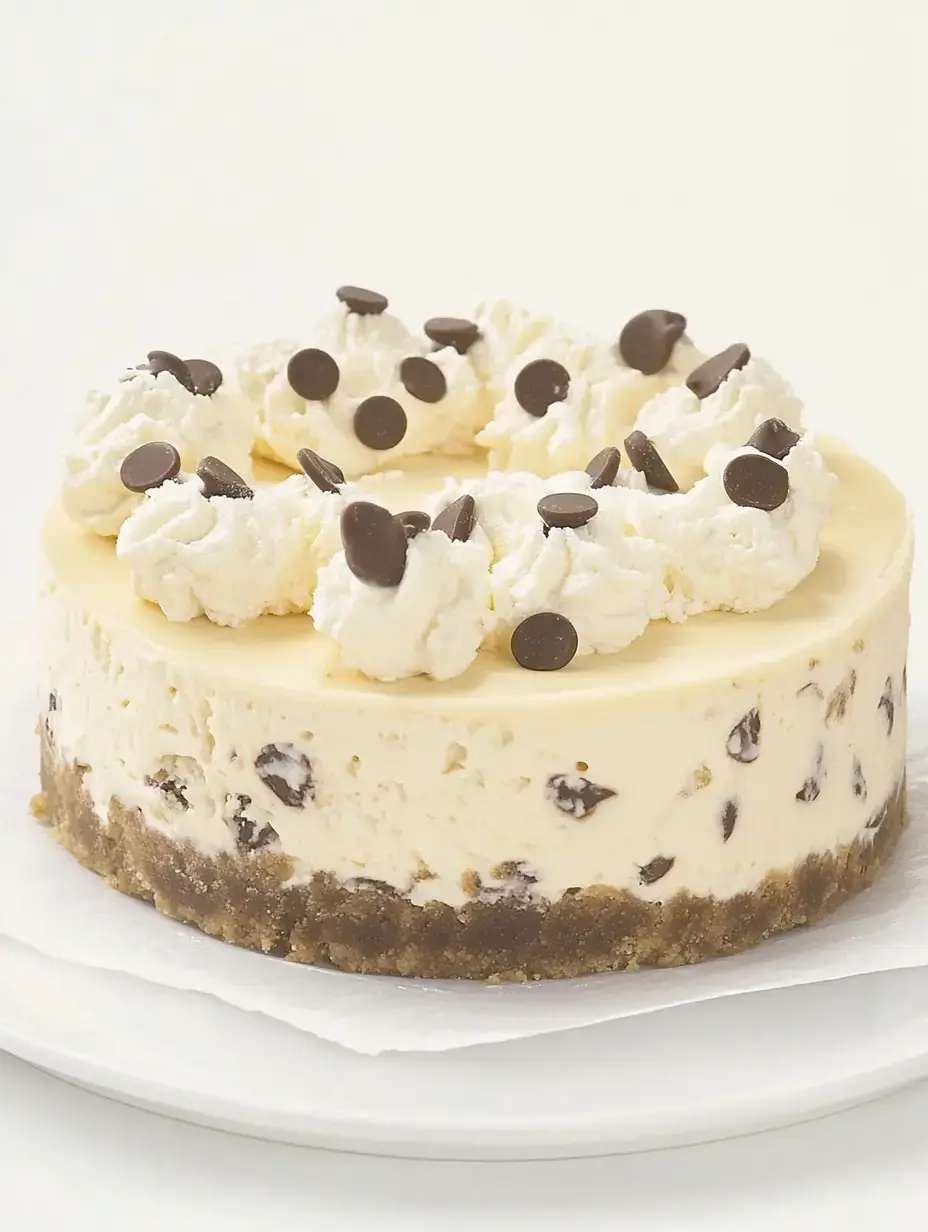
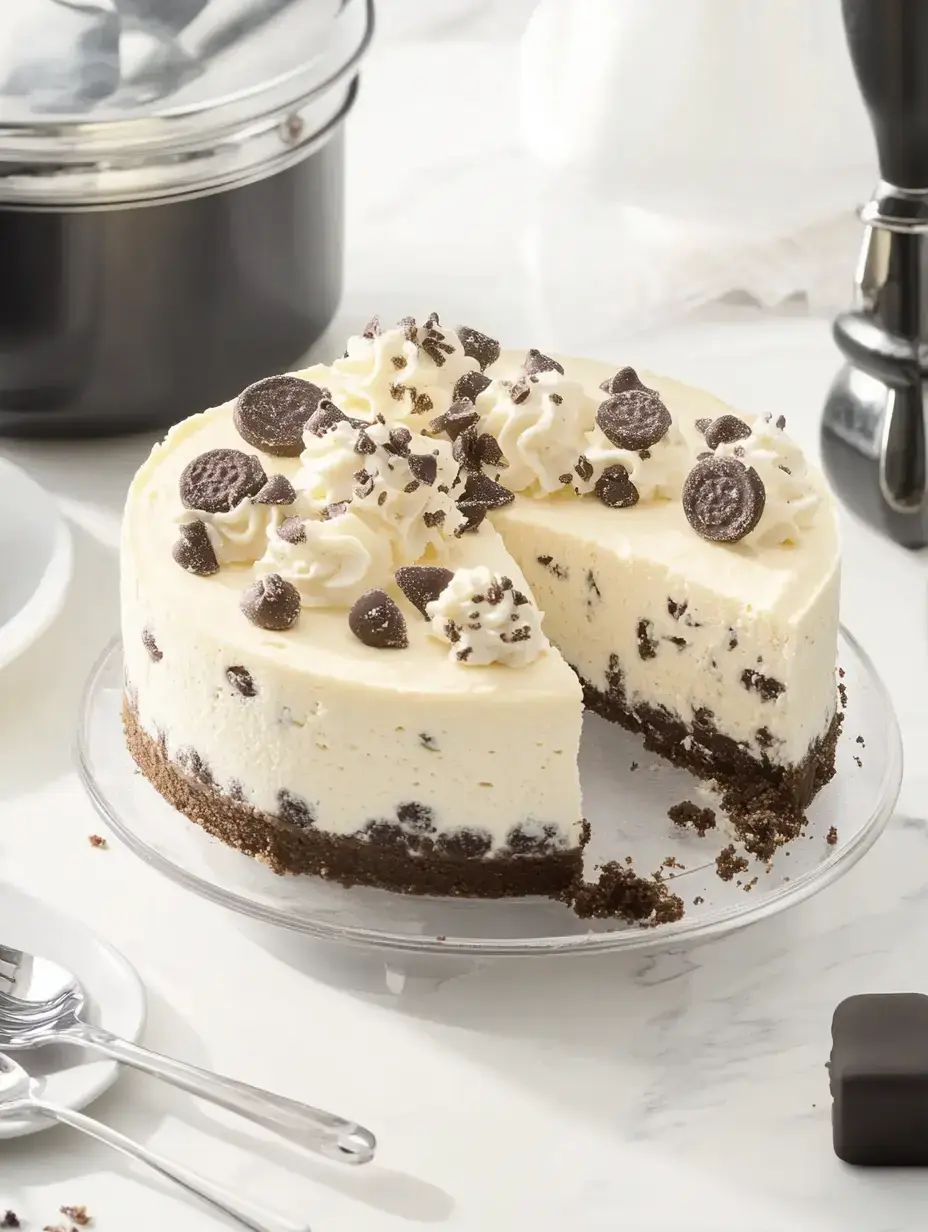
- Yep, pop the cheesecake in the freezer for up to 2 months. Wrap well once frozen solid, then let it thaw fully in your fridge before decorating or serving.
- → Can pre-made cookie dough work?
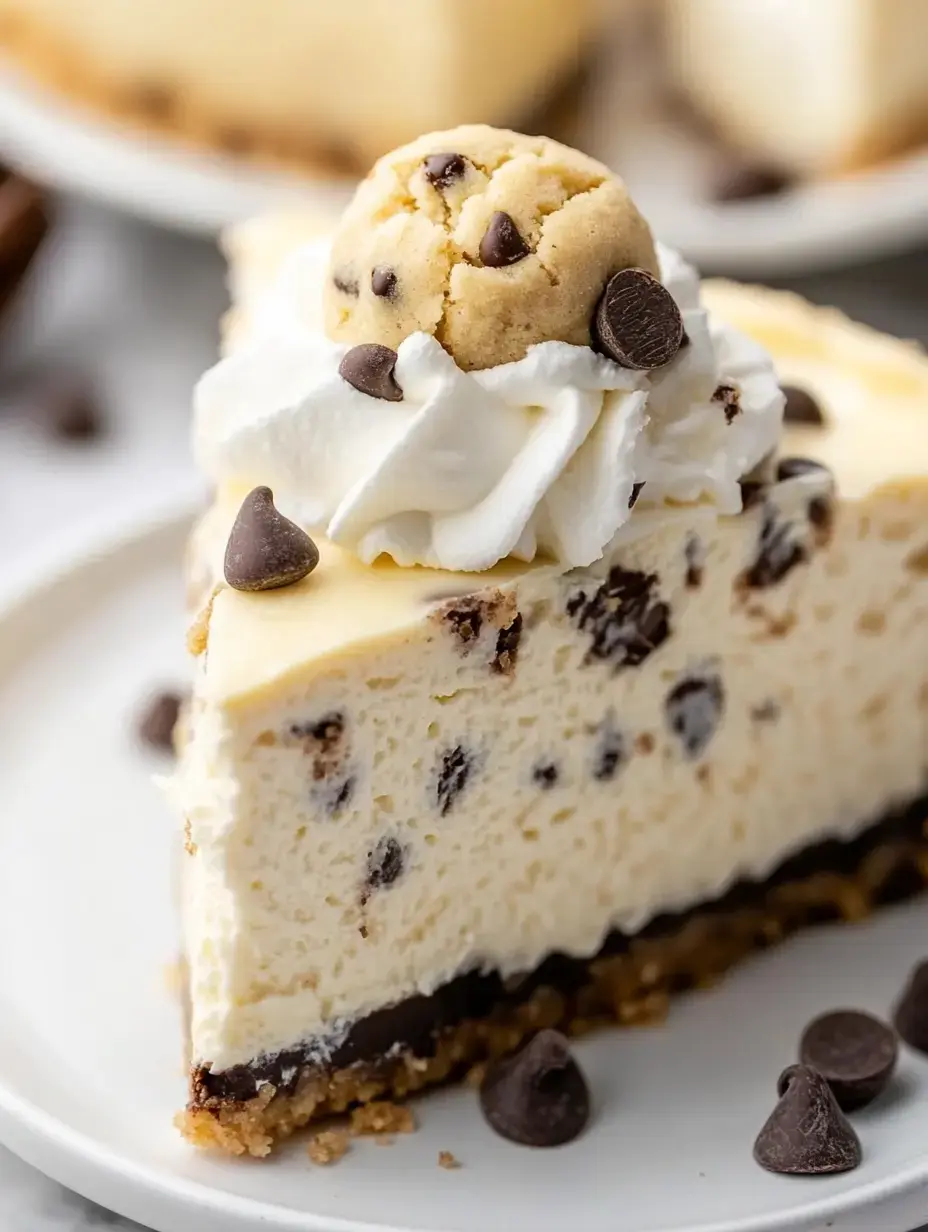
- Totally! Just grab edible cookie dough that’s made for snacking. Around two packs of 16.5 ounces should do to swap homemade dough.
- → Why is my cheesecake too soft?
- It needs at least 6 hours to properly firm up in the fridge. Also, make sure your cream cheese is soft and heavy cream super cold when whipping—it’s key for great texture.
- → What’s the best whipped topping to use?
- Go for stabilized whipped cream or store-bought topping. These hold their shape better when serving with cookie dough pieces on top.
