
 Save
Save
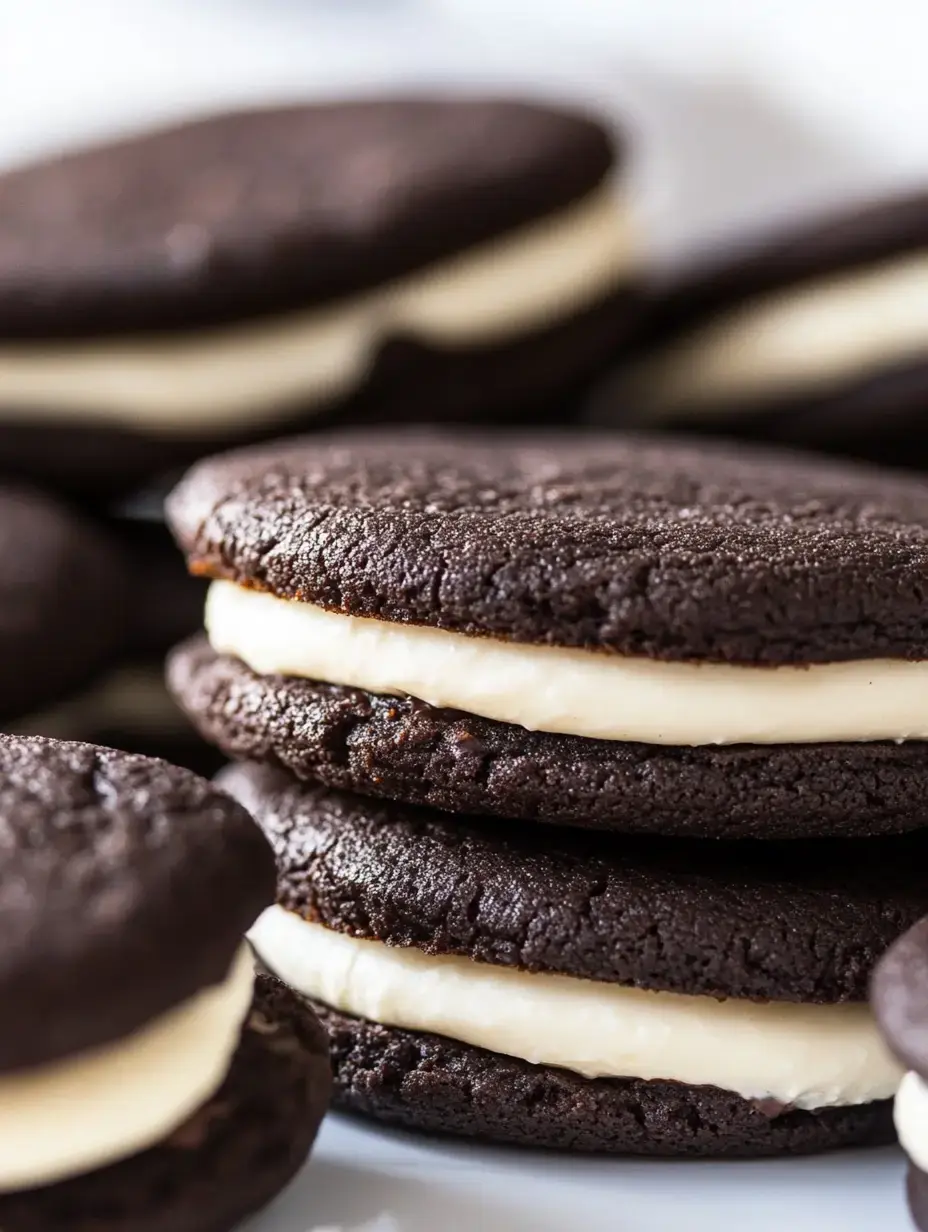
Wow, fellow cookie enthusiasts - I've gotta share my ultimate chocolate sandwich cookie creation! I've tried countless times to nail that iconic chocolate-and-cream magic in my kitchen, and I finally got it right. These treats feature crunchy, deeply chocolatey wafers paired with the smoothest vanilla cream center you've ever tasted. While they're not identical to the store version, I promise - after trying these upscale treats, you might never reach for the packaged kind again!
The Cookie That Makes Me Smile
Don't you love when certain treats bring back wonderful memories? That's what these cookies do for me (extra filling all the way!). I've tweaked this recipe for such a long time to make it just perfect. Last month, while putting together my mom's goodbye party with my siblings, these had to make an appearance - they always vanish first!
Let me be straight with you - these aren't exact replicas. Think of them as the grown-up, fancy version of that classic sandwich cookie! The wafers have that wonderful dark chocolate snap we crave, but the filling? It's much more velvety, creamier, and tastes like genuine vanilla goodness. Whenever they're baking, my whole house smells wonderful and everyone lurks nearby waiting for them to cool enough to grab!
Extra Sandwich Cookies You'll Love
Though these chocolate copycats have captured my heart, here are some other sandwich treats that never disappoint at my place:
- Those divine cream wafers (possibly my number one favorite)
- The sunny lemon sandwich cookies that bring summer vibes
- Beautiful Linzer sandwiches that look like edible art
- My caramel-filled sandwiches that taste like sweet dreams
- Those maple cream treats that fill the house with cozy smells
- And the green pistachio cookies with dark chocolate centers that guests always rave about
Common Cookie Questions Explained
After making these for so many people, here's what everybody asks:
"What makes your filling so good?" While the original cookies use lots of mysterious ingredients, we're keeping it real with actual butter, confectioners' sugar, pure vanilla extract, and just a touch of salt. Honestly, it tastes way better!
"How do they get so black?" It's all about mixing dark brown sugar with cocoa powder for that perfect deep color. No artificial colors needed!
"Will they stay fresh?" These treats keep well about seven days at room temp, but I actually prefer storing them in the fridge for up to four weeks. You can freeze them for three months too, though at my house they disappear way before that!
Time To Make Cookies
Don't worry about these fancy cookies being hard to make! I've simplified every part to make it super doable. They take a bit longer than drop cookies, but the steps are really straightforward. Let me show you how!
Grab your mixer first. We'll blend butter with white and brown sugars until they're whipped and airy - this really matters for getting the texture right!
Then add the egg, followed by our dry stuff: flour, cocoa (splurge on good quality here!), salt, and baking soda. Mix these carefully so we end up with tender cookies!
Here's my secret tip: split the dough and roll it between sheets of parchment. Stick it in the fridge for about 35 minutes - this makes cutting out shapes so much easier!
While waiting, heat your oven to 350°F and get ready for amazing chocolate smells throughout your home!
Time For Cutting Shapes
Now comes the fun part! After your dough chills, take your 1½-inch round cutter (I often use a small glass when my cutter goes missing!). Press out those cute circles and arrange them on your parchment-covered baking sheet. Give them some space to grow. Then into the warm oven for 12-14 minutes. Your kitchen will soon smell incredible!
Whipping Up The Filling
While those cookies cool down, let's make that amazing filling! Begin with super soft butter and beat it until it's fluffy. Then slowly add your powdered sugar bit by bit (I learned not to dump it all in at once the messy way!). A little milk, some real vanilla, and a tiny bit of salt make it taste just right. Keep mixing until it's smooth and fluffy - this makes spreading it so much easier!
Building Your Cookies
Now for the most satisfying step - putting everything together! I prefer using a piping bag with a round tip for neat centers, but honestly, a plain old butter knife works great too. Drop a good amount onto one cookie bottom, then softly press another on top. Watch the filling reach the edges - so satisfying! I always make a few with extra filling for my kids - they definitely take after their dad in loving more cream in the middle!

Keeping Them Tasty
I store my sandwich cookies in a dedicated jar on the counter - they stay perfectly crisp for about a week. Want them around longer? Stick them in the fridge! They'll stay good for almost a month, though honestly, they've never lasted that long in my house!
Getting Ready Beforehand
Here's a cool trick I found: the cookie dough actually tastes better after sitting in the fridge overnight or even two days! The flavors blend wonderfully, making your finished cookies taste even more amazing. I often prep the dough early when planning for get-togethers or cookie exchanges - saves so much time later!
The Hit At Every Gathering
These homemade chocolate sandwich cookies have become my signature treat at family events. Something about that familiar look but upgraded taste just brings smiles all around. Last December, my niece helped make a batch for our cookie swap, and now we do it together every year!
Ways To Enjoy Them
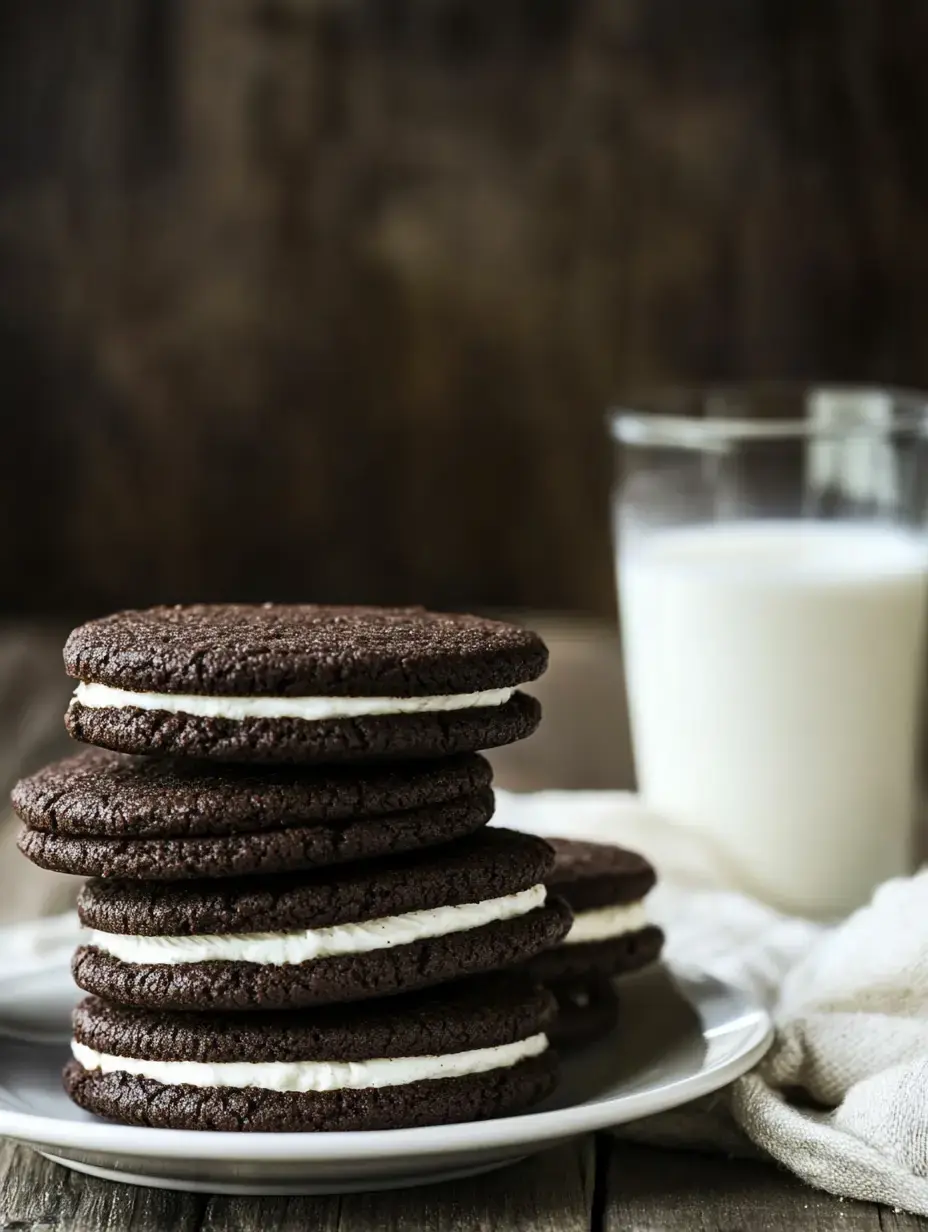
We all know about dunking these in milk (still the best!), but try them with your morning coffee or afternoon tea - they're fantastic! Sometimes I serve them alongside a scoop of vanilla ice cream for dessert, and everyone goes wild for the combo.

Creative Cookie Variations
Let's try some fun twists! Sometimes I add a tiny splash of mint extract to the filling during winter holidays, or mix in some cinnamon for a spicy chocolate flavor. My kids go crazy when I mix crushed candies into the cream. You can try so many different things!
That Perfect Cookie Bite
What really makes these treats special is how the textures play together. The chocolate cookies snap just right, while the buttercream middle feels like velvet in your mouth. It's the perfect cookie balance!
Gifts From Your Kitchen
Looking for a heartfelt homemade present? Pack these in a cute container or box, add a ribbon, and watch people's faces light up! I made batches for my kids' teachers last school year, and they still mention them when we meet.
Cookies For No Reason
These are great for parties, but why wait for a special day! I enjoy making them on regular weekends just because I can. There's something really special about having a homemade chocolate sandwich cookie with my teatime or sharing them with neighbors who stop by unexpectedly.
The Real Cookie Magic
The best thing about these cookies isn't just how they taste - it's how they bring folks together. Whether it's my children helping press them together or friends dropping by for coffee and treats, these cookies create special moments worth remembering.
Anyone Can Bake These
Don't worry about all the steps! This recipe actually builds your confidence in the kitchen. Take it slow, follow along, and you'll be amazed what you can make. I still remember my first try - they weren't perfect looking, but they tasted amazing!
Baking Happiness
There's something truly wonderful about making a childhood favorite from scratch. The chocolate scent filling your kitchen, the fun of assembling them - it's pure joy! Plus, knowing exactly what goes into your food makes eating them even better.
Tell Me How It Goes!
I'd love to know how your cookies turn out! Did you try something different with them? Share your stories and photos - they always brighten my day. And remember, even if they look a little wonky, they'll taste fantastic. That's the beauty of homemade treats!

Final Thoughts
Discover how to make scrumptious sandwich cookies from scratch. Enjoy crisp chocolate layers paired with a velvety vanilla center for the ultimate homemade treat.
Common Questions About This Recipe
- → What’s the point of chilling the dough?
Chilled dough is easier to shape neatly and doesn’t spread too much while it bakes.
- → Is a stand mixer required?
Nope! A hand mixer works perfectly too. Just make sure the butter is soft enough.
- → How do I keep them fresh?
Seal them in an airtight container for up to a week at room temp, a month in the fridge, or three months if frozen.
- → What about leftover dough?
Easy! Roll it out again, chill, and cut more cookies. Do this as many times as needed.
- → How do I make them crispy?
Roll the dough really thin—about 1/8 inch—and bake until the edges just start browning.